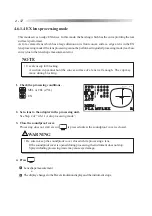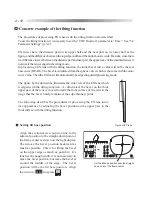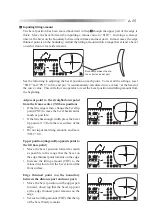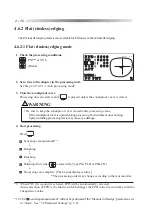
4 - 30
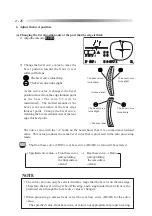
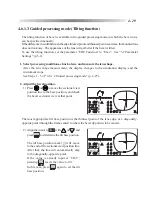
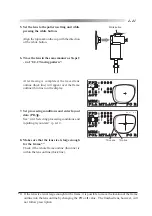
3) Align the cursor to
B CRV
with
or
, and set the bevel curve value with
or
.
Press
or
once to delete A (Auto-curve), and then set the desired value.
e.g.)
A4.3: A bevel position is computer-calculated from the ratio.
4.3: A bevel position is calculated from the spheric curve of the lens.
With the curve value with A, a bevel position is calculated from Ratio. With the curve
value without A, the bevel position is calculated from the spherical curve of the lens.
With the tilting function, the bevel position is adjusted according to the spherical curve
value of the lens as a base. For the reason, if the ratio curve value with A is set, the set
tilting value may differ from the actual tilting amount of the bevel. As the difference between the
ratio curve and spherical curve is wide, the difference in the tilting amount will more substantial will
increase.
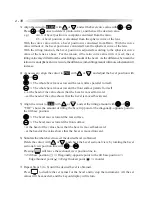
4) As necessary, align the cursor to
PNT
with
or
, and adjust the bevel position with
or
.
The whole bevel moves toward the rear surface parallel to itself.
The whole bevel moves toward the front surface parallel to itself.
m
at the head of the value shows that the bevel is moved forward.
o
at the head of the value shows that the bevel is moved backward.
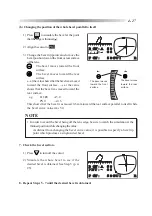
5) Align the cursor to
TILT
with
or
, and set the tilting amount with
or
.
“TILT” shows the amount of tilting the bevel tip point at the diagonally-opposite point to
the tilt base position.
The bevel moves toward the rear surface.
The bevel moves toward the front surface.
+ at the head of the value shows that the bevel is moved backward.
– at the head of the value shows that the bevel is moved forward.
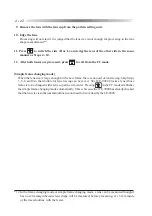
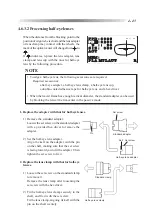
6) Simulate the whole bevel to see if the desired bevel is obtained.
Delete the cursor with
or
, and check the bevel sectional view, by rotating the bevel
sectional view position line with
or
.
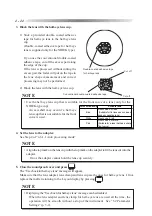
Pressing
will move the sectional view position line to:
Tilt base position (
F
)
Diagonally-opposite point to the tilt base position
Edge thinnest point (
J
)
Edge thickest point (
J
)
in order
7) Repeat Steps 3) to 6) until the desired bevel is obtained.
Press
to disable the set values for the bevel and to stop the instrument. All the set
values will be canceled, and the Layout display will return.
Summary of Contents for LE-9000LX
Page 1: ...PATTERNLESS EDGER Model LE 9000LX OPERATOR SMANUAL ...
Page 17: ...2 9 Top view or or ...
Page 19: ...2 11 ...
Page 145: ......


