4 - 33
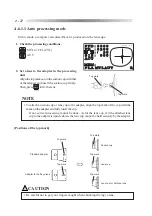
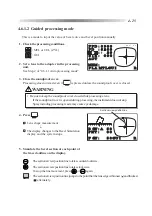
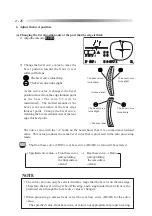
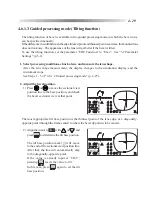
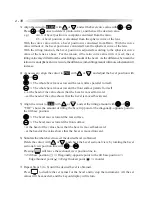
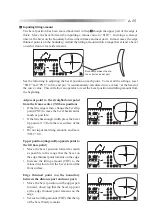
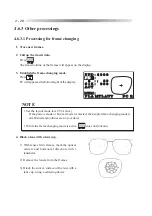
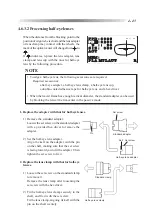
5. Simulate the bevel section at each point of the outline on the display.
:
The sectional view position line rotates counterclockwise.
:
The sectional view position line rotates clockwise.
To stop the line movement, press
or
again.
: The sectional view position line jumps to the point that the lens edge is thinnest ( ) and thickest
( ) alternately.
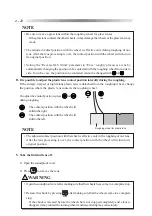
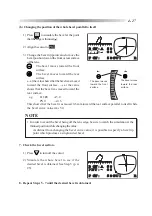
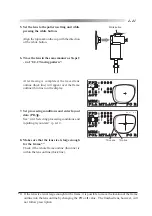
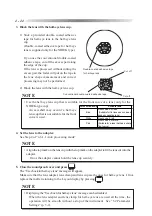
If the bevel position needs to be changed:
Follow the procedures from Step 6 of “4.6.1.2 Guided processing mode” (p. 4-25) to change
the bevel tip point (PNT).
NOTE
• As for the curve value, do not change but leave it as the rear base curve (REAR).
The specified curve, front base curve, or ratio is not appropriate for proper beveling.
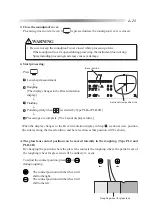
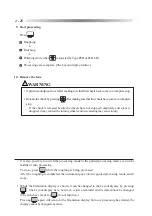
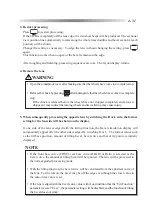
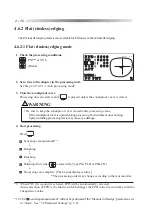
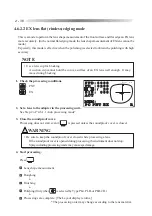
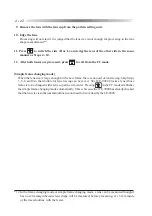
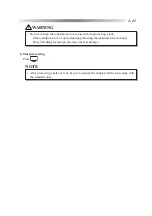
6. Start processing.
Press
.
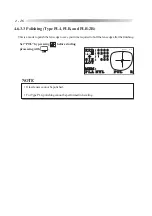
Roughing
p
Finishing
p
Polishing (Only when
is selected by Type PLB or PLB-2R.)
p
Processings are complete. [The Layout display returns.]
7. Remove the lens.
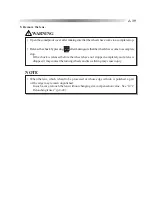
WARNING
• Open the soundproof cover after making sure that the wheels have come to a complete stop.
• Release the chuck by pressing
after making sure that the wheels have come to a complete
stop.
If the chuck is released before the wheels have not stopped completely and a lens is
dropped, it may contact the turning wheels and its scattering may cause injury.
Summary of Contents for LE-9000LX
Page 1: ...PATTERNLESS EDGER Model LE 9000LX OPERATOR SMANUAL ...
Page 17: ...2 9 Top view or or ...
Page 19: ...2 11 ...
Page 145: ......


