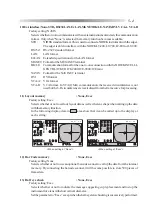
4 - 44
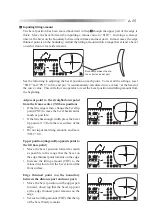
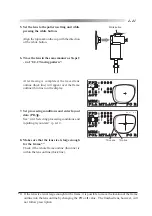
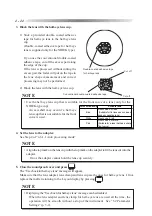
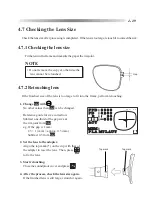
Cut off
Cut off
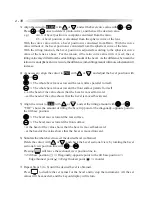
Double-coated adhesive tape
for half-eye lens
Conventional double-coated adhesive tape
3. Block the lens with the half-eye lens cup.
1) Stick a provided double-coated adhesive
tape for half-eye lens to the half-eye lens
cup.
(Double-coated adhesive tape for half-eye
lens is supplied only for the NIDEK type.)
If you use the conventional double-coated
adhesive tape, cut off the excess part along
the edge of the cup.
If the lens is processed without cutting the
excess part, the feeler will put on the tape in
the lens shape measurement and correct
processing may not be performed.
2) Block the lens with the half-eye lens cup.
NOTE
• Use the half-eye lens cup that is suitable for the front curve of a lens (only for the
NIDEK-type cup).
An axis shift may occur if a half-eye
lens cup that is not suitable for the front
curve is used.
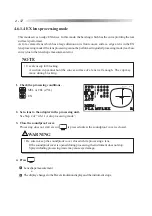
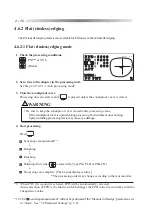
4. Set the lens to the adapter.
See Step 2 of “4.6.1.1 Auto processing mode”.
NOTE
• Align the top mark on the lens cup with the top mark on the adapter to fit the lens cut into the
adapter.
If not, the adapter cannot hold the lens cup securely.
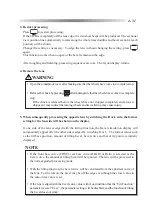
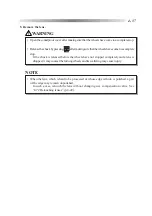
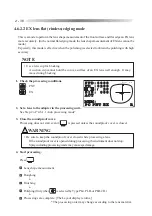
5. Close the soundproof cover and press
.
The “Use chuck for half-eye lens” message will appear.
Make sure that the lens adapter, lens clamp and lens cup are the ones for half-eye lens. If not,
replace them after returning to the Layout display by pressing
.
NOTE
• Displaying the “Use chuch for half-eye lens” message can be disabled.
When the lens adapter and lens clamp for half-eye lens are used all the time, the
operation will be smooth without a stop of the instrument. See “5.2 Parameter
Settings” (p. 5-2).
Color of lens cup
Suitable lens
Blue
Front curve 5 or less
(Suitable for flat lenses such as an
aspheric negative lens)
White
Front curve 5 to 9
Pink
Front curve 9 or more
(Suitable for a lens that has a sharp
front curve)
Summary of Contents for LE-9000LX
Page 1: ...PATTERNLESS EDGER Model LE 9000LX OPERATOR SMANUAL ...
Page 17: ...2 9 Top view or or ...
Page 19: ...2 11 ...
Page 145: ......

