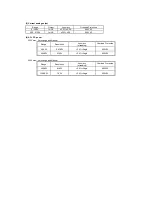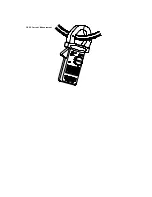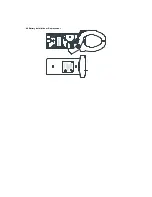
a. Set the rotary switch at DC A.
b. Push and hold the DC A ZERO button until the reading shows zero.
c. Press the trigger to open the jaw and fully enclose the conductor to be measured. No air gap is allowed between the
two half jaws.
d. The clamp meter will automatically select proper range. If users want to select range, press the range button before
pressing the DC A ZERO button.
e. Read the measured value from the LCD display.
Note
There are two ways to zero the DC A residual value, If users use the DC A zero button, the
clamp meter is in auto-range mode. If users use the REL button, the clamp meter will
change to manual mode for DC A measurement.
Summary of Contents for NI349PR
Page 1: ...AC DC POWER CLAMP MULTIMETER NI349PR Manual...
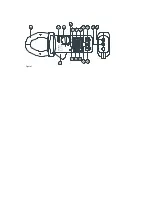
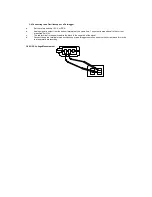
Page 7: ...Figure 1...
Page 18: ...3 2 AC Current Measurement...
Page 20: ...3 3 DC Current Measurement...

