5
NIGHT OPTICS USA
THERMAL IMAGING
CABLES
POWER MANAGEMENT
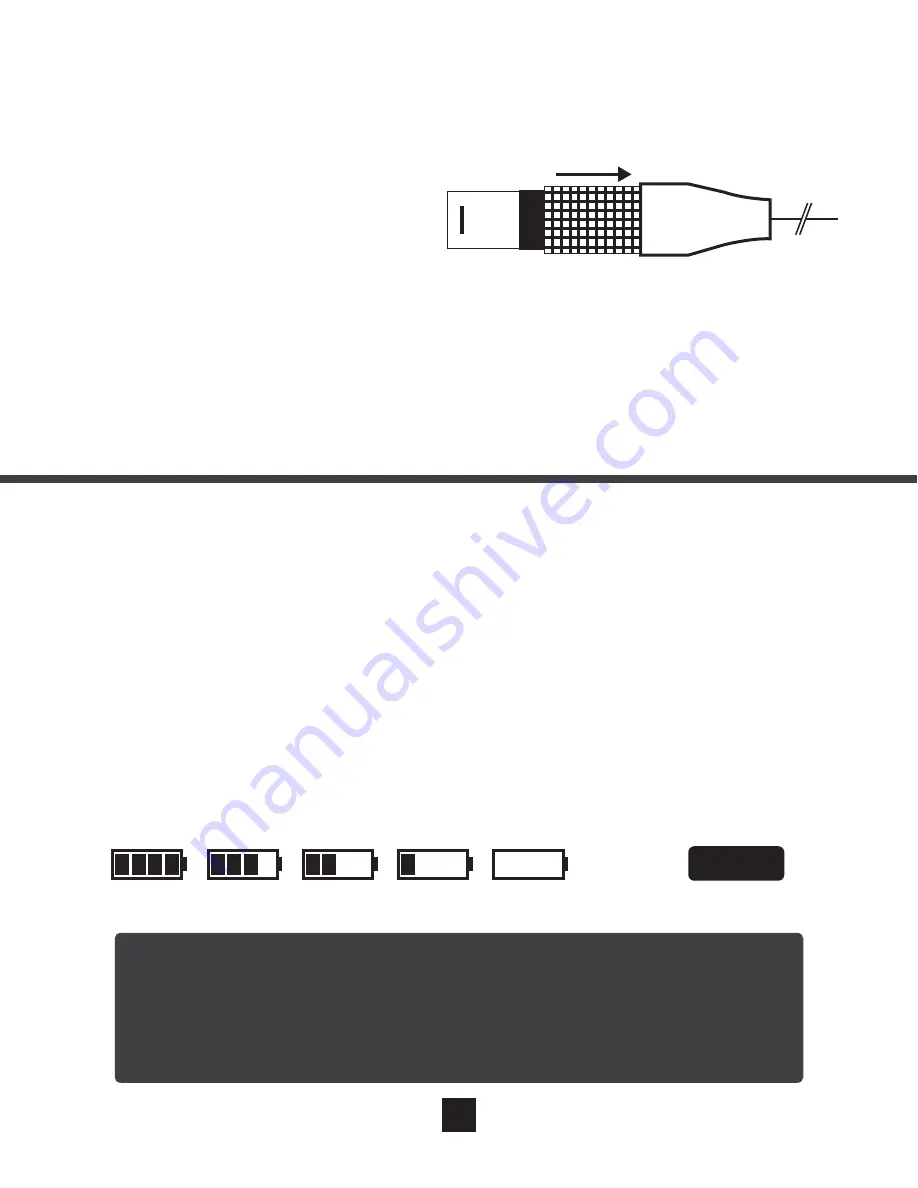
Figure 4
1. Insert the device interface cable (fig. 3) into the device interface port (fig. 1-7).
2. To remove the device interface cable, pull back on the finger grip to release the
clamping mechanism.
3. The RS232 PC Interface cable is for internal Night Optics USA use only.
4. The USB cable can be connected to any Microsoft Windows™ based computer to
access the contents of the SD Card. When connected the device controls will not
function.
5. The Video out cable (RCA Jack) can be connected to any TV or Monitor that accepts
video input. Video display is in NTSC format only.
6. The 9v DC cable can be used to power the device externally.
Battery Installation
For optimal battery performance it is recommended that 2500 mAh or higher NiMH
rechargeable batteries or standard non-rechargeable Lithium batteries are used. It is not
recommended to mix batteries. To install batteries into your device, open the battery door
(fig. 1-8 & 11) and follow the polarity diagram inside the battery compartment to properly
install batteries. Once installation is complete, ensure the battery door is closed
completely before powering on the device.
Battery Status
The battery status indicator can be found in the upper-left corner of the display when
looking through the eyepiece (fig. 1-1). Battery power level should display as follows:
Battery Charging
Full
75%
50%
25%
0%
NOTE:
For optimal battery life and performance, it is recommended that you fully
discharge the rechargeable batteries before charging for the first time. On
the initial charge, allow to charge fully. This should take 4-6 hours.


