background image

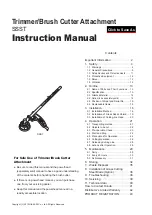
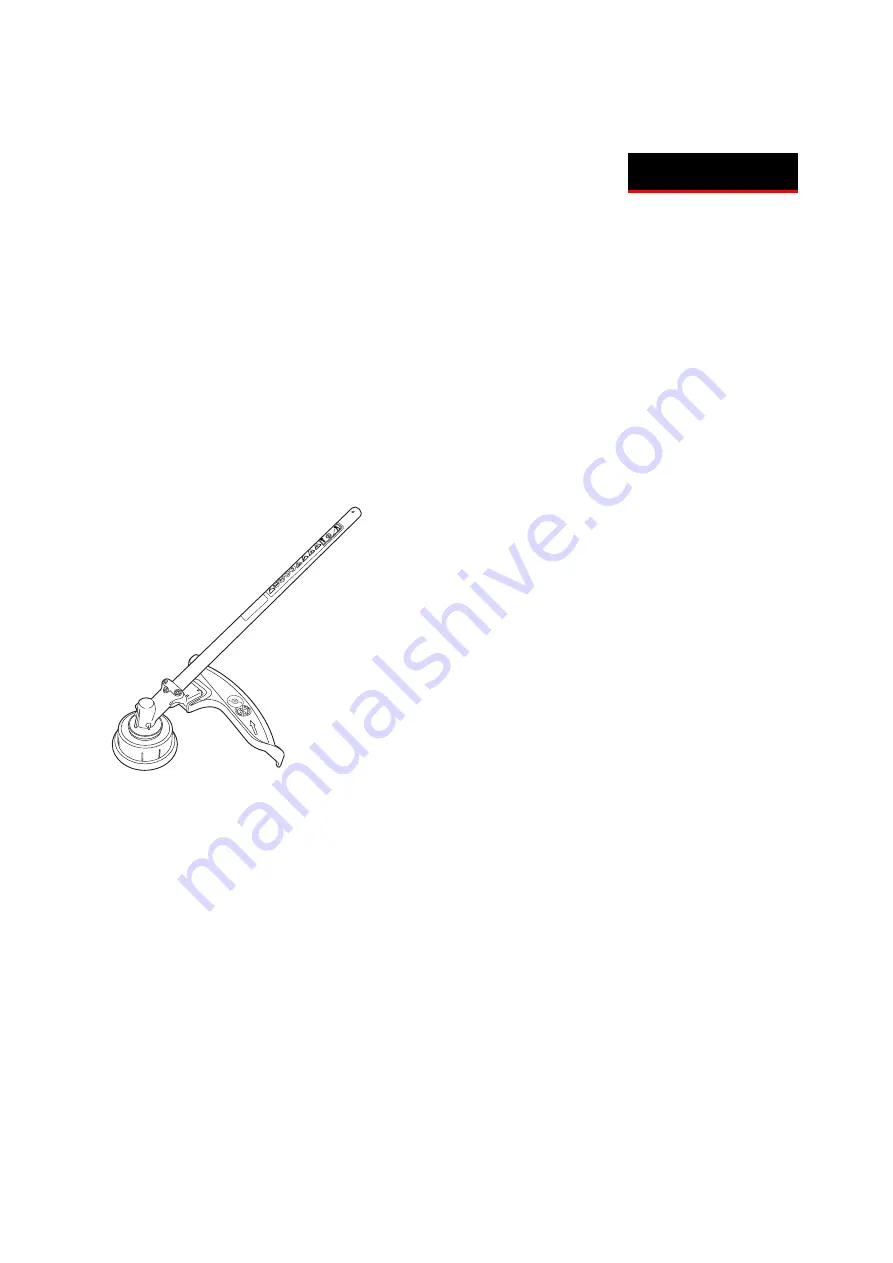
Trimmer/Brush Cutter Attachment 

SSST

Instruction Manual

Copyright (C) 2015 NIKKARI Co., Ltd. All Rights Reserved

For Safe Use of Trimmer/Brush Cutter 

Attachment

Be sure to read this manual and the powerhead
(separately sold) manual to have a good understanding
of the contents before handling the brush cutter.

If there is no powerhead manual, you can purchase
one from your servicing dealer.

Keep this manual and the powerhead manual in a
readily accessible location.

Contents

Important Information ······················ 2
1. Safety ····································· 4

1.1 Warnings ·······································4
1.2  General Precautions ························6
1.3  Safety Devices and Protective Guard ······ 11
1.4  Protective Equipment ····················· 12
1.5 Noise ·········································· 12
1.6 Vibration ······································ 12

2. Outline ···································13

2.1  Name of Parts and Their Functions ··· 13

2.2  Specification

 ································ 13

2.3  Attached Material ································ 14
2.4  Option (to be separately sold) ················ 14
2.5  Position of Model and Serial No. ······· 15
2.6  Replaceable Items ························· 15

3. Installation ··································16

3.1  Installation Method ························ 16
3.2  Installation of Grass Debris Shield ···· 19
3.3  Installation of Cutting-line Head ········ 20

4. Operation ·······························21

4.1  Transporting method ······················ 21
4.2  Objects to be cut ··························· 22
4.3  Pre-operation Check ······················ 23
4.4  Start and Stop ······························ 24
4.5  Precautions for Operation ··············· 24
4.6  Cutting Operation ·························· 26
4.7  Releasing Cutting Line ··················· 28
4.8  Actions after Operation ··················· 28

5. Maintenance ···························29

5.1 Daily ··········································· 30
5.2  Every 20 Hours ····························· 30
5.3  As Necessary ······························· 31

6. Storing ···································34
7. Waste Disposal ························35
8. Installation of Grass Cutting

Steel Blade (Option) ·················36

9. Troubleshooting ·······················38
10. Servicing ································39
11. Technical data  ························40
How to Contact Honda ···················41
Distributor's Limited Warranty ··········42
PRODUCT REGISTRATION ············43

SSST

Click to Save As

Summary of Contents for SSST

Page 1: ...e of Parts and Their Functions 13 2 2 Specification 13 2 3 Attached Material 14 2 4 Option to be separately sold 14 2 5 Position of Model and Serial No 15 2 6 Replaceable Items 15 3 Installation 16 3...

Page 2: ...ruction manual the word cutting head or blade is used as a general term for blades such as cutting line heads and grass cutting steel blades option Refer to the powerhead manual for further informatio...

Page 3: ...e or part may not be copied translated or reproduced to any electronic medium or machine readable without prior written consent from NIKKARI The contents described in this instruction manual and power...

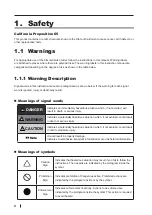
Page 4: ...rdous situation which if not avoided will result in death or serious injury WARNING Indicates a potentially hazardous situation which if not avoided could result in death or serious injury CAUTION Ind...

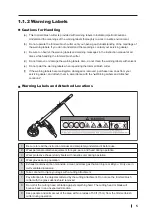
Page 5: ...purchase new ones from your servicing dealer and attach them in accordance with the Warning Labels and Attached Locations Warning Labels and Attached Locations 1 3 2 4 5 6 7 8 9 1 Be sure to read the...

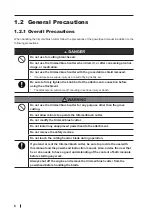
Page 6: ...e attachment could come off resulting in serious injury or death Do not use the trimmer brush cutter for any purpose other than the grass cutting Do not allow minors to operate the trimmer brush cutte...

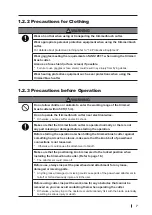
Page 7: ...sure that the trimmer brush cutter is operated normally or there is not any part missing or damaged before starting the operation Before starting the operation or when hitting the trimmer brush cutte...

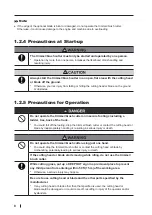
Page 8: ...truck You could fall off the footing drop the trimmer brush cutter or contact the cutting head or blade by inappropriately handling it resulting in serious injury or death Do not operate the trimmer b...

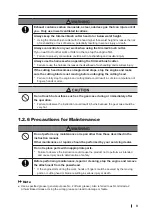
Page 9: ...the engine and cutting blade could result in cuts to or amputation of fingers hands or arms Do not touch hot surfaces such as the gear case during or immediately after the operation Failure to observ...

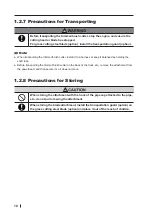
Page 10: ...eep it balanced by holding the shaft tube Before transporting the trimmer brush cutter on the back of the truck etc remove the attachment from the powerhead and then secure it so it does not move 1 2...

Page 11: ...k Release In case of an abnormality the trimmer brush cutter can be released from the harness by using the quick release device Refer to the powerhead manual for details 1 3 3 Protective Guard Transpo...

Page 12: ...Secure hair so it is above shoulder level If the jackets or pants are loose tighten the cuffs or hems Do not wear short pants sandals or go barefoot 1 5 Noise A person operating the trimmer brush cutt...

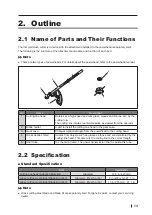
Page 13: ...ll the cutting line head to the gear case 3 Gear case Changes rotational angle from the powerhead to the cutting head 4 Grass debris shield Guards from objects such as grasses stones and sand scattere...

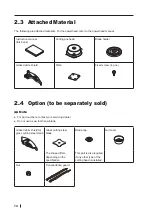
Page 14: ...Plate Fixed screw 4 pcs 2 4 Option to be separately sold Note For part numbers contact your servicing dealer Do not use a saw tooth saw blade Grass debris shield for grass cutting steel blade Grass cu...

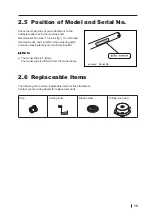
Page 15: ...model code and serial No when ordering parts and when making technical or warranty inquiries Note The model code is 4 letters The model code is different from the model name 2 6 Replaceable Items The...

Page 16: ...ork hands or fingers could be severed by the moving parts or cutting head or blade 3 1 1 Combination with Powerhead Do not install any unapproved powerhead to the attachment The attachment could separ...

Page 17: ...boss protrusion 2 at the end of the pipe with the slit of the joint case 3 and insert it to the label 4 position Make sure that the positioning knob 5 is lowered to the locked position as shown and th...

Page 18: ...ockwise Pull out the shaft tube 6 If the shaft tube is hard to remove hold it so that the attachment is parallel to the pipe of the powerhead and then pull it out Turn the positioning knob 5 until it...

Page 19: ...debris shield for cutting line head Grass debris shield for grass cutting steel blade Option Cutting knife Do not remove the grass debris shield If the grass debris shield is damaged contact your serv...

Page 20: ...ects such as grass and stones accumulated in part A of the gear case 1 Note If the cutting line head is operated with foreign objects accumulated the gear case could be damaged Put the blade holder 2...

Page 21: ...sh cutter If the footing is insecure an injury due to tripping over or falling could happen Note When transporting the trimmer brush cutter install it to a harness or keep it balanced by holding the s...

Page 22: ...secure it 4 2 Objects to be cut Replace with the grass cutting steel blade option as necessary For installing the grass cutting steel blade option refer to 8 Installation of Grass Cutting Steel Blade...

Page 23: ...repair Check to see if the throttle trigger is operating freely if it returns to the idling position Check to see if the start stop switch functions normally c Check the handle for dirt etc If it is...

Page 24: ...ck Have a person qualified for electric work remove wires and cables If there are still wires or cables not removable do not operate the trimmer brush cutter Do not cut any materials other than grass...

Page 25: ...cut because the blade is more likely to bounce back in an unexpected direction In Emergency If the cutting head or blade is contacted with obstructions immediately stop the engine After the cutting h...

Page 26: ...de thrust is more likely to occur in areas where it is difficult to see the material being cut When using multiple trimmer brush cutters at the same time each operator must be at least within 50 ft 15...

Page 27: ...ead of the left leg Always step forward with your right leg If you step forward with your left step first there is a risk that your left leg is cut with the cutting head or blade Appropriate cutting r...

Page 28: ...ing line does not come out when the tap knob is pressed against the ground stop the trimmer brush cutter and adjust the cutting line or replace it Refer to 5 3 1 Replacement of Cutting Line 4 8 Action...

Page 29: ...Wear gloves when handling the cutting head or blade during the replacement etc Otherwise hands or fingers could be severed by the cutting head or blade Maintenance items for the attachment are descri...

Page 30: ...e grass debris shield for cutting line head confirm the cutting knife is installed and not damaged 5 1 2 Looseness of Screws and Nuts Check the screws and nuts for looseness If any tighten it securely...

Page 31: ...Wind new line according to the procedures set fourth in step 7 etc When the line on the spool is melted and stuck 1 Remove the entire line while peeling off the melted and stuck portion 2 Rewind the r...

Page 32: ...ound to the end hook both line ends into respective notch 5 of spool for retaining tentatively the line while leaving line 4 ends approximately 4 in 10 cm beyond notch Align notches of spool for the l...

Page 33: ...ting head is turned the cover inside the components can fly off which is dangerous 5 3 2 Replacement of Cap Push the hole 1 with a thin rod to pull out the cap Align the boss protrusion of cap 2 with...

Page 34: ...lace it out of the reach of children Note Do not discard grease into the river the sea or the ground Otherwise it could pollute the environment After the work or when storing follow the procedure belo...

Page 35: ...pe off the dirt or stain with a cloth etc Store the trimmer brush cutter in the following place a Locked place b High place out of reach of children and other unauthorized person c Dry and cool dark p...

Page 36: ...hment from the powerhead Put on gloves Remove the cutting line head 1 Loosen the four fixed screws 2 using the tool supplied with the UMC powerhead and then remove the grass debris shield 3 and plate...

Page 37: ...tion or looseness of the nut Install the blade cap B and nut cover C Insert the L wrench 4 mm 8 into the hole 7 for fixing the gear case 5 to align with the groove or hole of the blade holder 6 Note T...

Page 38: ...or grass debris shield removed causing engine and clutch overload Install line cutter and or grass debris shield Vibration is too large Poor balance of attachment Tighten attach nut Improper installa...

Page 39: ...olve the trouble contact your servicing dealer Contact for Repair Contact your servicing dealer for repair Record serial No See 2 5 Position of Model and Serial No in the space below You will need thi...

Page 40: ...LOOP LOOP a Mass without cutting attachment guard and powerhead lb kg 3 1 1 4 Length without cutting attachment and powerhead in mm 28 5 725 Cutting diameter in mm 16 5 420 Cutting line head Maximum...

Page 41: ...tisfied with the decision made by the dealership s management contact the Honda Power Equipment Customer Relations Office You can write American Honda Motor Co Inc Power Equipment Division Customer Re...

Page 42: ...specified in the product owner s manual Improper repair or maintenance Operating methods other than those indicated in the product owner s manual A low fluid level or the use of fluids other than spe...

Page 43: ...n 30 days of purchase From time to time American Honda conducts sales promotion that require you to register your trimmer brush cutter within 30 days of purchase If you purchased your Honda trimmer br...

Page 44: ...ation and click Submit It s that simple Product Registration Power Equipment Division American Honda Motor Co Inc 4900 Marconi Dr Alpharetta GA 30005 9956 BUSINESS REPLY MAIL FIRST CLASS MAIL PERMIT N...

Reviews: