Operation
The start screen shows an overview of selected controls on a dashboard.
The user decides which rooms and which controls are shown on the dashboard of each touchscreen. Only the functions or rooms
that are relevant to that control point are shown. Touchscreen profiles are created in the dashboard of the programming software
(consult the Niko Home Control software guide on our website for more information).
The menu structure on the left-hand side allows you to navigate between:
• Dashboard
• control
• energy
• access
• notifications
Refer to the Niko Home Control user manual for more information on each of these headings.
Installation
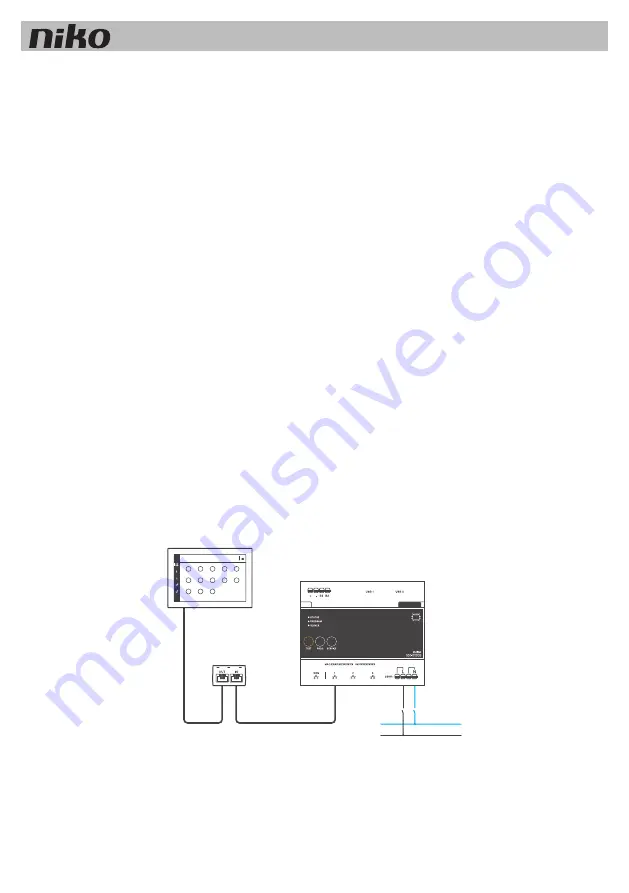
• Connect the touchscreen with the RJ45 port 1, 2 or 3 of the connected controller (or with a switch). Use a twisted pair
cable (preferably a shielded FTP or STP). Both the touchscreen and the connected controller are equipped with a RJ45
port. Therefore the RJ45 connectors must be attached to the cable to connect the connected controller on the one side
and the touchscreen on the other.
• The touchscreen can be supplied with power using Power over Ethernet (PoE) via the same twisted pair cable, for
which you use the Niko PoE power supply (550-00502). Alternatively, you can provide a separate power supply cable,
which you connect to a separate 24 Vdc power supply module in the electrical cabinet. In that case, you will need a 24
V power supply cable such as an SVV, JYSTY or TPVF cable in addition to the twisted pair cable.
Wiring diagrams
With Power over Ethernet (PoE)
* twisted pair cable (UTP, FTP or STP)
L
N
CONNECTED CONTROLLER
PoE
550-00502
550-20102
D A S H B O A R D
18
Touchscreen


