


Chapter 13 — The Toolbar
|
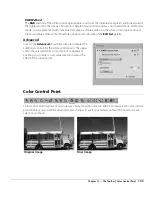
Neutral Control Point
99
To add a neutral control point to your image, follow these steps:
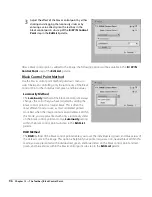
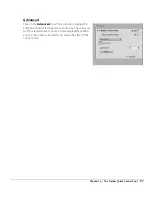
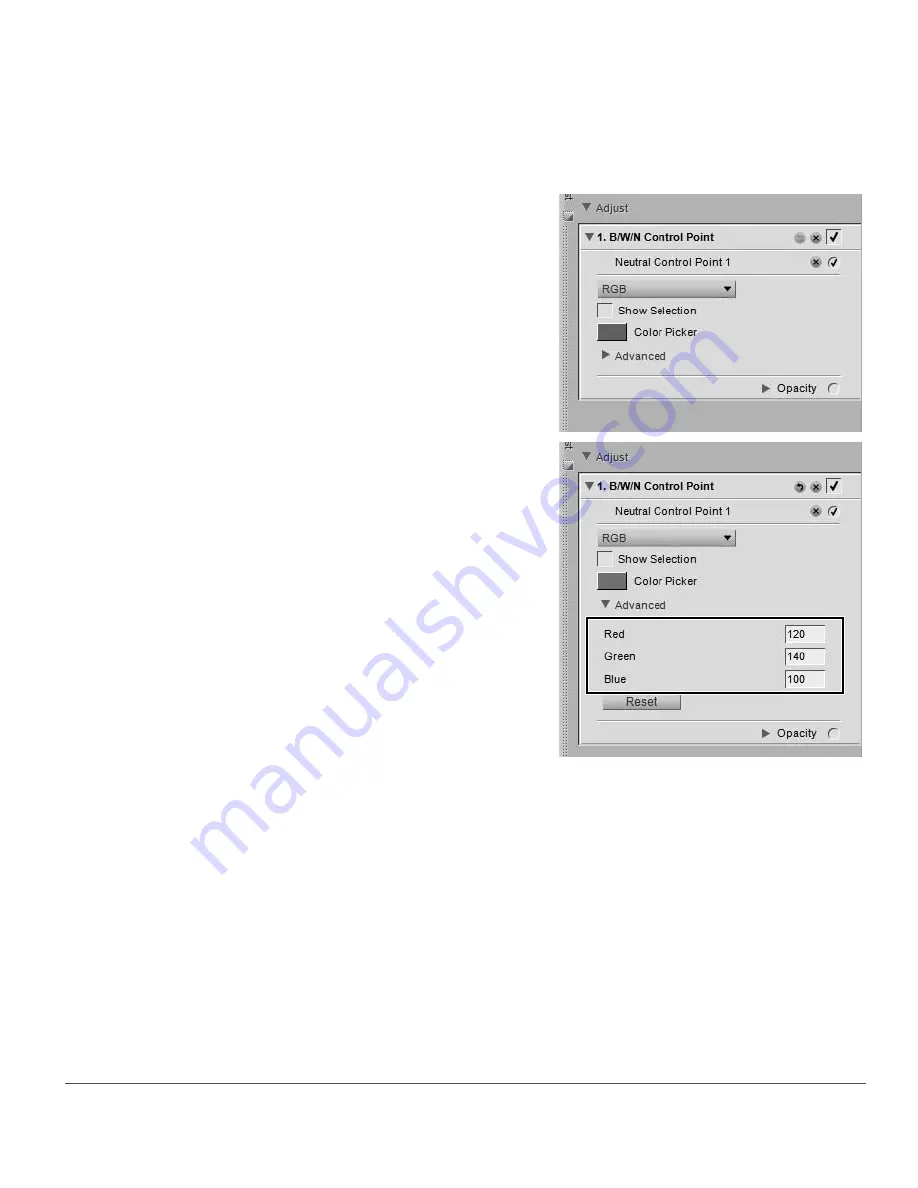
After a neutral control point is added to the image, the following options will be available in the
B / W / N
Control Point
step of the
Edit List
palette:
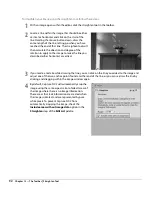
1
Click on the neutral control point icon in the toolbar. The cursor will change to a crosshair.
2
Identify an object that should be neutral and click on
that object to place a neutral control point. A
B / W /
N Control Point
step will be added to the
Edit List
palette, with a neutral control point sub-step. You
can reposition the neutral control point by clicking
and dragging it. Please note that you may add
multiple neutral control points.
3
Adjust the effect of the neutral control point by
either clicking and dragging the red, green, and blue
sliders, or by entering values directly into the text
boxes in the neutral control point sub-step of the
B /
W / N Control Point
step in the
Edit List
palette.
Summary of Contents for 25385 - Capture NX - Mac
Page 1: ...SOFTWARE User s Manual En ...
Page 4: ...2 Chapter 2 Chapters at a Glance ...
Page 56: ...54 Chapter 7 Preferences ...
Page 122: ...120 Chapter 14 Bird s Eye ...
Page 160: ...158 Chapter 17 The Color Picker ...
Page 182: ...180 Chapter 19 Edit Menu ...
Page 248: ...246 Chapter 26 Appendix Short cuts ...
Page 262: ...260 Chapter 28 Appendix Additional Notices ...
Page 266: ...264 ...


