


106
Chapter 13 — The Toolbar
|
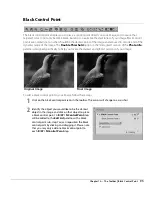
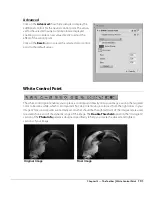
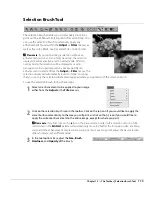
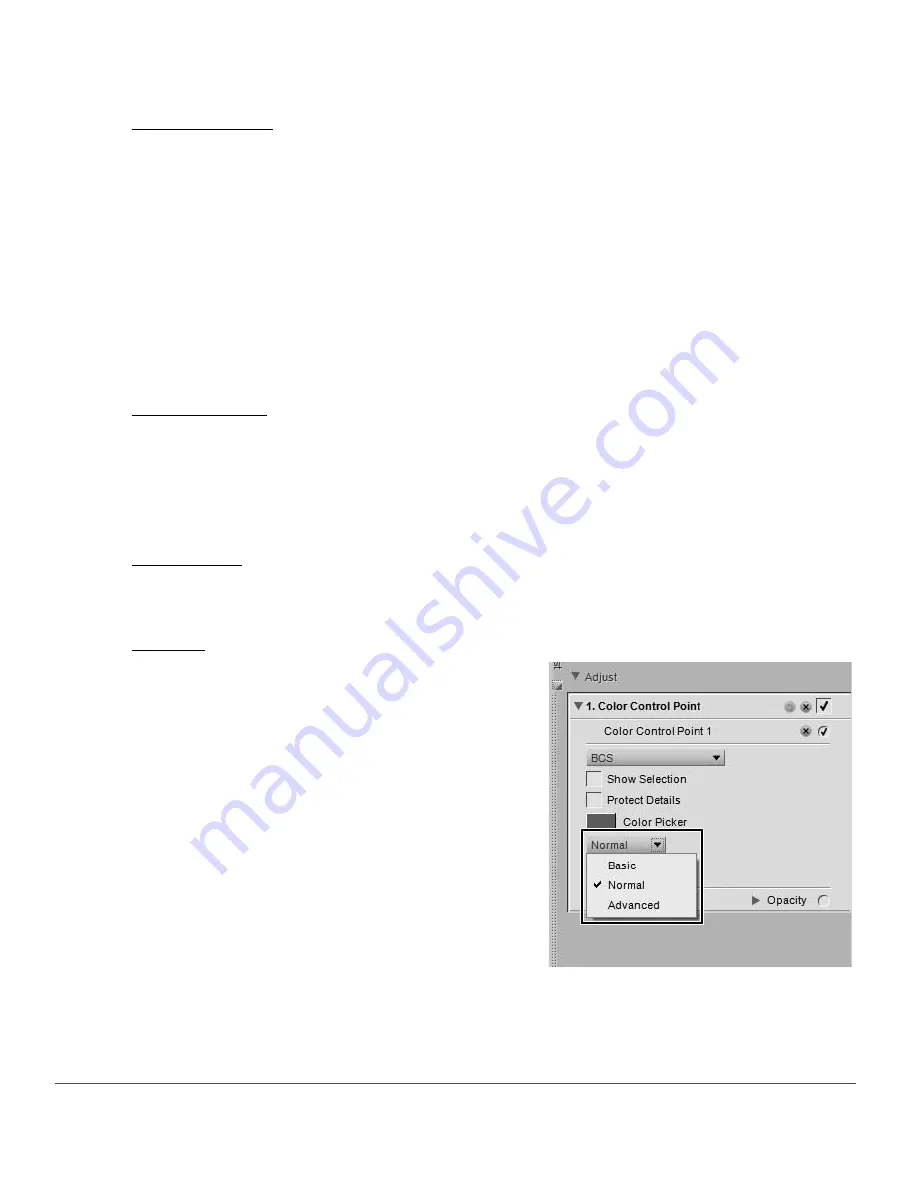
Color Control Point
Show Selection
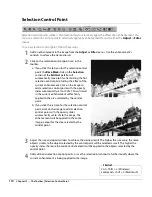
The
Show Selection
checkbox enables you to see where the current color control point is affecting the
image. Areas inked in white are being affected by the color control point, while areas inked in black are not
being affected by the color control point. You can quickly access the
Show Selection
option by right-
clicking (Windows) or control-clicking (Macintosh) on the color control point and selecting
Show
Selection
.
To see the selection of multiple color control points, select more than one color control point by holding the
Ctrl key (Windows) or command key (Macintosh), clicking on more than one color control point with the
direct select tool, and then selecting
Show Selection
. This will display the combined selection of the
selected control points. To hide the selection for multiple color control points, select the same color control
points again and select
Show Selection
again. Alternatively, you can disable the
Show Selection
option
for each color control point individually.
Protect Details
The
Protect Details
checkbox limits the controls of a Color Control Point so that it only has a
Size
slider
and prevents any Color Control Point from affecting the object identified by the Color Control Point with
Protect Details
turned on. A Color Control Point with Protect Details turned on acts in the same way as a
Color Control Point with all sliders set to the default values. Use this feature to ensure that a Color Control
Point is protecting the values of the targeted object.
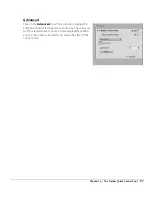
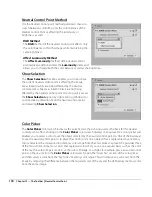
Color Picker
The
Color Picker
swatch enables you to select a color from the Color Picker and change the currently
selected object to that color.
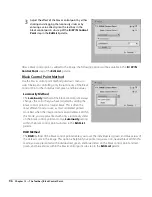
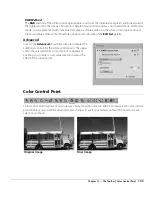
Method
The
Method
pull-down menu determines how all of the
color control points in the current step are applied to the
image. Each method utilizes different algorithms optimized
for different types of images. Each step utilizing color
control points contains one
Method
pull-down menu
where you can choose from one of the available methods.
To utilize more than method on an image you must create a
new step color control point step for each different method.
The different methods are:
Basic
The Basic method is the fastest and most direct method to
apply the color control points from the current step to
your image. This method is recommended for web
graphics and illustrations.
Normal
The Normal method provides the best balance of speed and detail protection. This method is
recommended for the majority of images.
Summary of Contents for 25385 - Capture NX - Mac
Page 1: ...SOFTWARE User s Manual En ...
Page 4: ...2 Chapter 2 Chapters at a Glance ...
Page 56: ...54 Chapter 7 Preferences ...
Page 122: ...120 Chapter 14 Bird s Eye ...
Page 160: ...158 Chapter 17 The Color Picker ...
Page 182: ...180 Chapter 19 Edit Menu ...
Page 248: ...246 Chapter 26 Appendix Short cuts ...
Page 262: ...260 Chapter 28 Appendix Additional Notices ...
Page 266: ...264 ...


