


92
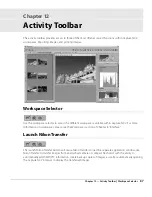
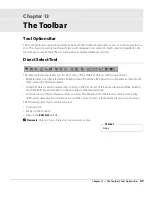
Chapter 13 — The Toolbar
|
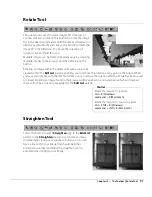
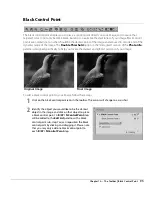
Straighten Tool
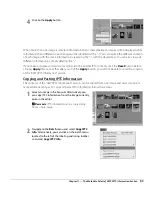
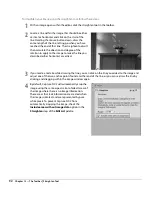
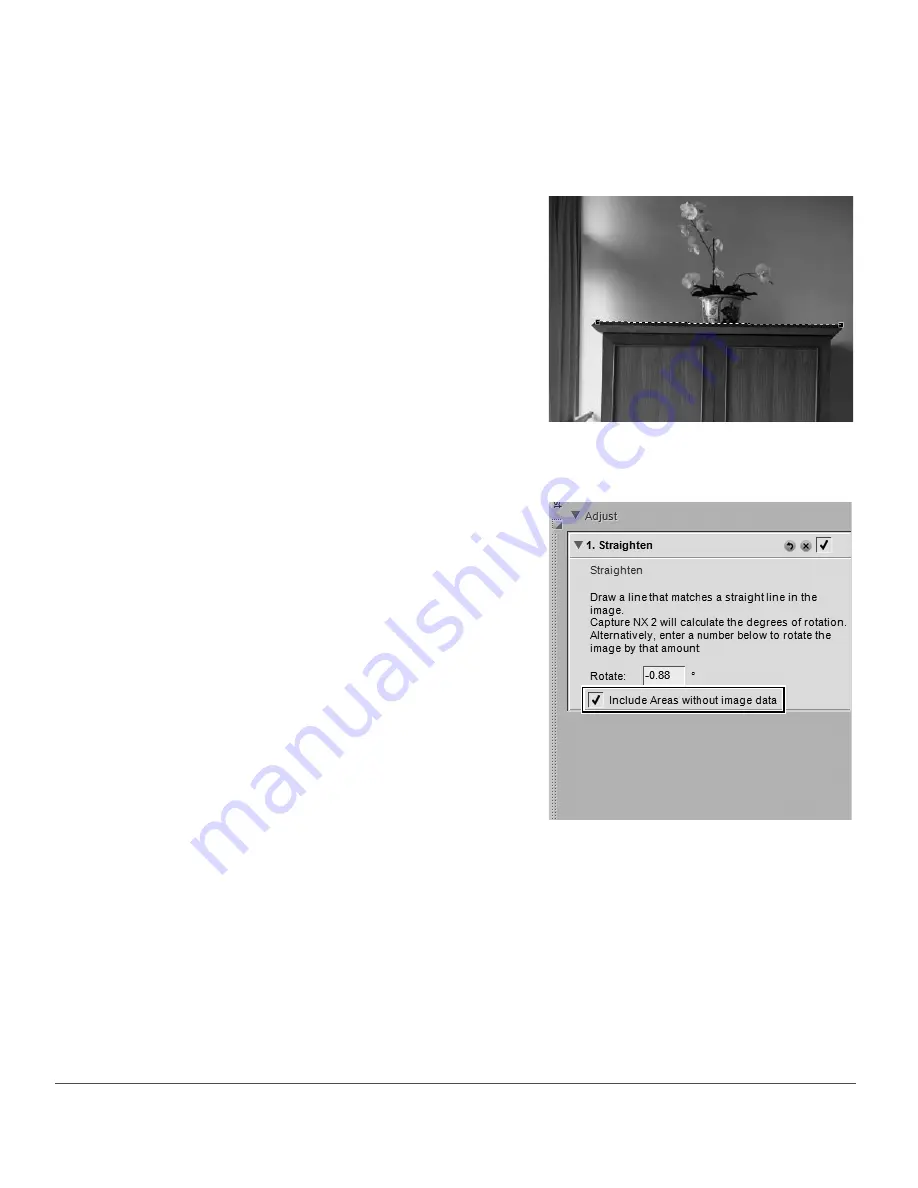
To straighten your image using the straighten tool, follow these steps:
1
With an image open within the editor, click the straighten tool in the toolbar.
2
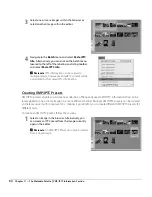
Locate a line within the image that should be either
vertical or horizontal and click on the start of the
line. Holding the mouse button down, draw the
entire length of the line, letting go when you have
reached the end of that line. The straighten tool will
then calculate the direction and degree of the
rotation to apply to the image to make the line you
described either horizontal or vertical.
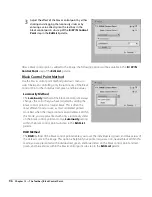
3
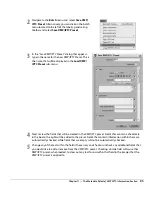
If you made a mistake while drawing the line, you can click on the line you added to the image and
adjust one of the two anchor points found at either end of the line, or you can re-draw the line by
clicking and dragging within the image window again.
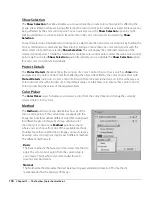
4
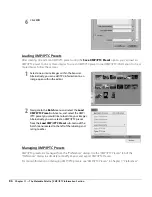
By default, Capture NX 2 will automatically crop the
image using the same aspect ratio to hide all areas of
the image where there is no image information.
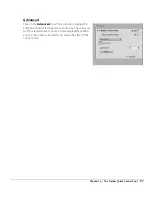
These areas that lack information are created when
the image is rotated, and are represented by pure
white pixels. To prevent Capture NX 2 from
automatically cropping the image, check the
Include areas without image data
option in the
Straighten
step of the
Edit List
palette.
Summary of Contents for 25385 - Capture NX - Mac
Page 1: ...SOFTWARE User s Manual En ...
Page 4: ...2 Chapter 2 Chapters at a Glance ...
Page 56: ...54 Chapter 7 Preferences ...
Page 122: ...120 Chapter 14 Bird s Eye ...
Page 160: ...158 Chapter 17 The Color Picker ...
Page 182: ...180 Chapter 19 Edit Menu ...
Page 248: ...246 Chapter 26 Appendix Short cuts ...
Page 262: ...260 Chapter 28 Appendix Additional Notices ...
Page 266: ...264 ...


