67
Connecting to a Computer
C
onn
ec
ti
ng
to
T
ele
vis
ions
, C
o
mp
ut
ers
, a
n
d
Pr
in
te
rs
5
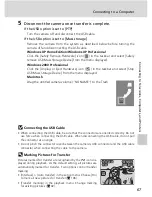
Disconnect the camera once transfer is complete.
If the USB option is set to [PTP]
Turn the camera off and disconnect the USB cable.
If the USB option is set to [Mass storage]
Remove the camera from the system as described below before turning the
camera off and disconnecting the USB cable.
Windows XP Home Edition/Windows XP Professional
Click the [Safely Remove Hardware] icon (
) in the taskbar and select [Safely
remove USB Mass Storage Device] from the menu displayed.
Windows 2000 Professional
Click the [Unplug or Eject Hardware] icon (
) in the taskbar and select [Stop
USB Mass Storage Device] from the menu displayed.
Macintosh
Drag the untitled camera volume (“NO NAME”) to the Trash.
j
Connecting the USB Cable
• When connecting the USB cable, be sure that the connectors are oriented correctly. Do not
use force when connecting the USB cable. When disconnecting the USB cable, do not pull
the connector at an angle.
• Do not pinch the connector cover between the camera’s USB connector and the USB cable
connector when connecting the cable to the camera.
l
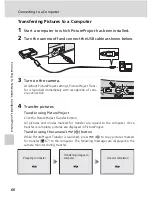
Marking Pictures for Transfer
Pictures marked for transfer are recognized by the
E
icon dis-
played during playback. As the default setting, all pictures are
automatically marked for transfer. Two options control transfer
marking:
• [Interface] > [Auto transfer] in the setup menu: Choose [On]
to mark all new pictures for transfer (
c
106).
• [Transfer marking] in the playback menu: Change marking
for existing pictures (
c
92).
100NIKON
100NIKON
15:30
15:30
15:30
100NIKON
10.10.2006
10.10.2006
0005.JPG
0005.JPG
10.10.2006
0005.JPG
4
4
4
4
O
M
M
N
E
E
O
c


