21
Inserting Memory Cards
First Ste
p
s
B
Formatting Memory Cards
If the message at right is displayed, the memory card must be
formatted before use (
148). Note that
formatting permanently
deletes all pictures and other data on the memory card
. Be sure
to make copies of any pictures you wish to keep before formatting
the memory card.
When formatting the memory card, use the multi selector to choose
Yes
and press the
k
button. The confirmation dialog will be
displayed. To start formatting, choose
Format
and press the
k
button.
•
Do not turn the camera off or open the battery-chamber/memory card slot cover until formatting
is complete.
•
Be sure to use this camera to format memory cards previously used in other devices the first time
they are inserted into the COOLPIX S3100 (
B
The Write Protect Switch
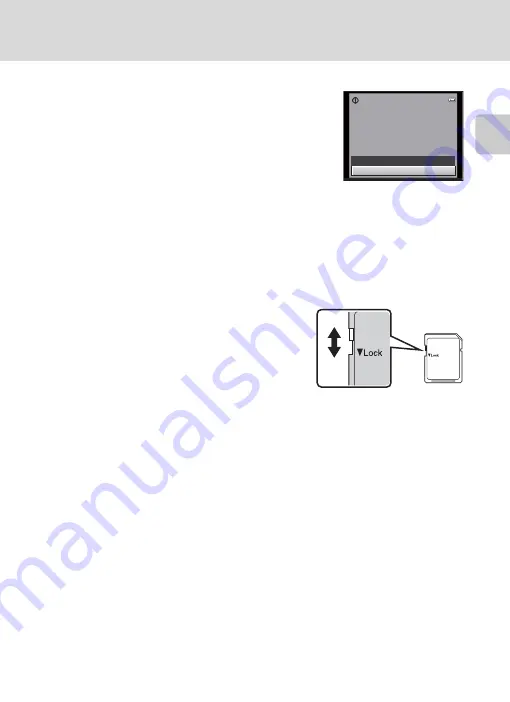
Memory cards are equipped with a write protect switch. When
this switch is in the “lock” position, data cannot be written to or
deleted from the memory card. If the switch is in the “lock”
position, unlock it by sliding the switch to the “write” position
to record or delete pictures, or to format the memory card.
B
Memory Cards
•
Use only Secure Digital memory cards.
•
Do not perform the following during formatting, while data is being written to or deleted from the
memory card, or during data transfer to a computer. Failure to observe this precaution could result
in the loss of data or in damage to the camera or memory card:
- Take out the battery or memory card
- Turn off the camera
- Disconnect the AC adapter
•
Do not format the memory card using a computer.
•
Do not disassemble or modify.
•
Do not drop, bend, or expose to water or strong physical shock.
•
Do not touch the metal terminals with your fingers or metal objects.
•
Do not affix labels or stickers to the memory card.
•
Do not leave in direct sunlight, closed vehicles or areas exposed to high temperatures.
•
Do not expose to humidity, dust, or corrosive gases.
Card
is
not
formatted.
Format
card
?
Yes
No
W
rite protect switch
Summary of Contents for 26266
Page 193: ...181 Index Technical Notes and Index ...
Page 194: ...182 Index Technical Notes and Index ...
Page 195: ......


