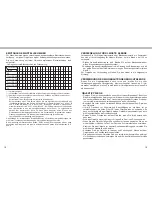
background image

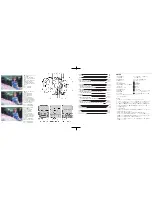
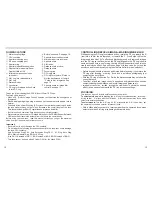
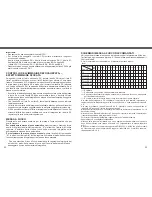
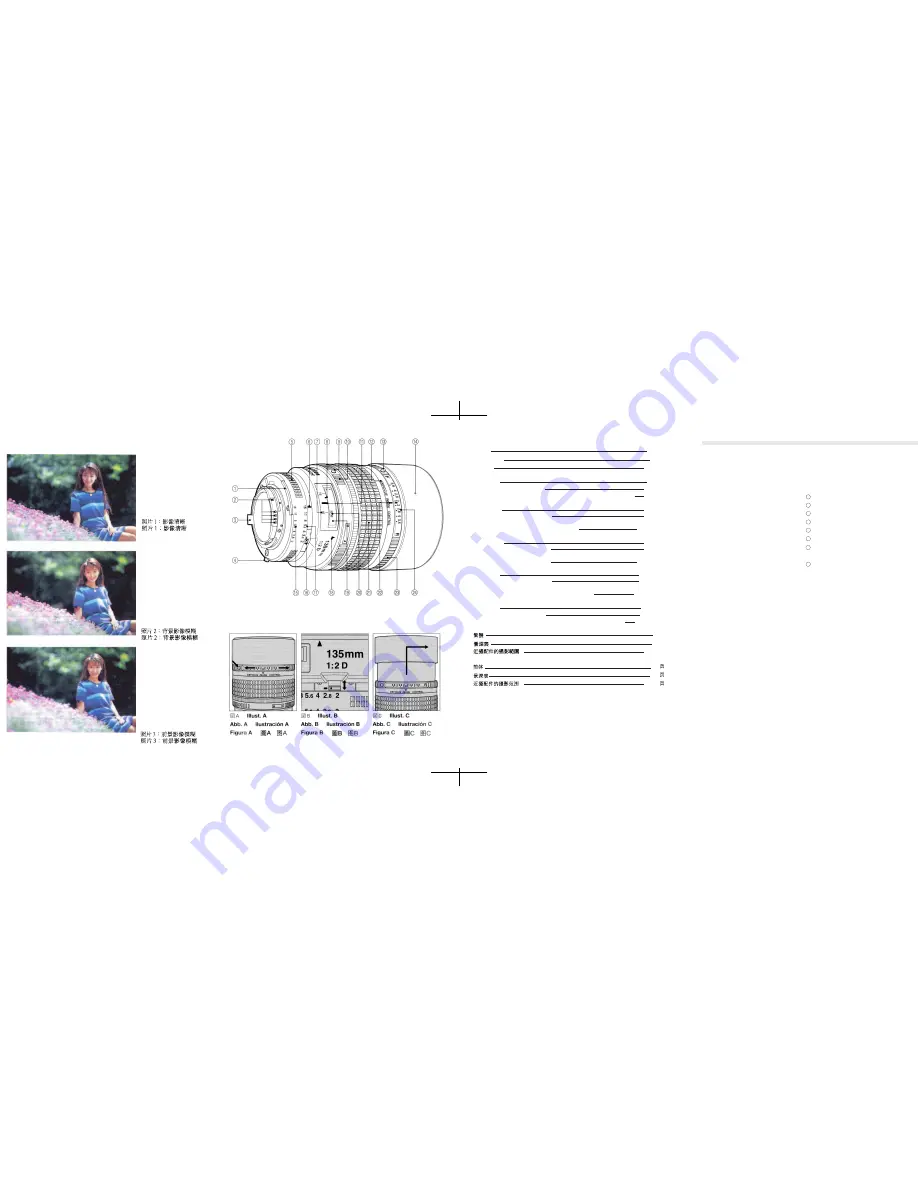
写真1:DCリングをセットして 
いない状態です。 

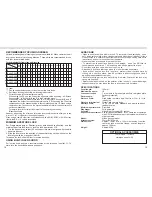
写真2:R(リア)側にセットし 
た状態です。 

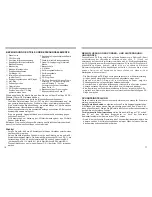
写真3:F(フロント)側にセ 
ットした状態です。 

Photo 1: No image blur
Foto 1: Keine Unschärfe im
Bild
Fig. 1: Aucune image floue
Fotografia 1; No hey
borrosidad de la imagen
Foto 1: Nessuna immagine
sfocara

Photo 2: Background
images are blurred
Poto 2; Hintergrund
unschart
Fig. 2: Les images de
l’arrière-plan sont floues
Fotografia 2: Las imágenes
en el fondo están borrosas
Foto 2: Le immagini sullo
sfondo sono sfocate

Photo 3: Foreground
images are blurred
Poto 3; Vordergrund
unschart
Fig. 3: Les images de
premier-plan sont floues
Fotografia 3: Las imágenes
en el primer plano están
borrosas
Foto 3: Le immagini del
primo piano sono sfocate

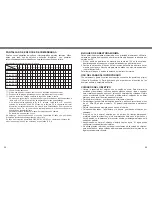
各部の名称 

日本語 

被写界深度 

接写表 

ENGLISH 

DEPTH-OF-FIELD TABLE 
PHOTOGRAPHIC RANGE WITH CLOSE-UP ATTACHMENT 

DEUTSCH 

SCH

ÄRFENTIEFE-TABELLE


FOTOGRAFISCHE BEREICHE 
    MIT DEN NAHAUFNAHME-ZUBH

ÖR


FRAN

ÇAIS


PROFONDEUR DE CHAMP 
RAPPORTS OBTENUS EN PROXIPHOTOGRAPHE ET 
   PHOTOMACROGRAPHIE 

ESPA

ÑOL


PROFUNDIDAD DE CAMPO 
RANGOS FOTOGR

ÁFICOS


    CON ACCESORIOS DE ACERCAMIENTO 

ITALIANO 

PROFUNDIT

Á DI CAMPO


FOTOGRAFIA CON DISPOSITIVI PER RIPRESE CLOSE-UP  


7〜11頁 

44頁 

46-47頁 

34頁 

42頁 

44-45頁 

37  

42  

44-45  

Page 12 
Page 45 
Page 47

Seite 16 
Seite 44 

Seite 46-47

Page 21 
Page 44 

Page 46-47

P

ágina

 26 

P

ágina

 44 

P

ágina

 46-47

P

agina

 31 

P

agina

 44 

P

agina

 44-47

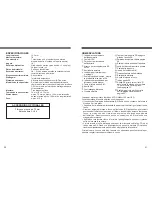
⑭ねじ込み式内蔵フード: 使用法は10ペー 
 ジをご参照ください。 

⑮ファインダー内直読用絞り目盛 

⑯最小絞りロックレバー 

各部の名称 

①露出計連動ガイド 

②CPU信号接点 

③開放F値連動ガイド 

④EE連動ガイド 

⑤絞りリング 

⑥絞り指標・着脱指標 

⑦被写界深度目盛: f/16のときの被写界深 

    度を表します。 

⑧赤外補正マーク(白色) 

⑨A-M切換え解除ボタン 

⑩A-M切換えリング 

⑪距離目盛指標 

⑫レンズ鏡筒 

⑬DCリングロック解除ボタン:DCリング 

   をセットする際に押します。 


はじめに 

このたびは、ニッコールレンズをお買いあげいただきありがとうございます。 

このレンズはニコンAF[オートフォーカス(ニコンF3AFは除く)]カメラと組み合わせます

と、オートフォーカス撮影が可能です。マニュアル(手動)によるピント合わせもできます。

また、被写体までの距離情報をカメラボディ側に伝達する機能を備え、3D測光機能を持っ

たカメラとの組み合わせ時により的確な露出制御を実現する3Dマルチパターン測光・3D-

マルチBL調光を可能とします。 

このレンズの特徴として、… 

‥ニコン独自の DC (Defocus-image Controk) 機能により主要被写体をシャープに保ったま

ま前後のボケ味を変えることができます。 

‥円形に近い形状の絞り羽根を採用しているため自然なボケ形状が得られます。 

‥ピント合わせはレンズ部の後群のみを移動するリア・フォーカス方式を採用しているた

め無限遠(∞)から短い撮影距離まで良好な描写が得られます。また、ピント合わせの際に

全長が変わらないため操作性が良く、AF 動作も迅速に行えます。 

‥通常のポートレート撮影にも適しています。また、内蔵ねじ込み式フード等、便利さも

十分考慮されています。 

21

22

23

24

20

19

18

17 絞り目盛 

A-M切換え指標 

距離目盛窓 

距離目盛 

距離リング 

DCリング指標 

DCリング:ボケ味のコントロールに使用 

します。(8ページをご参照ください。) 

DCリング用絞り目盛:8ページをご参照 

ください。 

5

4

7

6

Summary of Contents for AF DC-NIKKOR

Page 1: ...使用していただき あなたや他の人への危害や財産への損害を未然に防 止するために 重要な内容を記載しています 表示と意味は次のようになっています この表示を無視して 誤った取り扱いをすると 人が死亡または 重傷を負う可能性が想定される内容を示しています この表示を無視して 誤った取り扱いをすると人が障害を負う可 能性が想定される内容および物的損害の発生が想定される内容を 示しています 記号は 注意 警告を含む を促す内容を告げるものです 図の中や近く に具体的な注意内容 左図の場合は感電注意 が描かれています 記号は 禁止 してはいけないこと の行為を告げるものです 図の中や 近くに具体的な禁止内容 左図の場合は分解禁止 が描かれています 記号は 行為を強制すること 必ずすること を告げるものです 図の中 や近くに具体的な強制内容 左図の場合は電池を取り出す が描かれています 分解したり修理...

Page 2: ...COS CON ACCESORIOS DE ACERCAMIENTO ITALIANO PROFUNDITÁ DI CAMPO FOTOGRAFIA CON DISPOSITIVI PER RIPRESE CLOSE UP 7 11頁 44頁 46 47頁 34頁 42頁 44 45頁 37 42 44 45 Page 12 Page 45 Page 47 Seite 16 Seite 44 Seite 46 47 Page 21 Page 44 Page 46 47 Página 26 Página 44 Página 46 47 Pagina 31 Pagina 44 Pagina 44 47 ねじ込み式内蔵フード 使用法は10ペー ジをご参照ください ファインダー内直読用絞り目盛 最小絞りロックレバー 各部の名称 露出計連動ガイド CPU信号接点 開放F値連動ガイド EE連動ガイド ...

Page 3: ...G4 H1 H2 H3 H4 J K P M R T F U 0 5 0 5 0 5 1 0 1 0 1 0 0 5 注 記 CPU 信号接点はニコン AF オートフォーカス カメラボディとの電気伝達を行うため のものです 汚れたり キズがついたりしますと オートフォーカス作動不良の原因と なります 特にカメラボディ着脱の際にはご注意ください 下記のアクセサリーは このレンズに直接取り付けないでください 取り付けますと CPU 信号接点を破損します オート接写リングPK 1 PK 11 K 1リング オートリングBR 4 BR 2 K2 なお PK 11 の代わりにはPK 11A オートリング BR 4 には BR 6 BR 2には BR 2A をご使用ください DX 1ファインダー ニコンF3AF用 と組み合わせてのご使用はできません DC リングの使用方法 被写隊に対して後方のボケ味を...

Page 4: ...ンズ の保護には フードも役立ちます レンズをご使用にならないときは レンズの前後に必ず付属のレンズキャップをしてお いてください 長期間レンズをお使いにならないときや保管の際は カビまたはサビを防ぐため 高温 多湿の所や直射日光のあたる所 また ナフタリンや樟脳のある所は避けて風通しのよ い場所に保管してください レンズを水に落したり濡らしたりすると部品がサビつくなどして故障の原因となります 当社サービス機関に点検 修理を依頼してください このレンズは 外観の一部に強化プラスチックを使用していますが 極端に温度が高く なると変形する場合があります ストーブの前等 高熱となる場所は避けてください シンナーやベンジンなどの有機溶剤をレンズ の清浄に使用しないこと 火災や健康障害の原因となります 製品を破損します 使用禁止 135mm 1 2 6群7枚 保護ガラス1枚 18 1 1m 4ft ...

Page 5: ... coupling ridge Built in lens hood See page 14 CPU contacts Aperture direct readout scale Aperture indexing post Minimum aperture lock lever EE servo coupling post Aperture scale Aperture ring A M index Aperture index Mounting index Distance scale window Depth of field indicators Show Distance scale Depth of field at f 16 Focusing ring Infrared compensation index DC ring index white dot DC ring Tu...

Page 6: ...counterclockwise for two rotations see Illst C To store turn the hood clodkwise and push back LENS CARE Clean lens suface with a blower brush To remove dirt and smudges use a soft clean cotton cloth or lens tissue moistened with ethanol alcohol or lens cleaner Wipe in a circular motion from center to outer edge taking care not to leave traces and not to touch the other lens parts Never use thinner...

Page 7: ...e Zwischenringe K1 und K2 den Automatikring BR 4 und den Umkehrring BR 2 Verwenden Sie PK 11A statt PK 11 BR 6 statt BR 4 und BR 2A statt BR 2 Dieses Objektiv kann nicht mit dem Sudner DX 1 der Nikon F3AF verwendet werden BEEINFLUSSUNG DER VORDER UND HINTERGRUND UNSCHÄRFE Drehen Sie den DC Ring unter Druk auf seine Entriegelung in Richtung R Rear zur Verstärkung der Unschärfe im Hintergrund bzw na...

Page 8: ... den Blendenring so daß Blende f 16 aut der Blendenskala dem wißen Blendenindexpunkt gegenüber steht 2 Schieben Sie den Verriegelugshebel in die Richtung des Blendenrings so daß der weiße Punkt auf dem Hebel mit dem orangen Punkt ausgerichtet ist siene Abb B Zur Freigabe der Verriegelung schieben Sie den Hebel in die umgekehrte Richtung VERWENDUNG DER EINGEBAUTENGEGENLICHTBLENDE Ziehen Sie die Geg...

Page 9: ...s distances Bague de mise au point Index de la bague DC Bague DC Tourner vers le côté R pour rendre flou l arrière plan ou vers le côté F pour rendre flou le premier plan Echelle de l ouverture pour le contrôle de l image de défocalisation Voir la page 22 Nous vous remercions d avoir porté votre choix sur l objectif AF DC Nikkor 135mm f 2D Ses caractéristiques sont les suivantes Le DC Defocus lmag...

Page 10: ...e réglez le sélecteur de mode de mise au point de l appareil pour la mise au point manuelle Avec un appareil Nikon à mise au point manuelie un réglage incorrect du sélecteur de mode de mise au point de l appareil et de la bague A M pourrait endommager le boîtier de l appareil VERRES DE VISEE RECOMMANDES Différents verres de visée interchangeables peuvent être montés sur les appareil photo Nikon Il...

Page 11: ...ez l avant de votre objectif lorsque vous ne vous servez pas de votre appareil Lorsque votre objectif n est pas monté mettez lui ses bouchons avant et arrière Si vous n utilisez pas l objectif pendant une longue période de temps protégez le contre la rouille et l umidité en le rangeant dans un endroit sec et frais Egalement ne le rangez pas en plein soleil et éloignez le de la naphtalène ou du cam...

Page 12: ...los contactos CPU del mismo Anillo Automático de Extensión PK 1 Anillo Automático de Extensión OK 11 Anillo K1 Anillo Automático BR 4 Anillo Adaptador Macro BR 2 o Anillo K2 Utilice el PK 11A en lugar del OK 11 el BR 6 en lugar del BR 4 y el BR 2A en lugar del BR 2 Este objeiivo no puede ser utilizado con el Visor AF DX 1 anexo a la cámara F3AF de Nikon CONTROL DEL DESENFOQUE DE LA IMAGEN HACIENDO...

Page 13: ...n f 16 1 Gire el anillo de aberturas de manera que la marca f 16 en la escala de aberturas quede alineado con el punto del indicador de abertura bianco 2 Deslice la palanca de bloqueo en la dirección del anillo de abertura de tal manera que el punto blanco de la palanca de alinee con el punto anaranjado Vea la ilustración B Para liberar el bloqueo deslice la palanca en la dirección inversa Tire de...

Page 14: ...fermo anello DC spingere girando l anello DC Paralude incorporato Vedere pagina 34 Scala di lettura diretta dell apertura Leva del blocco di apertura minima Scala delle aperture Indice del selettore A M Finestrella scala delle distanze Scala delle distanze Anello di messa a fuoco Indice anello DC Anello DC girare verso il lato R per sfocare lo sfondo o verso il lato F per stocare il primo piano Ve...

Page 15: ...ssa fuoco della macchina fotografica sulla posizione della messa a fouco automatica Per selezionare la messa a fuoco manuale girare l anello A M in modo dhe M si allinei con l indica A M lnoltre regolare il selettore di modo della messa a fuoco della mecchina fotografica per la messa a fuoco manuale Con una macchina Nikon a fuoco automatico la regolazione impropria del selettore di modo della mess...

Page 16: ...ando quest ultimo non viene usato Applicare entrambi i tappi quando l obiettivo viene conservato separatanente Quando non si usa la lente per lungo tempo è necessario proteggerla dalla ruggine e dalla muffa conservandola in un luogo fresco ed asciutto Non lasciarla inoltre sotto la luce solare diretta e tanerla lontana da naftalina o canfora Fare attenzione a non far bagnare l obiettivo a non farl...

Page 17: ...37 36 ...

Page 18: ...39 38 ...

Page 19: ...41 40 ...

Page 20: ...43 42 ...

Page 21: ...2 03 1 97 2 04 1 96 2 06 1 95 2 08 1 93 2 12 1 89 1 71 1 69 1 71 1 69 1 72 1 68 1 73 1 67 1 74 1 66 1 76 1 65 1 78 1 62 1 51 1 49 1 51 1 49 1 52 1 48 1 52 1 48 1 53 1 47 1 54 1 46 1 56 1 44 1 31 1 29 1 31 1 29 1 31 1 29 1 32 1 28 1 32 1 28 1 33 1 27 1 35 1 26 ft DEPTH OF FIELD f 2 f 2 8 f 4 f 5 6 f 8 f 11 f 16 Focused Distance Depth of field Reproduc tion ratio 4ft 5ft 6ft 7ft 8ft 10ft 12ft 15ft 2...

Page 22: ...69 x 1 0 2 7 x 4 0 0 16 x 0 92 2 7 x 4 0 0 29 x 0 44 1 2 6 1 1 7 1 3 1 1 4 1 2 8 1 5 1 2 8 3 2 Ring PK Ring PN Bellows PB 4 PB 5 Bellows PB 6 Extension Bellows PB 6E The first calues are for the PK 11A ring used alone and the other ones for the PK 11A PK 13 PK 11 PK 13 or PK 1 PK 3 rings used together The pk 11 and PK 1 rings cannot be attached dorectly to the lens Lens cannot be attached on rever...

Reviews: