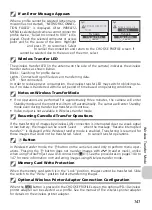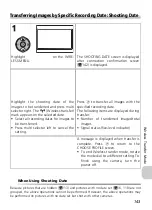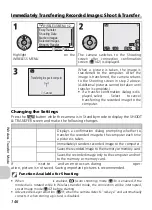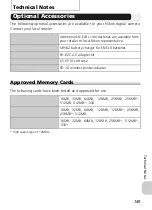
146
Wi
re
le
ss T
ra
n
sfe
r M
o
de
Immediately Transferring Recorded Images: Shoot & Transfer
Changing the Settings
Press the
m
button while the camera is in Standby mode to display the SHOOT
& TRANSFER screen and make the following changes.
If
Save Images
is set to
Off
and an error occurs during
Shoot & Transfer
oper-
ation, picture is not saved. Saving important pictures is recommended.
Function Available for Shooting
• When
Shoot & Transfer
is enabled,
X
(Auto shooting) mode (
c
18) is enabled. If the
mode dial is rotated while in Wireless transfer mode, the connection will be interrupted,
so set Image mode (
c
47) before starting
Shoot & Transfer
.
• Advanced red-eye reduction (
c
29; when the camera detects “red-eye” and automatically
corrects it when storing a picture) is disabled.
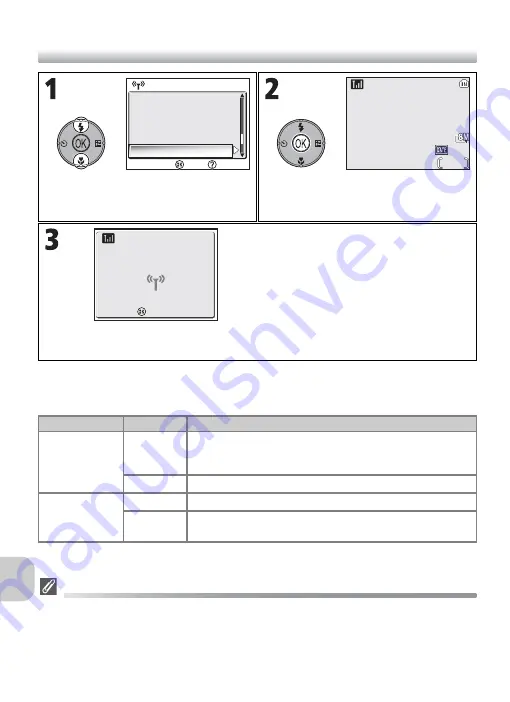
Highlight
Shoot & Transfer
on the
WIRELESS MENU.
The camera switches to the Shooting
screen after connection confirmation
screen (
c
142) is displayed.
When a picture is taken, the image is
transferred to the computer. After the
image is transferred, the camera returns
to the Shooting screen in step 2 above.
(Additional pictures cannot be taken until
transfer is complete.)
• If a transfer confirmation dialog is dis-
played, select
Yes
. Select
No
to cancel
transferring the recorded image to the
computer.
Menu item
Option
Description
Confirm
Transfer
On
Displays a confirmation dialog prompting whether to
transfer the recorded image to the computer each time
a picture is taken.
Off
Immediately transfers recorded image to the computer.
Save Images
On
Saves the recorded image to the memory or memory card.
Off
Saves the recorded image only to the computer and not
to the memory or memory card.
Shooting Date
Marked Images
Selected Images
Shoot & Transfer
Confirm
Help
Easy Transfer
WIRELESS MENU 1/2
WIRELESS MENU 1/2
14
14
1/60
1/60
F2.7
F2.7
NORM
NORM
AUTO
AUTO
Transferring images to computer
Transferring images to computer
Cancel
Cancel


