27
M
o
re
on
P
h
otogr
a
p
h
y
C
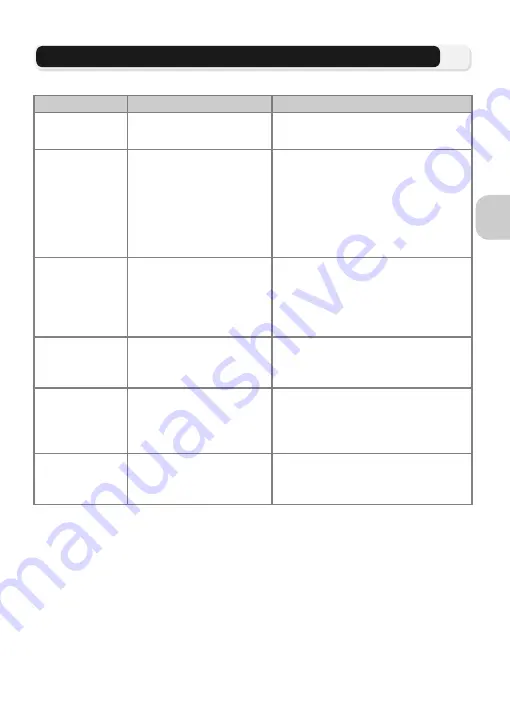
When Lighting Is Poor: Using the Flash
The following six flash modes are available:
Mode
How it works
When to use it
z
Auto
Flash fires when lighting is
poor.
Best choice in most situations.
A
Auto with red-
eye reduction
Pre-flash is used before the
main flash fires to reduce
“red-eye.” If “red-eye” is
detected after an image is
taken, the camera will cor-
rect “red-eye” when stor-
ing the picture.
Use for portraits (works best when
subject is well within range of flash
and looking at pre-flash). Not recom-
mended when quick shutter response
is required.
B
Flash Cancel
(off)
Flash will not fire even
when lighting is poor.
Use to capture natural lighting under
dim light or where use of flash is pro-
hibited. If
J
(camera shake) icon
appears, care should be taken to
avoid blurring.
C
Anytime Flash
(fill flash)
Flash fires whenever pic-
ture is taken.
Use to “fill-in” (illuminate) shadows
and back-lit subjects.
C
D
Slow sync
Auto flash combined with
slow shutter speeds.
Use to capture both subject and back-
ground at night or under dim light.
Care should be taken to avoid blur-
ring.
E
Rear-curtain
sync
Shutter speed slows; built-
in flash fires just before
shutter closes.
Creates stream of light trailing mov-
ing objects. Care should be taken to
avoid blurring when lighting is poor.


