- 37 -
Using the Scanner: Using the SA-20 S
TRIP
F
ILM
A
DAPTER
✔
Cautions
• Do not attempt to insert film while scanning is in progress.
• Do not remove the adapter or turn the scanner off when
there is film in the adapter. Use the driver software pro-
vided with your scanner to eject the film.
• Do not leave film in the adapter for extended periods
• Do not move the scanner while scanning is in progress.
• Examine the film carefully prior to scanning. Film cannot be
used in the adapter if:
• there is tape on the film
• the film has been folded
• the perforations have been torn
• the film has been cut on an angle or torn
Film that cannot be used in the SA-20 can be scanned with
the MA-20 using the FH-2 film holder provided with your
scanner (see “
Using the MA-20 S
LIDE
M
OUNT
A
DAPTER
,” above).
• Film for use in the SA-20 must be clean and free from finger-
prints. If there is dirt on the film, damage to the film could
result. Before scanning, remove dust with a blower and
gently wipe off any finger prints with a soft, dry cloth.
What to do if film jams in the adapter
If film cannot be ejected from the scanner using the software
provided or does not eject automatically after ten minutes have
passed with no operation being performed, you will need to
remove the film from the adapter by hand. The process for
clearing jams is given below.
Note:
If the SA-20 jams repeatedly, clean the adapter as de-
scribed in the following section.
When no film is visible in the film slot
Step 1—Remove the adapter from the scanner
Wait until the status LED glows steadily, then slide the adapter
from the scanner. If the status LED is flashing rapidly, close all
programs and turn off the computer, then turn off your scanner
and remove the adapter.
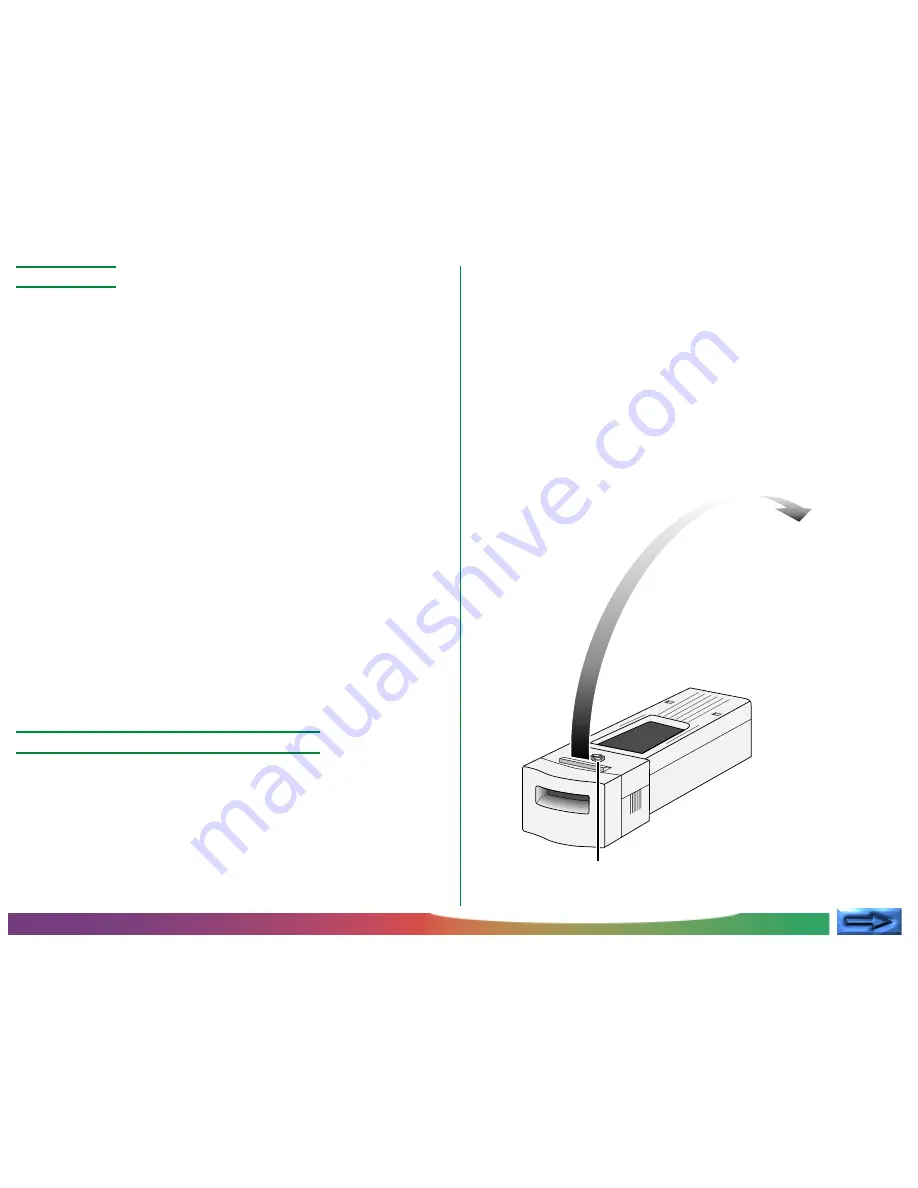
Step 2—Open the adapter
With a coin or screwdriver, loosen the screw on top of the
adapter and open the top cover.
1. Loosen screw
2. Open adapter


