- 38 -
Using the Scanner: Using the SA-20 S
TRIP
F
ILM
A
DAPTER
Step 3—Remove the film
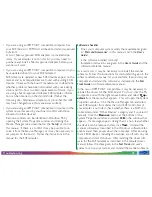
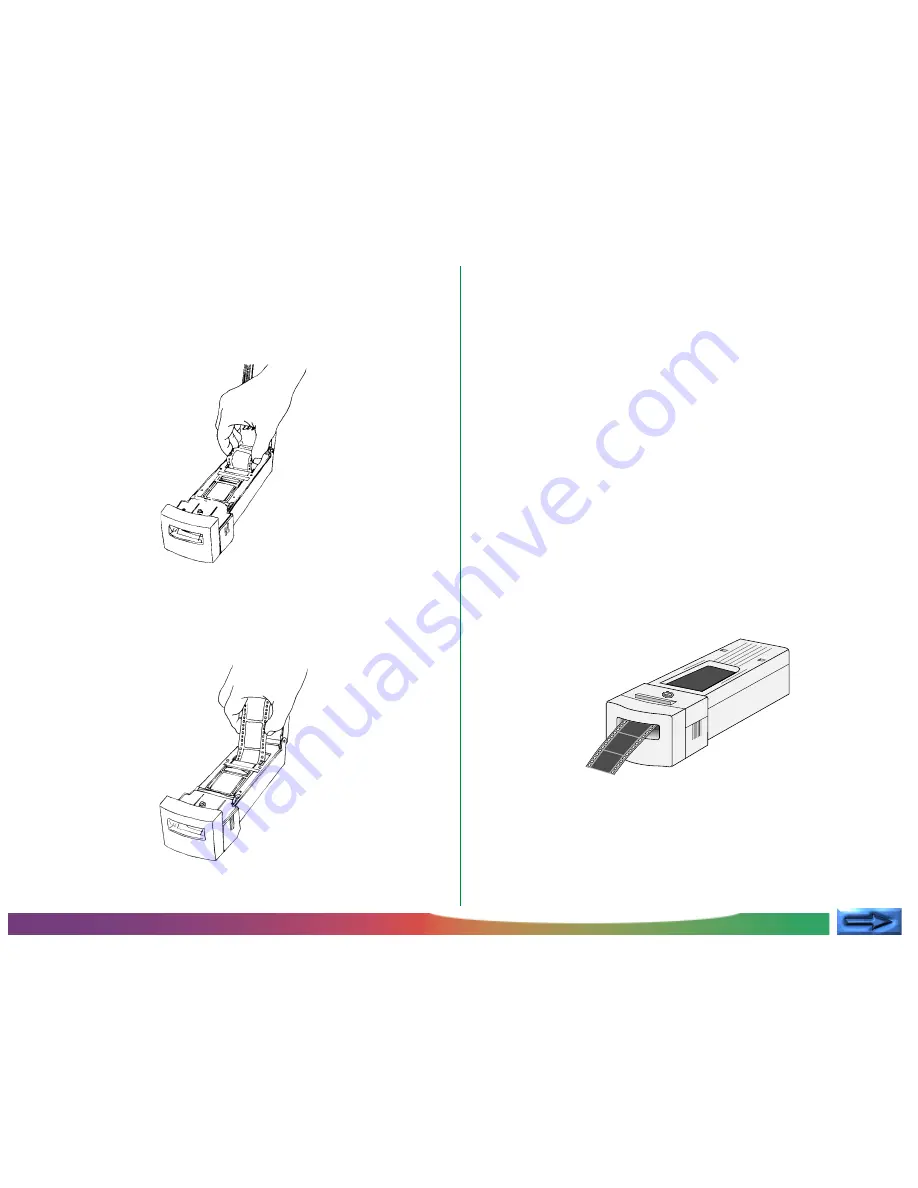
The jammed film will be visible in the feed mechanism at the
rear of the adapter. Grasp the film gently by both edges and
pull it slightly upwards, being careful not to damage the film.
Free the end of the film at the rear of the adapter first by pulling
the film upwards a little at a time. Do not pull on the film that
remains in the front part of the adapter, as the film could catch
in the mechanism and suffer damage.
Once the end of the film is free, pull the film slowly backwards
out of the adapter with one hand while guiding the free end
with the other, being sure that the film does not catch on the
adapter or other objects. Keep the angle at which film is pulled
from the adapter as low as possible to prevent damage to the
film.
Step 4—Close the adapter
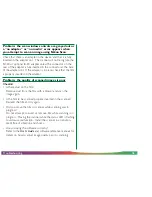
Close the adapter and, with a coin or screwdriver, tighten the
screw on the top of the adapter until the top portion of the
adapter is securely in place.
When film protrudes from the film slot
Step 1—Remove the adapter from the scanner
Wait until the status LED glows steadily, then slide the adapter
from the scanner. If the status LED is flashing rapidly, close all
programs and turn off the computer, then turn off your scanner
and remove the adapter.
Step 2—Pull the film slowly out of the adapter
Grasp the film gently by both edges and pull the film slowly
forward out of the film slot.


