25
11-3
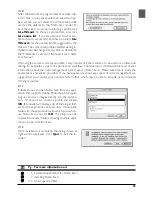
A dialog will be displayed asking where you want Windows to search
for a driver.
Be sure that the Nikon Scan 3 CD is inserted in the CD-
ROM drive.
If the CD is not in the CD-ROM drive, insert the disk
while holding down the shift key
to prevent the Nikon Scan installer
from starting automatically.
11-4
Select
Specify a location
and click
Browse
.
Step 11: Register the Scanner with Windows
Installing Windows Hardware Drivers for Your Scanner
Users of Windows 98 Second Edition (SE), Windows Me, and Windows 2000 will need to register their
scanner with the system the first time the scanner is connected. Macintosh users can proceed directly
to Step 12.
4000 ED (SUPER COOLSCAN 4000 ED)
The process of registering your scanner varies with the operating system used.
Registering the 4000 ED with Windows 98 SE
Before beginning device registration, be sure that you have completed the IEEE 1394 update described
in Step 5.
11-1
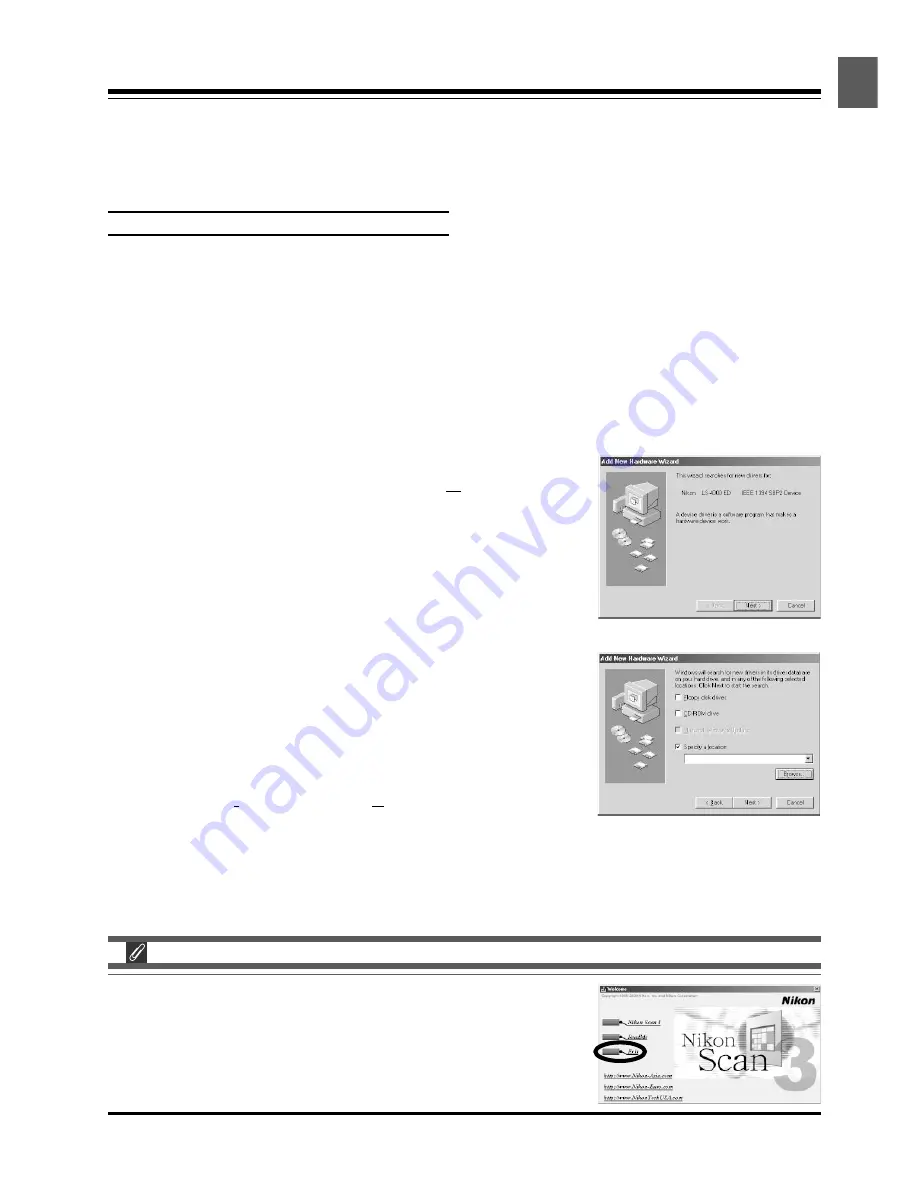
The first time the scanner is connected, Windows will display a message stating that new hardware has
been detected.
11-2
After a short pause, the message will be replaced by the opening
dialog for the Windows hardware wizard. Click
Next
.
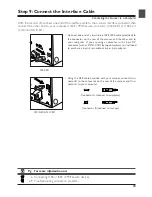
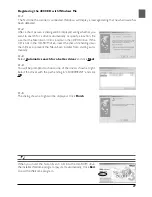
When you insert the Nikon Scan 3 CD into the CD-ROM drive,
the installer Welcome program may start automatically. Click
Exit
to exit the Welcome program.


