180
J
4
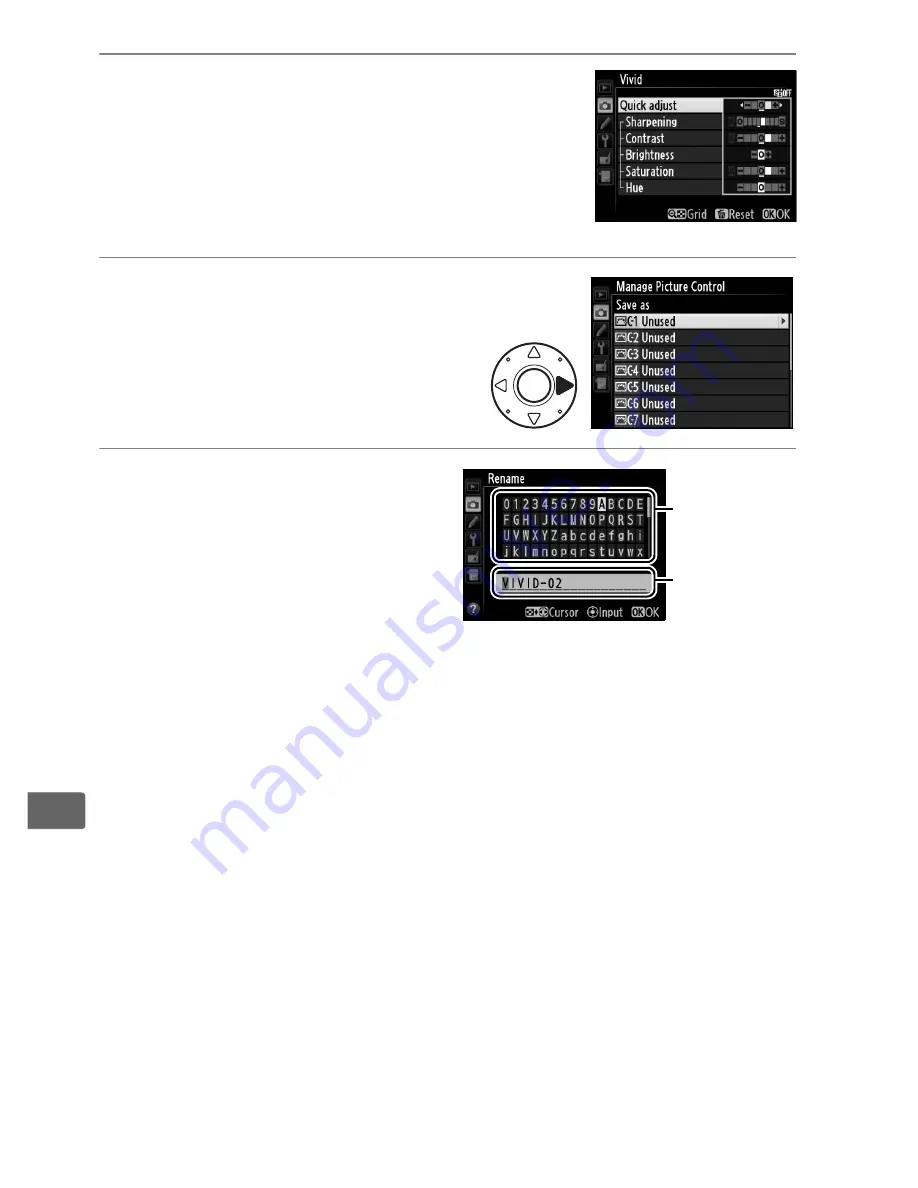
Edit the selected Picture Control.
See page 176 for more information. To
abandon any changes and start over from
default settings, press the
O
(
Q
) button.
Press
J
when settings are complete.
5
Select a destination.
Choose a destination for the
custom Picture Control (C-1
through C-9) and press
2
.
6
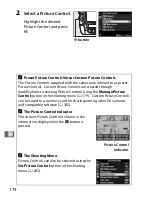
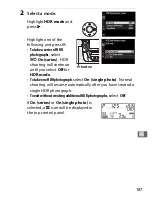
Name the Picture
Control.
The text-entry dialog shown
at right will be displayed. By
default, new Picture
Controls are named by adding a two-digit number (assigned
automatically) to the name of the existing Picture Control; to
use the default name, proceed to Step 7. To move the cursor
in the name area, hold the
W
button and press
4
or
2
. To
enter a new letter at the current cursor position, use the multi
selector to highlight the desired character in the keyboard
area and press the center of the multi selector. To delete the
character at the current cursor position, press the
O
(
Q
)
button.
Custom Picture Control names can be up to nineteen
characters long. Any characters after the nineteenth will be
deleted.
Keyboard
area
Name area
Summary of Contents for D4
Page 1: ...DIGITAL CAMERA En User s Manual ...
Page 26: ...xxiv ...
Page 44: ...18 X ...
Page 74: ...48 s ...
Page 122: ...96 d ...
Page 136: ...110 N ...
Page 148: ...122 S ...
Page 198: ...172 r ...
Page 288: ...262 e ...
Page 481: ...455 n X XQD card 33 95 442 XQD card slot 95 a ...
Page 482: ...456 ...
Page 483: ......


