VI Basic Operations
TOOL
3 Measuring Two-point Distance or Entering Information—TOOL Menu
- 73 -
3.4.2
Calling the Calibration Value
To use one of the registered calibration values to perform measurement, you must call up the
calibration value following the procedure described below before you can use it.
NOTE: Be aware that if you call up a calibration value for any image all of the
overlay information for that image will be erased.
1)
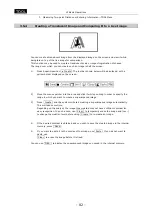
Select the calibration value you want to use, from s1 through s7 .
Drag the mouse pointer over one of the numbers s1 through s7 , and the calibration
information for that number will be displayed in the Info area for your confirmation.
NOTE: If the microscope connected to your system is the Nikon 80i/90i microscope
with motorized or intelligent nosepiece, note that each calibration value call
number is linked to the hole number of the nosepiece. This means you
cannot change calibration values by selecting s1 through s7 .
Calibration values are automatically changed when you change the
objective.
3.4.3
Measuring the Distance between Two Points
You can measure the distance between two specified points on an image. The measurement line
you used for this measurement can be saved to the overlay for that image.
NOTE:
*
You need a mouse to use this function.
*
This function can be used unless you first perform calibration or call up the
saved calibration value.
*
Because this is a simple function for measurement, its accuracy is not high.
1)
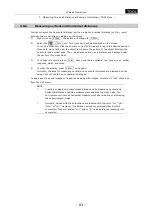
Press Measure . The tool bar shown below will be displayed. Select the
icon.
2)
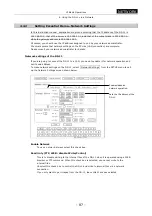
Press the red, blue, green, black, white, or yellow color icon to determine the color of the
measurement line.

