


Chapter 5 Laser Unit
5.3 C-LU3EX Three-laser Unit EX
1-127
Figure 5.3-13
Figure 5.3-14
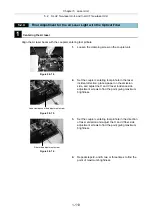
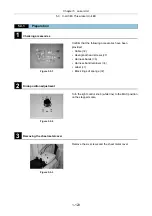
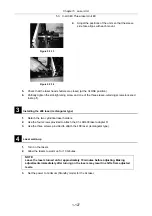
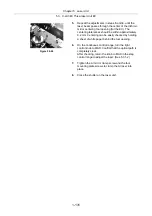
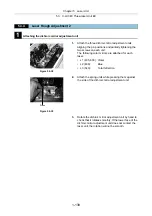
4.
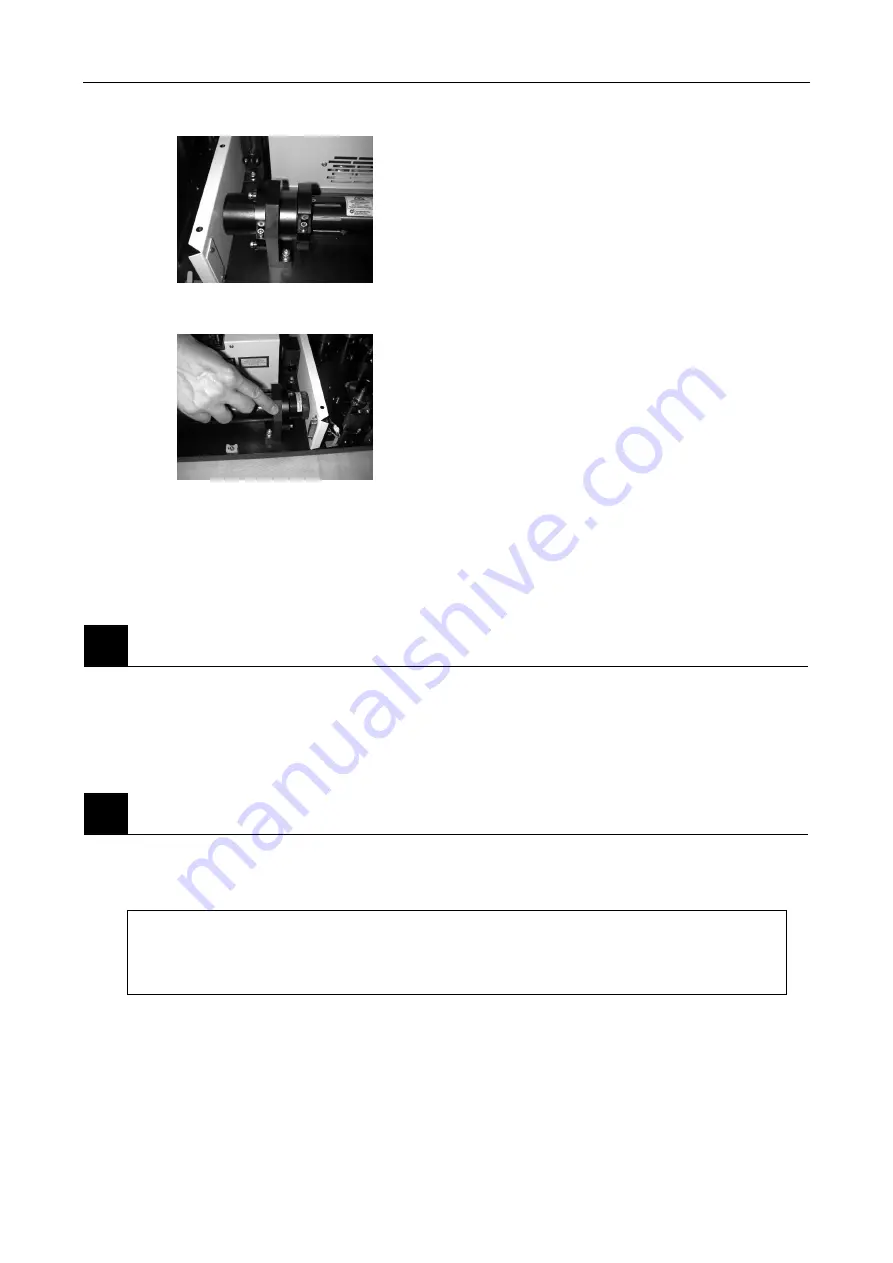
Adjust the positions of the units so that the sleeve
side face aligns with each mount.
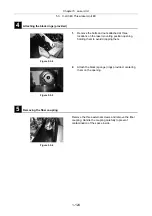
5.
Check that the laser head shutters are closed (at the CLOSE position).
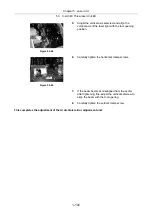
6.
Partially tighten the slot-tightening screw and one of the three sleeve-retaining screws loosened
in step
1
).
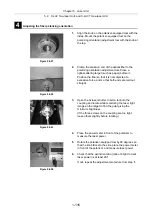
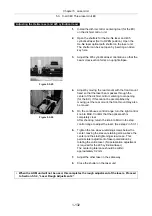
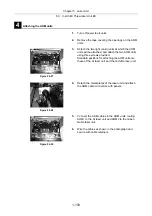
3
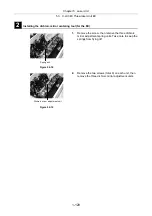
Installing the 408 laser (rectangular type)
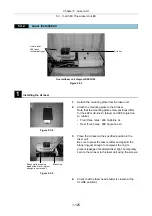
1.
Detach the two cylindrical laser holders.
2.
Use the four screws provided to attach the C1-LAR408 laser adapter R.
3.
Use the three screws provided to attach the 408 laser (rectangular type).
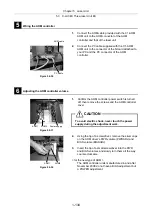
4
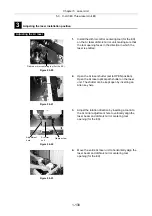
Laser warm-up
1.
Turn on the lasers.
2.
Allow the lasers to warm up for 10 minutes.
NOTE:
Leave the lasers turned on for approximately 10 minutes before adjusting. Making
adjustments immediately after turning on the lasers may result in shifts from adjusted
levels.
3.
Set the power to minimum (Standby mode) for the Ar laser.
Summary of Contents for Eclipse Ti Series
Page 2: ......
Page 14: ......
Page 256: ......
Page 258: ......
Page 260: ...Contents 2 2 8 2 Environmental Conditions 2 70 8 3 Safety Standards Compliance 2 71 ...


