P-400R Digital Microscope Instructions
22
4
Basic Operations for Capturing an
d Playing Back
4
Basic Operations for Capturing and Playing Back
4.1
Turning On and Off the Power
Turning on the power
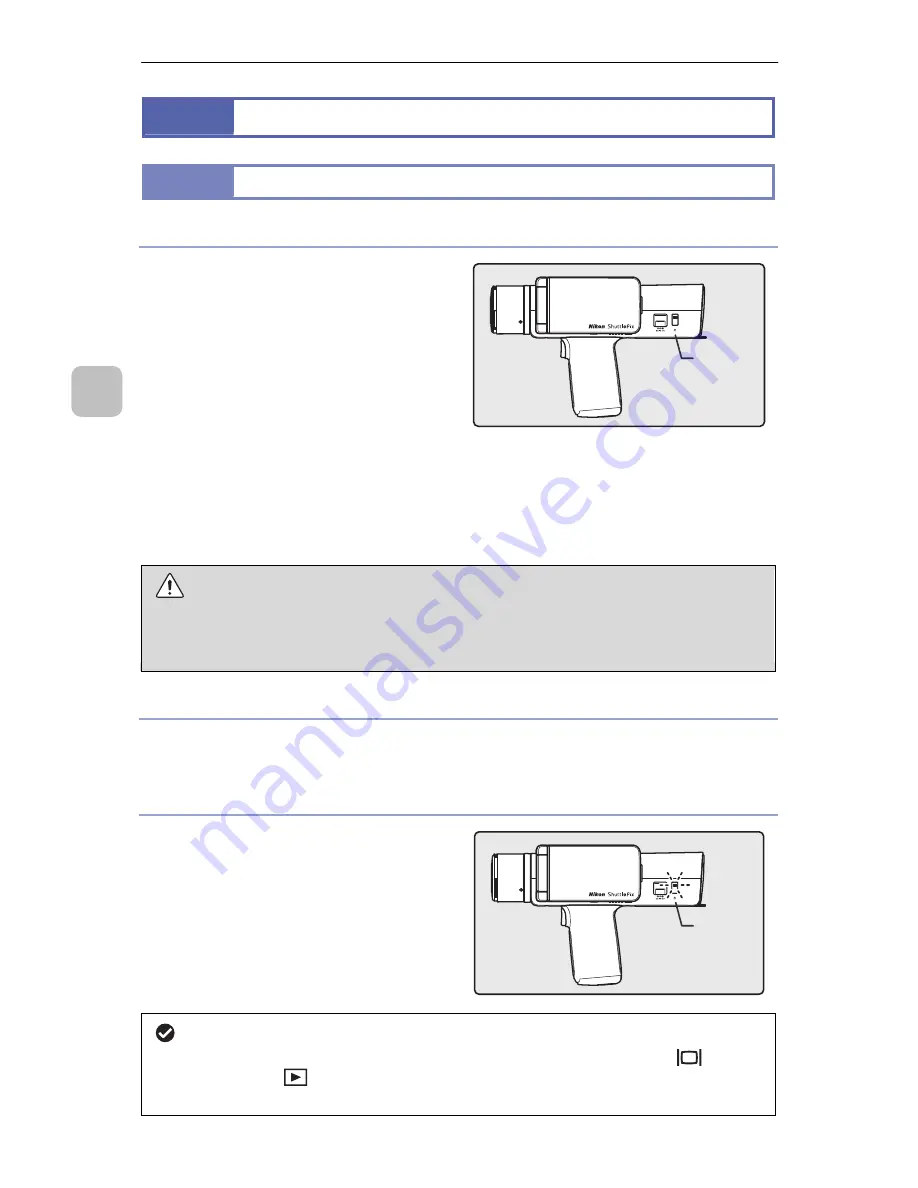
To turn on the power of the P-400R, press
the power switch.
When the power is on, the power switch
indicator lights in green and the LCD
monitor displays the startup screen with a
startup sound.
Then, the P-400R enters shooting mode
and reproduces the previous setting
status. (The zoom magnification will be
reset to 100%.) The live image is
displayed on the LCD monitor.
* When the power is turned on for the first time, the LCD monitor displays the screen
for setting the language. (See 2.5 “Setting the Display Language and the Date and
Time (At Initial Power-On)”.)
Note: Notes on ring illuminator
When the power is turned on, since the P-400R reproduces the status of the
previous usage, the ring illumination may be automatically turned on. Do not point
the luminous section to a person and do not look directly the luminous section.
Turning off the power
Pressing the power button when the P-400R power is on, the power is turned off. The
LCD monitor and ring illuminator, and the power switch indicator are turned off.
About auto power save
When a predetermined time has passed
without any operation, this product enters
standby mode.
In standby mode, the power switch
indicator blinks at two-second intervals.
If this product is left in standby mode for
three minutes, the power of this product
is automatically turned off.
To exit standby mode
If you press the power switch, the capture switch, the monitor button (
) or the
playback button (
), this product exits standby mode and all operations become
possible.
Power
switch
Blinking

