P-400R Digital Microscope Instructions
25
4
Basic Operations for Capturing an
d Playing Back
4.3
Observing
4.3.1
Starting shooting mode
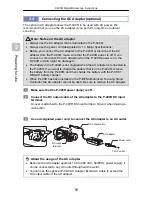
When the P-400R power is turned on, it
automatically enters shooting mode.
If the product is not in shooting mode, the
product is placed in shooting mode by
pressing the capture switch.
Switching the information items displayed in shooting mode
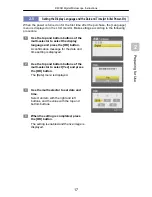
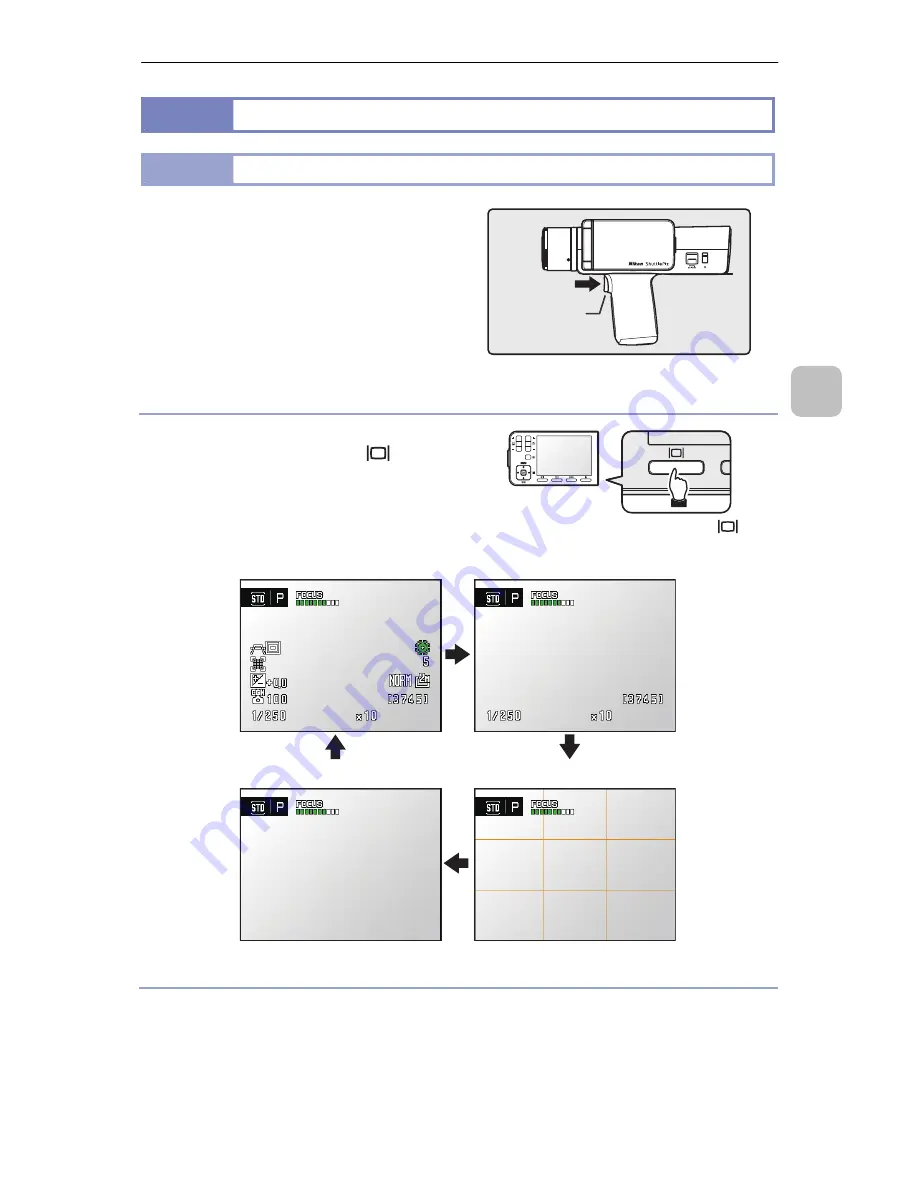
When the P-400R is in shooting mode, if
you press the Monitor button (
), the
information items displayed in the LCD
monitor switch in the following order.
Displaying the shooting menu
When the P-400R is in shooting mode, if you press the [MENU] button, the shooting
menu is displayed. For details about how to use the shooting menu, see “5 Advanced
Use of Capturing Functions”.
To terminate the display of the shooting menu, set the shooting conditions and press
the [OK] button or press the [MENU] button again.
Live image and detailed information Live image and simple information
Live image only
Live image and grid lines
Capture
switch
LCD panel
Monitor button (
)

