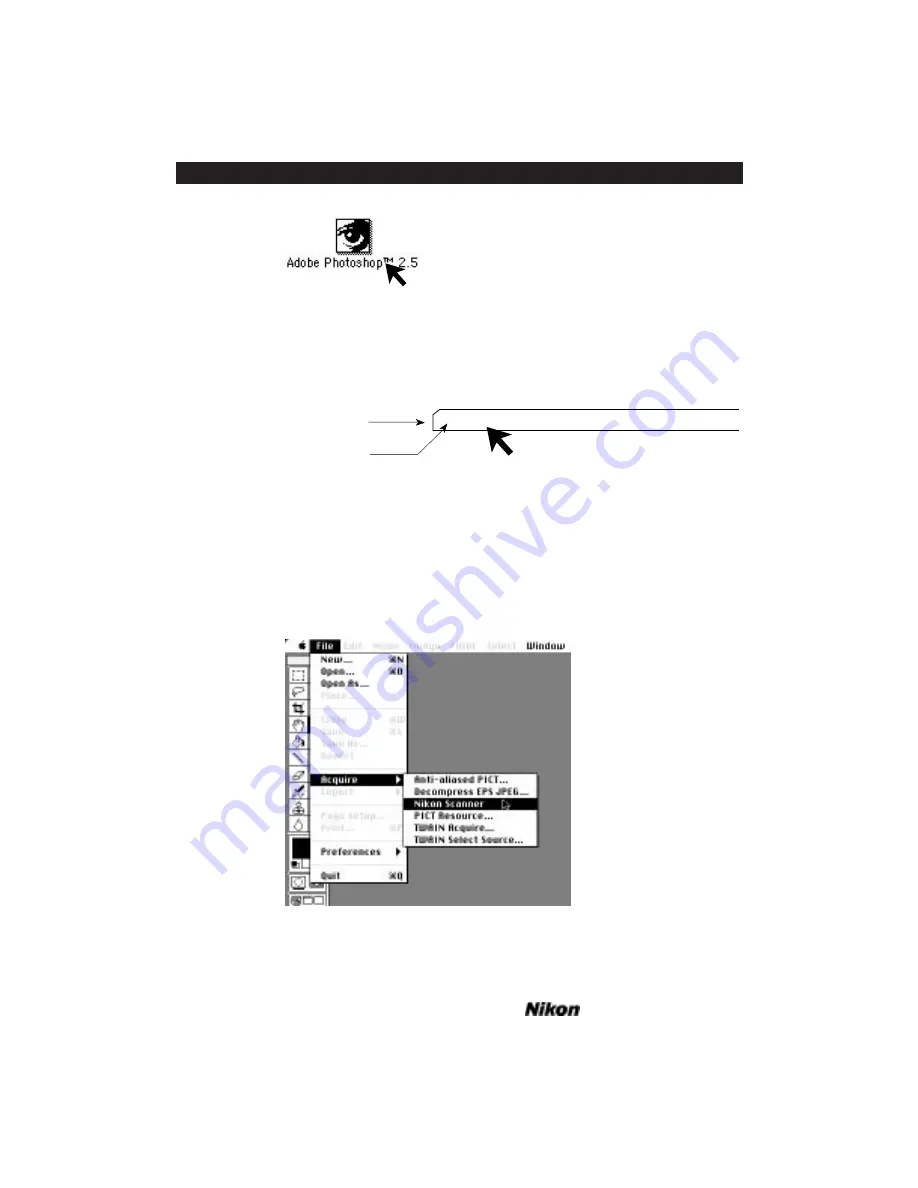
Figure 7.1 Launching the imaging application – Macintosh.
A menu bar associated with the Photoshop application will appear at the top of
the screen. It will look similar to the one shown in Figure 7.2.
Figure 7.2 The Photoshop Main menu.
Click on the
F
ILE
portion of the Main menu. Notice the file pull-down menu
looks similar to the following illustration. Without releasing the mouse button, pull
down until the
A
CQUIRE
item is highlighted, as shown in Figure 7.3, and drag the cur-
sor to the right, following the arrow to the right of the
A
CQUIRE
item, and highlighting
N
IKON
S
CANNER
. Release the mouse button. This will initialize the plug-in's Main
Scan dialog box.
Figure 7.3 Selecting
N
IKON
S
CANNER
from the Photoshop
F
ILE
pull-down menu – Macintosh.
File
Edit Mode Image Filter
Select
Apple Menu
Main Menu Bar
Click and pull down
ð
Double Click
Page 52
Software Reference for Scanners
Introduction to the Nikon Scanner Plug-in
Chapter 7
Summary of Contents for Scanners
Page 1: ...Software Reference for Scanners ...
Page 14: ...Page XIV Software Reference for Scanners Table of Contents ...
Page 36: ...Page 22 Software Reference for Scanners Software Installation IBM PC or Compatible Chapter 3 ...
Page 126: ...Page 112 Software Reference for Scanners Cropping and Sizing Images Chapter 11 ...
Page 132: ...Page 118 Software Reference for Scanners Film Type and Orientation Chapter 12 ...
Page 146: ...Page 132 Software Reference for Scanners Focusing with Coolscan Chapter 14 ...
Page 170: ...Page 156 Software Reference for Scanners The Gamma Curve Editor Dialog Chapter 16 ...
Page 194: ...Page 180 Software Reference for Scanners Troubleshooting Windows ...


