SCRUB BRUSH SYSTEM
FORM NO. 56043089 / AquaRide
™
/ BRX 700 - 33
SCRUB BRUSH SYSTEM MAINTENANCE
The scrubbing system must be serviced at regular intervals to
maintain good scrubbing performance. Follow the maintenance
steps listed below.
1 Rinse clean, built up debris from the debris hopper drain holes
(daily).
2 Remove any string wrapped around the scrub brush, drive hub
and idler hub (daily).
3 Clean spray nozzles attached to the front of the scrub deck
(weekly).
4 Clean built up dirt from the inside of the scrub brush housing
(weekly).
5 Remove both the scrub brushes and rotate, turn end for end
(weekly). See Scrub Brush Removal and Installation (Cyl)
section.
6 Inspect the scrub brush bristles for wear, the brushes should
be replaced when the bristle length is 1 inch (26 mm) or less
(monthly).
SCRUB BRUSH REMOVAL AND INSTALLATION
1 Make sure the key switch is off and disconnect the battery pack before servicing.
2 See Figure 4. Loosen the black knobs (one on each side) that secure the removable bearing idler support Plate (Z) to the brush housing, then
pull the plates down and out to remove. Grip the scrub brush and slide it out from the housing end.
3 To install the brush slide it into the housing, lift slightly, push and turn until it seats into the drive end assembly.
4 Re-install the idler end plate assemblies.
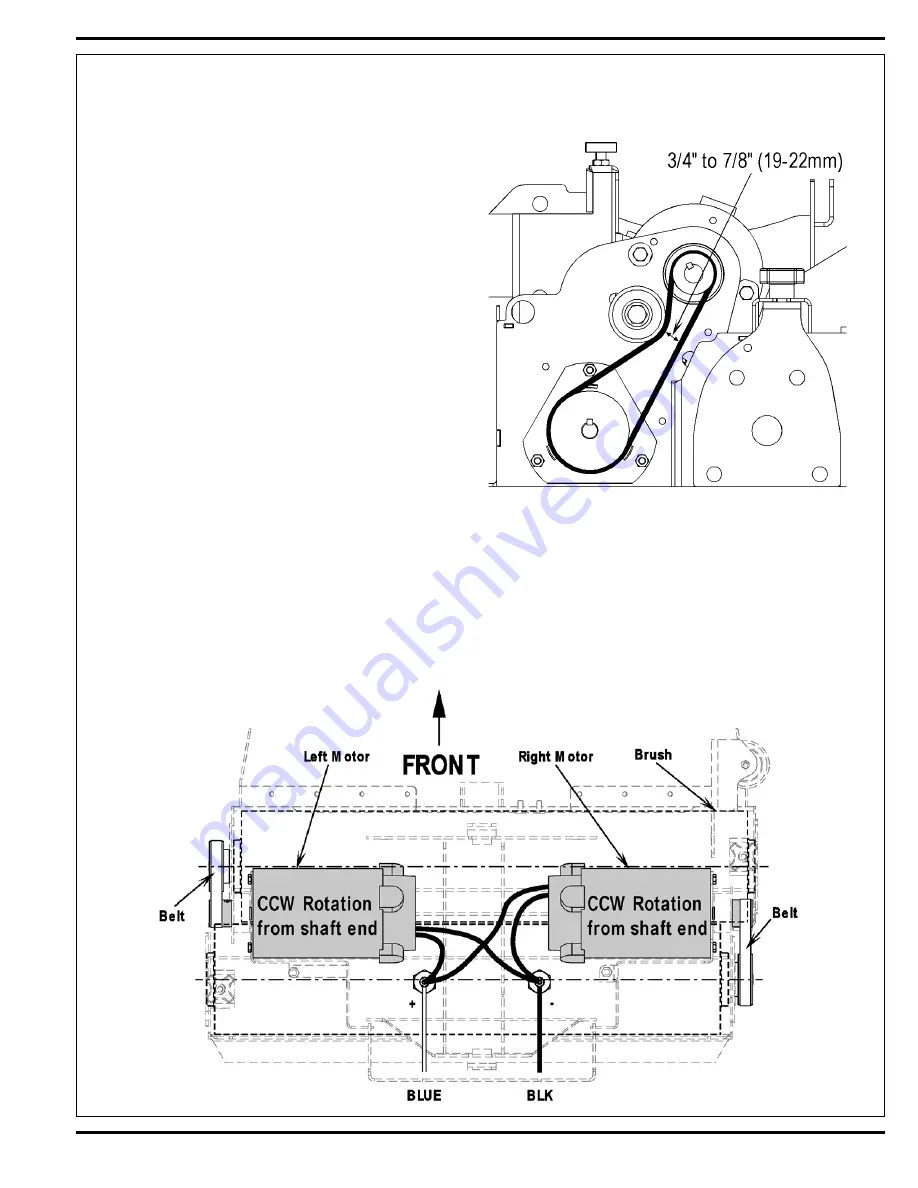
FIGURE 5
FIGURE 6
Summary of Contents for 56314019
Page 7: ...FORM NO 56043089 AquaRide BRX 700 5 SPECIFICATIONS ...
Page 46: ...44 FORM NO 56043089 AquaRide BRX 700 RECOVERY SYSTEM FIGURE 3 ...
Page 49: ...RECOVERY SYSTEM FORM NO 56043089 AquaRide BRX 700 47 FIGURE 5 FIGURE 6 ...
Page 55: ...ELECTRICAL SYSTEM FORM NO 56043089 AquaRide BRX 700 53 FIGURE 4 FIGURE 3 ...
Page 72: ...70 FORM NO 56043089 AquaRide BRX 700 ELECTRICAL SYSTEM Drive Motor Breakdown ...
Page 79: ......
Page 82: ...www nilfisk advance com 2005 ...


