FORM NO. 56043051 / Retriever
™
2060 - 27
HOPPER SYSTEM
S
T
________________________________________________________________________________________________________________________________________________________________________________________________________________________________________________________________________
HOPPER LIFT CYLINDER REMOVAL
Note: To remove cylinder it is necessary for the hopper to be in the raised position. If the cylinder will not raise under its own power it
may be necessary to remove hoses from cylinder and raise hopper with overhead hoist or some other alternate method.
CAUTION!
There will be oil in cylinder and hoses, be prepared to plug hoses and recover cylinder oil.
WARNING!
Use common sense safety practices when performing this repair.
To remove:
1
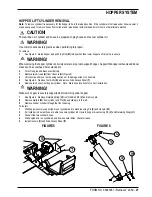
See Figure 2. Raise hopper and pull Prop Rod (M) into position then lower hopper until prop rod is secure.
WARNING!
When removing the hopper cylinder do not rely solely on prop rod to support hopper. Support the hopper with some additional
means such as overhead hoist, stands etc.
2
Turn off engine and disconnect battery.
3
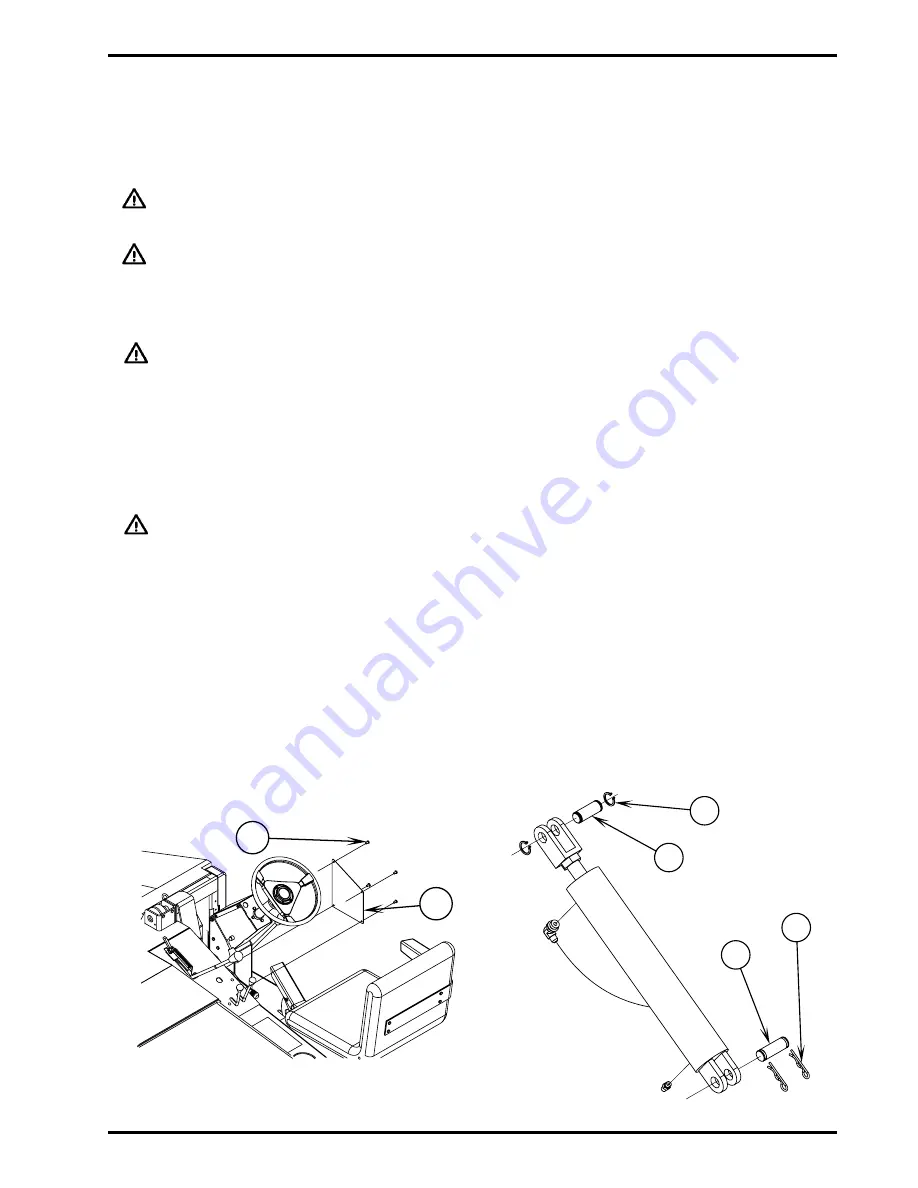
Remove two Screws (N) from Console (O) (Figure 3).
4
Lift console and move to side using caution not to damage wires or connectors.
5
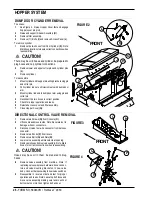
See Figure 5. Remove four Bolts (S) and remove Side Access Panel (T).
6
Remove two hoses from hopper cylinder. Note: Mark hose locations for correct installation.
WARNING!
Make sure hopper is securely supported before working under hopper.
7
See Figure 6. Remove Retaining Ring (U) from Rod End Pin (V) and remove pin.
8
Remove Hairpin (W) from cylinder end Pin (X) and slide pin to the left.
9
Remove hopper cylinder through the front opening.
To install:
1
With hopper securely supported, mount cylinder end to machine using Pin (X) and Hairpin (W).
2
Pull cylinder rod out until you are able to secure cylinder rod clevis to hopper mount using Pin (V) and Retaining Rings (U).
3
Connect the two cylinder hoses.
4
Start engine and run cylinder up and down several times, check for leaks.
5
Install Console (O) and Side Access Panel (T).
FIGURE 5
FIGURE 6
U
V
W
X
Summary of Contents for Advance Retriever 2060
Page 87: ...4 99 Form No 56040696 page 2 A 3 B C D 5 1 2 6...
Page 94: ...6 99 revised 3 00 Form No 56040702 page 2 5 3 2 6 6 5 3 4 1 2...
Page 111: ...9 00 Form No 56040733 page 2 of 3 Diesel H FRONT M K L N R W P O T S J Q O P U V FIGURE 1...
Page 128: ...PROGRAM PURPOSE and OBJECT ZENITH FUEL SYSTEMS Page 1 1 5 48 7 0 1 2 3 4 5 0 50...
Page 133: ...ZENITH FUEL SYSTEMS Page 5 1 5 0 50 A 50 4 4 B 8 6 A C D FIG 5 1...
Page 134: ...ZENITH FUEL SYSTEMS Page 5 2 6 5 8 0 8 2 0 2 0 2 E F 0 D 50 4 C D 5 5 5 5 6 6 2 0 6 FIG 5 2...
Page 139: ...Fuel Enrichment 4 6 6 50 5 5 6 A 50 5 0 0 ZENITH FUEL SYSTEMS Page 5 7...
Page 144: ...ZENITH FUEL SYSTEMS INC Page 5 12 3F 6 6 H J 3F FIG 5 19 6 G 6 FIG 5 20...
Page 147: ...ZENITH FUEL SYSTEMS Page 6 2 A A 1 6 FIG 6 1...
Page 148: ...ZENITH FUEL SYSTEMS Page 6 3 5 2 3 0 0 1 4 4 B 6 6 6 4 4 3 6 6 6 9 6 6...
Page 149: ...ZENITH FUEL SYSTEMS Page 7 2 8 2...
Page 150: ...ZENITH FUEL SYSTEMS Page 7 3 8 2...
Page 153: ...ZENITH FUEL SYSTEMS Page 9 3...
Page 160: ...ZENITH FUEL SYSTEMS Page 9 11 6 6 9 8 2...
Page 163: ...ZENITH FUEL SYSTEMS Page 9 14 6 6 9 8 Continued...

