28 - FORM NO. 56043051 / Retriever
™
2060
HOPPER SYSTEM
CC
DD
FRONT
1/2"
(13 mm)
Z
AA
BB
________________________________________________________________________________________________________________________________________________________________________________________________________________________________________________________________________
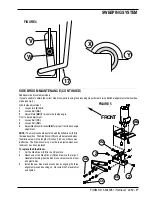
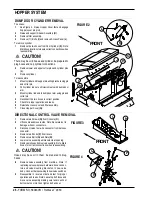
HOPPER/DUMP DOOR INTERLOCK SWITCH (S12) ADJUSTMENT
Switch adjustment:
1
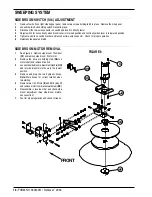
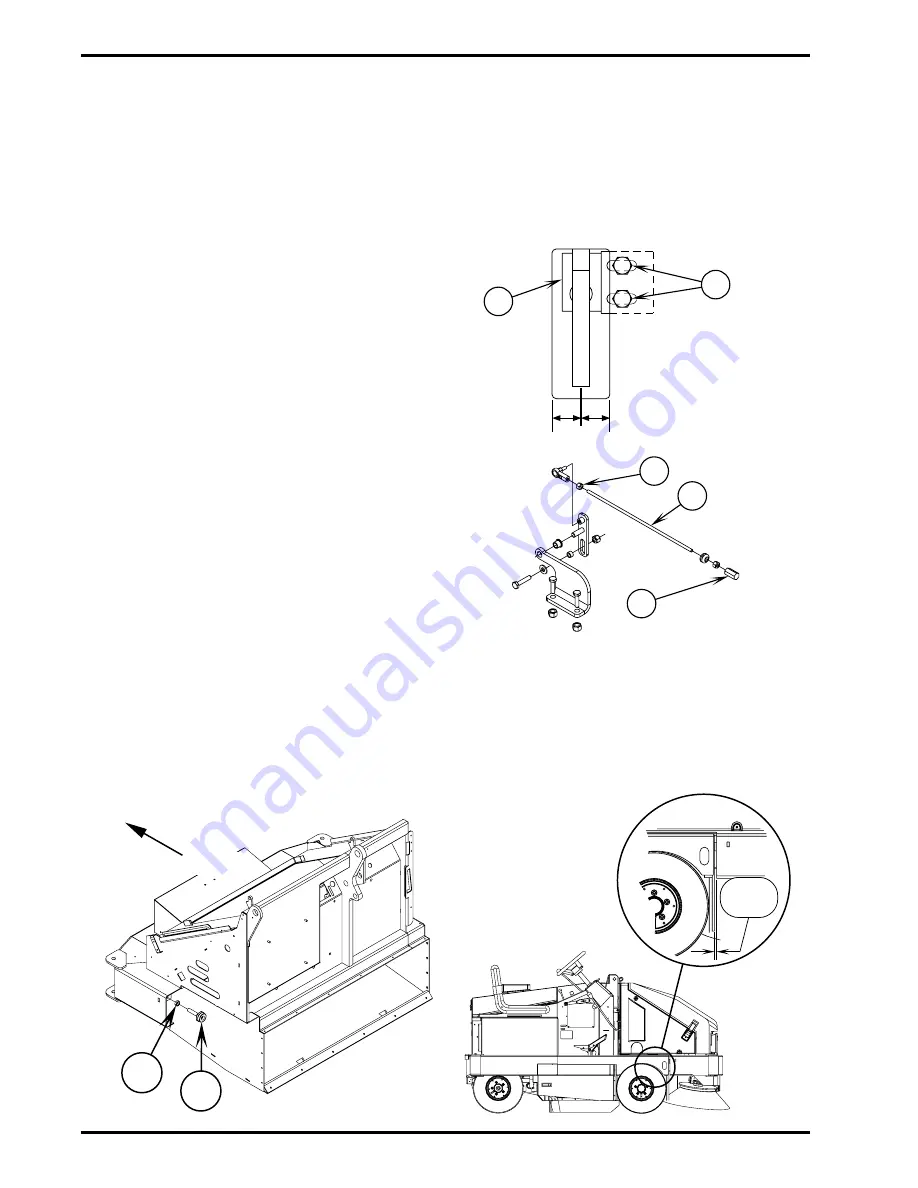
Raise hopper and pull Prop Rod (M) (see Figure 2) into position then lower hopper until prop rod is secure.
2
Turn engine off.
3
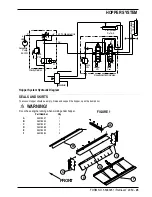
See Figure 7. Loosen two Bolts (Y) and move Switch (S12) so it is centered in the opening. Tighten two Bolts (Y).
4
Start engine, close dump door and lower hopper. The dump door closed indicator should light when hopper is lowered.
If indicator does not light follow the steps below:
1
Turn engine off.
2
Raise and support Hopper Cover (G).
3
Raise and support Shaker Assembly (H).
4
Remove filter assembly.
5
Remove eleven Bolts (I) and remove Access
Panel (J).
6
See Figure 8. Turn the key switch to the on
position only, do not start engine.
7
Loosen lock Nut (Z).
8
Turn Rod (AA) out until dump door indicator is
lit. Turn rod another quarter turn then tighten
Lock Nut (Z).
Note: If indicator does not light it may be necessary
to repeat steps 1-4 in switch adjustment section until
Nut (BB) lines up with switch lever.
9
Check that the indicator goes off when dump
door is opened and hopper is lowered, and is
ON when the door is closed or the hopper is
raised. Reinstall cover and filter.
________________________________________________________________________________________________________________________________________________________________________________________________________________________________________________________________________
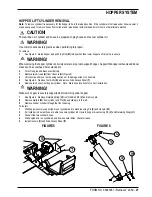
HOPPER ADJUSTMENT
1
Close the dump door, raise and secure the hopper with the Prop Rod (M) (see Figure 2). Turn engine off.
2
See Figure 9. Loosen the two Lock Nuts (CC) and turn the two Bumpers (DD) in until they no longer contact the machine chassis
when the hopper is in the lowered position.
3
Raise the hopper slightly to disengage prop rod then lower the hopper all the way.
4
Adjust the two Bumpers (DD) out until there is a 1/2 inch (1.27 cm) clearance between the hopper and chassis as shown in figure
9.
5
Tighten the two Lock Nuts (CC).
Center
Y
S12
FIGURE 7
FIGURE 8
FIGURE 9
Summary of Contents for Advance Retriever 2060
Page 87: ...4 99 Form No 56040696 page 2 A 3 B C D 5 1 2 6...
Page 94: ...6 99 revised 3 00 Form No 56040702 page 2 5 3 2 6 6 5 3 4 1 2...
Page 111: ...9 00 Form No 56040733 page 2 of 3 Diesel H FRONT M K L N R W P O T S J Q O P U V FIGURE 1...
Page 128: ...PROGRAM PURPOSE and OBJECT ZENITH FUEL SYSTEMS Page 1 1 5 48 7 0 1 2 3 4 5 0 50...
Page 133: ...ZENITH FUEL SYSTEMS Page 5 1 5 0 50 A 50 4 4 B 8 6 A C D FIG 5 1...
Page 134: ...ZENITH FUEL SYSTEMS Page 5 2 6 5 8 0 8 2 0 2 0 2 E F 0 D 50 4 C D 5 5 5 5 6 6 2 0 6 FIG 5 2...
Page 139: ...Fuel Enrichment 4 6 6 50 5 5 6 A 50 5 0 0 ZENITH FUEL SYSTEMS Page 5 7...
Page 144: ...ZENITH FUEL SYSTEMS INC Page 5 12 3F 6 6 H J 3F FIG 5 19 6 G 6 FIG 5 20...
Page 147: ...ZENITH FUEL SYSTEMS Page 6 2 A A 1 6 FIG 6 1...
Page 148: ...ZENITH FUEL SYSTEMS Page 6 3 5 2 3 0 0 1 4 4 B 6 6 6 4 4 3 6 6 6 9 6 6...
Page 149: ...ZENITH FUEL SYSTEMS Page 7 2 8 2...
Page 150: ...ZENITH FUEL SYSTEMS Page 7 3 8 2...
Page 153: ...ZENITH FUEL SYSTEMS Page 9 3...
Page 160: ...ZENITH FUEL SYSTEMS Page 9 11 6 6 9 8 2...
Page 163: ...ZENITH FUEL SYSTEMS Page 9 14 6 6 9 8 Continued...

