48 - FORM NO. 56041516 - ConvertaMAX
™
28/34, I-MAX
™
28HD/34HD, BA 750/850
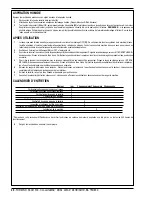
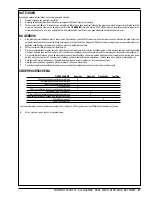
CHARGING THE BATTERIES
Charge the batteries each time the machine is used, or whenever the Battery Condition Meter (17) is showing a yellow , red or flashing red indicator light(s).
WARNING !
Do not fill the batteries before charging.
Charge batteries in a well-ventilated area.
Do not smoke while servicing the batteries.
Disconnect the batteries from the machine and push the connector from the charger into the battery connector assembly. Follow the instructions on the battery
charger.
CAUTION !
To avoid damage to floor surfaces, wipe water and acid from the top of the batteries after charging.
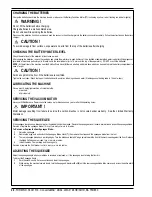
CHECKING THE BATTERY WATER LEVEL
Check the water level of the batteries at least once a week.
After charging the batteries, remove the vent caps and check the water level in each battery cell. Use distilled or demineralized water in a battery filling dispenser
(available at most auto parts stores) to fill each cell to the level indicator (or to 10 mm over the top of the separators). DO NOT over-fill the batteries!
NOTE: At the left rear of the machine near the Solution Drain Hose (4) there is a battery acid drain hose which can be used to drain the battery compartment in
case of a spill.
CAUTION !
Acid can spill onto the floor if the batteries are overfilled.
Tighten the vent caps. Wash the tops of the batteries with a solution of baking soda and water (2 tablespoons of baking soda to 1 litre of water).
LUBRICATING THE MACHINE
Once a month, apply light machine oil to lubricate the:
•
drive chain
•
all pivot points
SERVICING THE VACUUM MOTOR
Have your Nilfisk-Advance Dealer check the carbon motor brushes once a year or after 300 operating hours.
IMPORTANT !
Motor damage resulting from failure to service the carbon brushes is not covered under warranty. See the Limited Warranty
Statement.
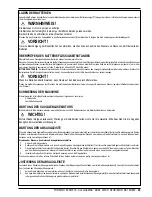
SERVICING THE SQUEEGEE
If the squeegee leaves narrow streaks of water, it is probably dirty or damaged. Remove the squeegee, rinse it under warm water and inspect the squeegee blade.
Reverse or replace the squeegee blade if it is cut, torn, wavy or worn to a radius.
To Reverse or Replace the Rear Squeegee Blade...
1
Raise the squeegee.
2
Remove the wing nuts and unlock the Squeegee Blade Latch (7), then remove the straps and the squeegee blade from the tool.
3
The rear squeegee blade has 4 working edges. Turn the blade so a sharp 90° edge points toward the front of the machine and against the floor. Replace
the blade if all edges are nicked, torn or worn to a radius.
4
Install the blade, the rear strap and the wing nuts.
Reverse or replace the front blade if cut, torn, wavy or worn to a radius.
ADJUSTING THE SQUEEGEE
Adjust the squeegee angle whenever a blade is reversed or replaced, or if the squeegee is not wiping the floor dry.
To Adjust the Squeegee Angle...
1
Park the machine on a flat, even surface and lower the squeegee.
2
While moving the machine forward slowly, turn the Squeegee Adjustment Bolt (6) until the rear squeegee blade folds over evenly across the entire width
of the squeegee.

