Electrical System
60
Service Manual – Scrubtec R 253 - RA40
Battery installation
1 Remove the operator key
2 Disconnect the battery connector by pressing the emergency push-button
3 Lift the recovery tank cover and check that it is empty; if not, empty it using the drain hose
4 Grasp the handle and carefully lift the recovery tank assembly and the driver’s seat
5 The machine is supplied with cables suitable to install 2 12V batteries
6 Carefully lift the batteries until the relevant compartment, then place them properly
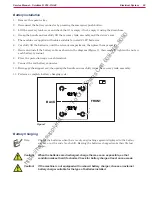
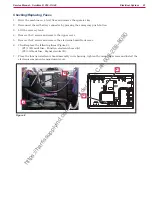
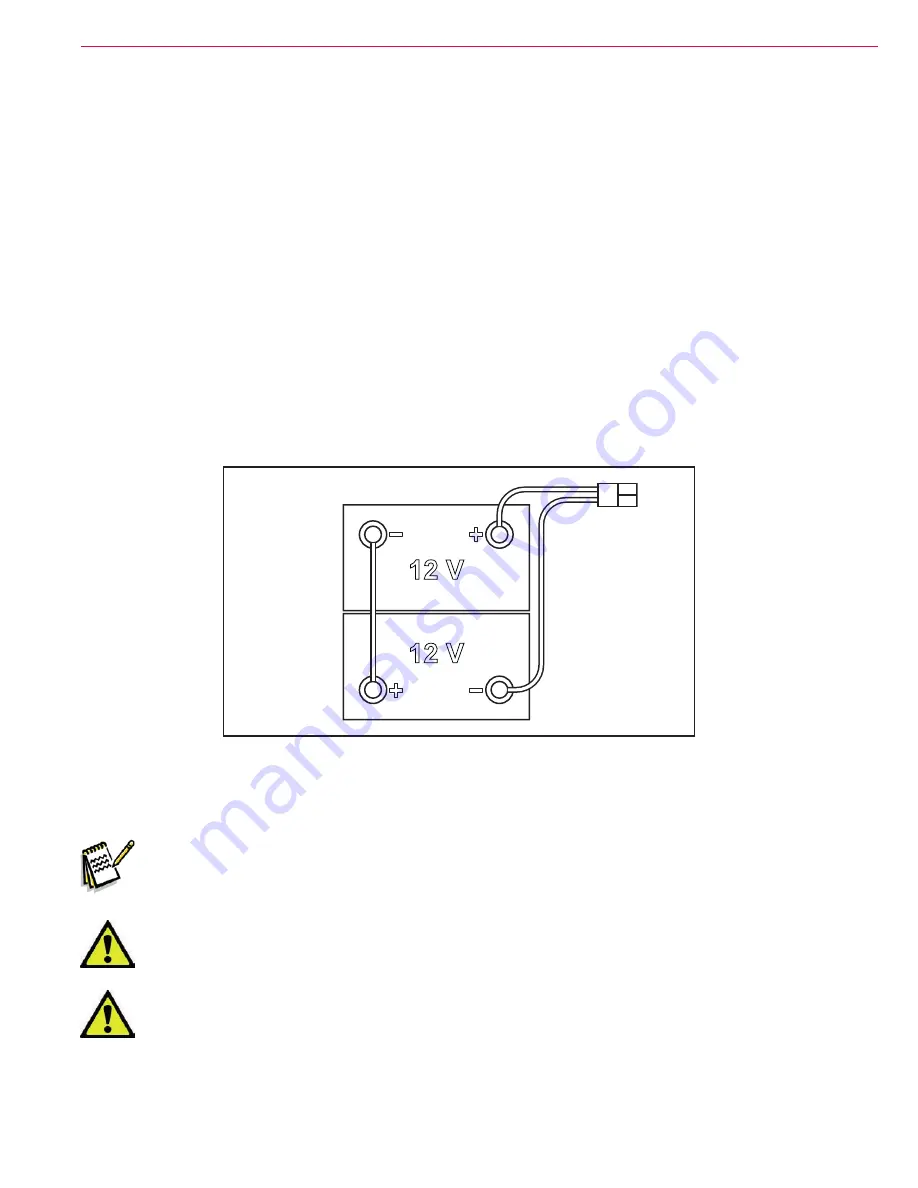
7 Route and install the battery cable as shown in the diagram (Figure 7), then carefully tighten the nut on
each battery terminal
8 Place the protection cap on each terminal
9 Connect the red battery connector
10 Disengage the support rod, then grasp the handle and carefully lower the recovery tank assembly
11 Perform a complete battery charging cycle
Figure 7
BACK
FRONT
Battery Charging
Note:
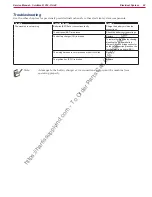
Charge the batteries when there is only one flashing segment displayed in the battery
symbol, or at the end of each shift. Keeping the batteries charged make their life last
longer.
Caution! When the batteries are discharged, charge them as soon as possible, as that
condition makes their life shorter. Check for battery charge at least once a week.
Caution! If the machine is not equipped with on-board battery charger, choose an external
battery charger suitable for the type of batteries installed.
https://harrissupplyind.com - To Order Parts Call 608-268-8080


