100
34 - Scrub System, Disc
Brush Motor Brushes
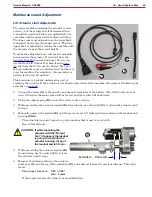
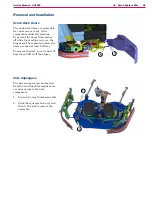
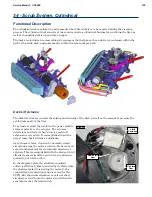
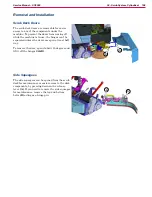
There are 4 brushes per motor, and are located toward the top of the motor below the plastic splash cover
Depending on your preferences for level of disassembly, there are three methods for gaining access to the
brushes These options are outlined below Choose the one that best suits your needs
•
The most straightforward method is to remove the
•
An alternate method is to remove the
from the deck without removing the deck To complete
this, you remove the brush hub and motor bolts while the deck is raised, and then lower the deck to
remove the motor. The main difficulty with this version is that you may have difficulty removing the
brush hub from the motor if they are corroded
•
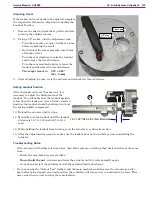
The last option is to replace the brushes in-place This can be accomplished by removing the pad holders
or brushes, and then lower the deck as far as it will go The downside to this version is that it may be
difficult to reach the 4th motor brush on the far side of the motor.
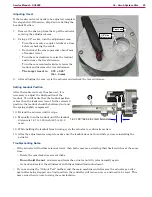
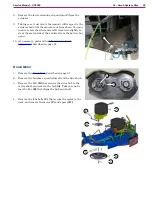
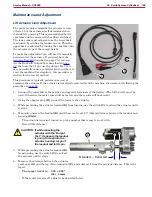
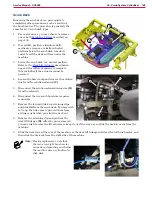
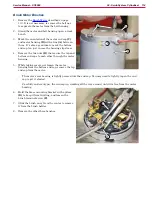
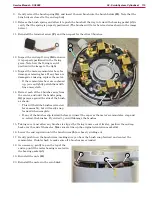
1 Remove the two phillips head screws that secure the plastic splash cover to the top of the motor
2 Slowly lift the splash cover off the motor, but make sure to feed the power cable through the cover as
you lift it up
• If the motor is still in the machine, you will have to flex the cover slightly to get it free from the top
of the motor
•
Once the cover is free from the motor,
you can free the motor connector from the
cover
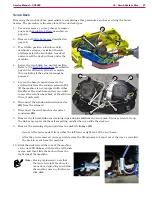
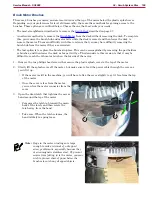
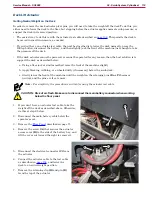
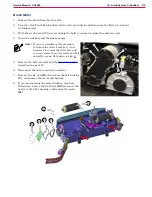
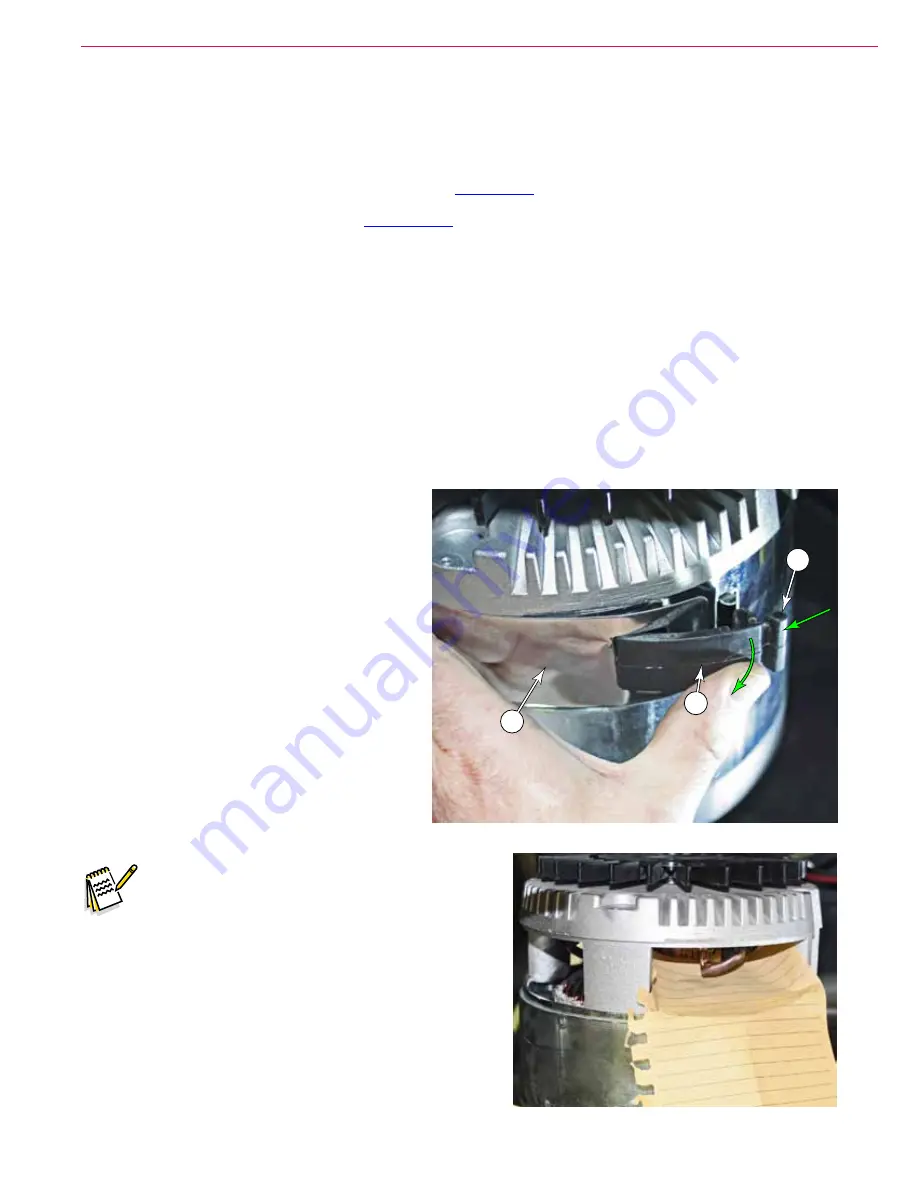
3 Open the draw latch that tightens the access
band around the top of the motor
•
Compress the latch tab toward the main
body of the latch, and then rotate the
latch away from the band
•
Take care When the latch releases, the
band is likely to spring loose
Note:
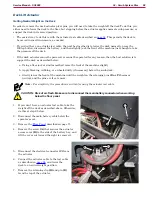
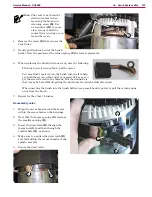
Gaps in the motor windings are large
enough to make retrieval of a dropped
screw problematic, especially because they
are nonmagnetic stainless steel. To prevent
screws from falling in to the motor, you may
wish to place a sheet of paper below the
brushes to catch any dropped objects.
A
B
C

