119
38 - Squeegee System
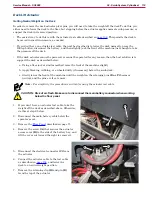
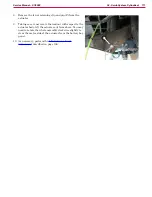
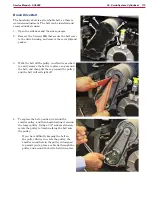
Squeegee Height and Tilt Adjustment
The squeegee height and tilt should be adjusted
when the squeegee blades are replaced, or
if the squeegee is not fully wiping the floor.
Misadjustment symptoms include pooling in
front of the squeegee or water streaks at the
center or edges of the squeegee path
1
Park the machine on a flat, even surface
and lower the squeegee
2 Without moving the machine (which will
cause the rear squeegee blade to bend
backward), inspect the interface between
the edge of the rear squeegee blade and the
floor. Inspect for gaps at either the center
or the edges
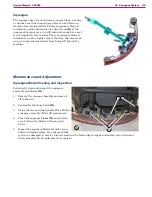
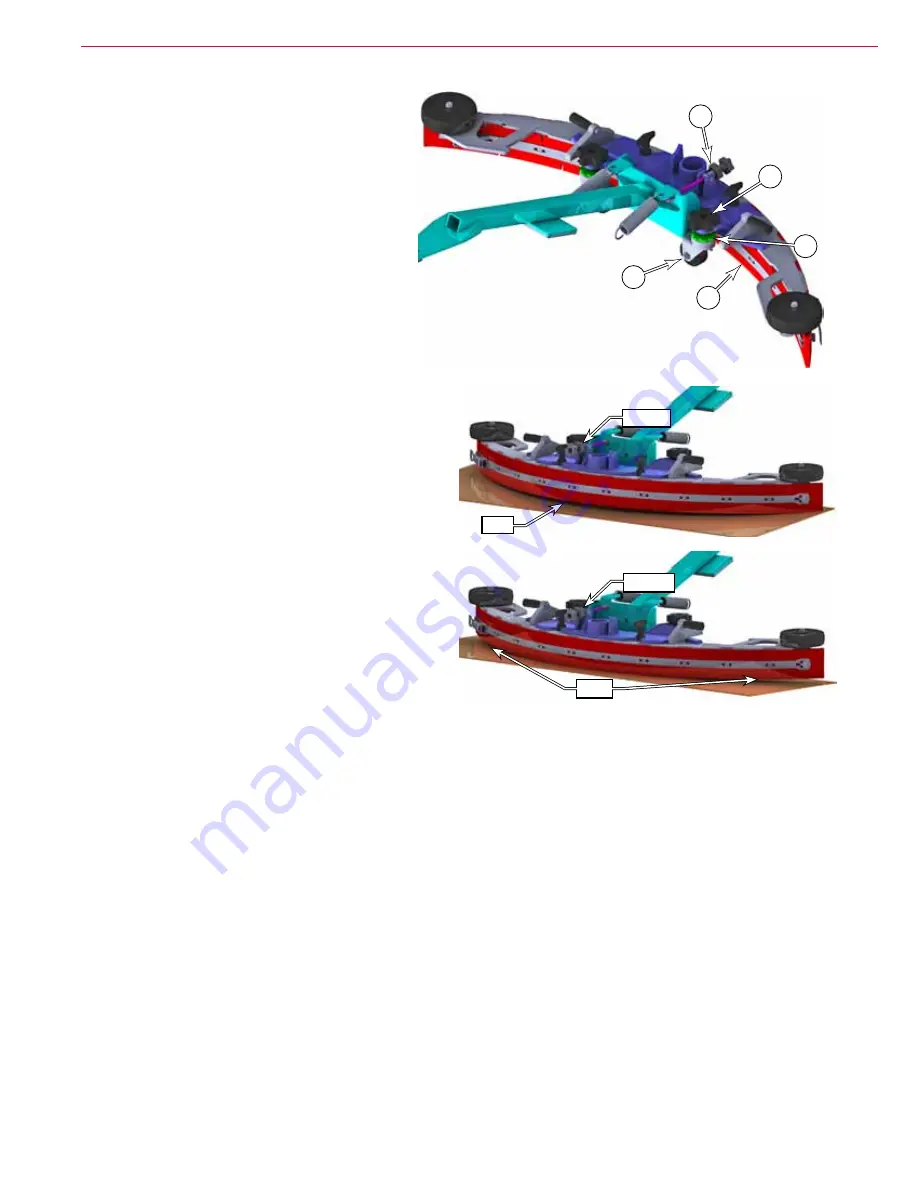
3 Tighten (clockwise) or loosen (counterclockwise)
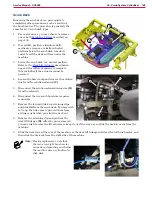
the squeegee tilt adjustment knob
(E)
to level
the squeegee across its length
•
If there is a gap in the center, loosen the
adjustment knob
•
If there are gaps at the outside, tighten the
adjustment knob
4 Move the machine forward slightly to cause the
rear squeegee blade to bend back from friction
with the floor.
• Make sure the flare of the rear blade is even
along the entire length of the blade
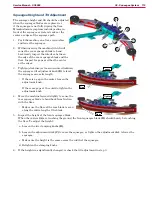
5 Inspect the height of the front squeegee blade
When the casters
(A)
are touching the ground, the front squeegee blade
(D)
should barely be touching
the floor. To adjust the height:
a Loosen the two clamping knobs
(B)
b Loosen the adjustment disk
(C)
to raise the squeegee, or tighten the adjustment disk to lower the
squeegee
c Make sure the height is the same across the width of the squeegee
d Retighten the clamping knobs
6
If the height was significantly changed, recheck the tilt adjustment in step 3.
C
B
A
D
E
Gap
Loosen
Gaps
Tighten

