ENGLISH
USER MANUAL
12
SCRUBTEC 234 C - 9099346000
MAINTENANCE
The lifespan of the machine and its maximum operating safety are ensured by correct and regular maintenance.
The following chart provides the scheduled maintenance. The intervals shown may vary according to particular working conditions,
which are to be defi ned by the person in charge of the maintenance.
WARNING!
Maintenance procedures must be performed with the machine switched off and the power supply cable
disconnected from the electrical mains.
Moreover, carefully read the instructions in the Safety chapter.
All scheduled or extraordinary maintenance procedures must be performed by qualifi ed personnel, or by an authorised Service
Center.
This Manual describes only the easier and most common maintenance procedures.
NOTE
For other maintenance procedures shown in the Scheduled Maintenance Table, refer to the Service Manual that can be
consulted at any Service Center.
SCHEDULED MAINTENANCE TABLE
Procedure
Daily, after using
the machine
Weekly
Every six
months
Yearly
Brush cleaning
Squeegee cleaning
Tank and vacuum grid cleaning
Hose cleaning and check
Filter check and cleaning
Power supply cable check
Nozzle check
Squeegee blade check and replacement
Vacuum system motor carbon brush check and replacement
(1)
(1) This maintenance procedure must be performed by Nilfi sk Alto authorised Service Center.
SQUEEGEE CLEANING, CHECK AND REPLACEMENT
NOTE
The squeegees must be clean and the blades must
be in good conditions in order to get a good drying.
CAUTION!
It is advisable to wear protective gloves when
cleaning the squeegees because there may be
sharp debris.
If the squeegee blades leave narrow water marks, they are
probably dirt or damaged. Remove the blades, clean them with
clean water and check their conditions.
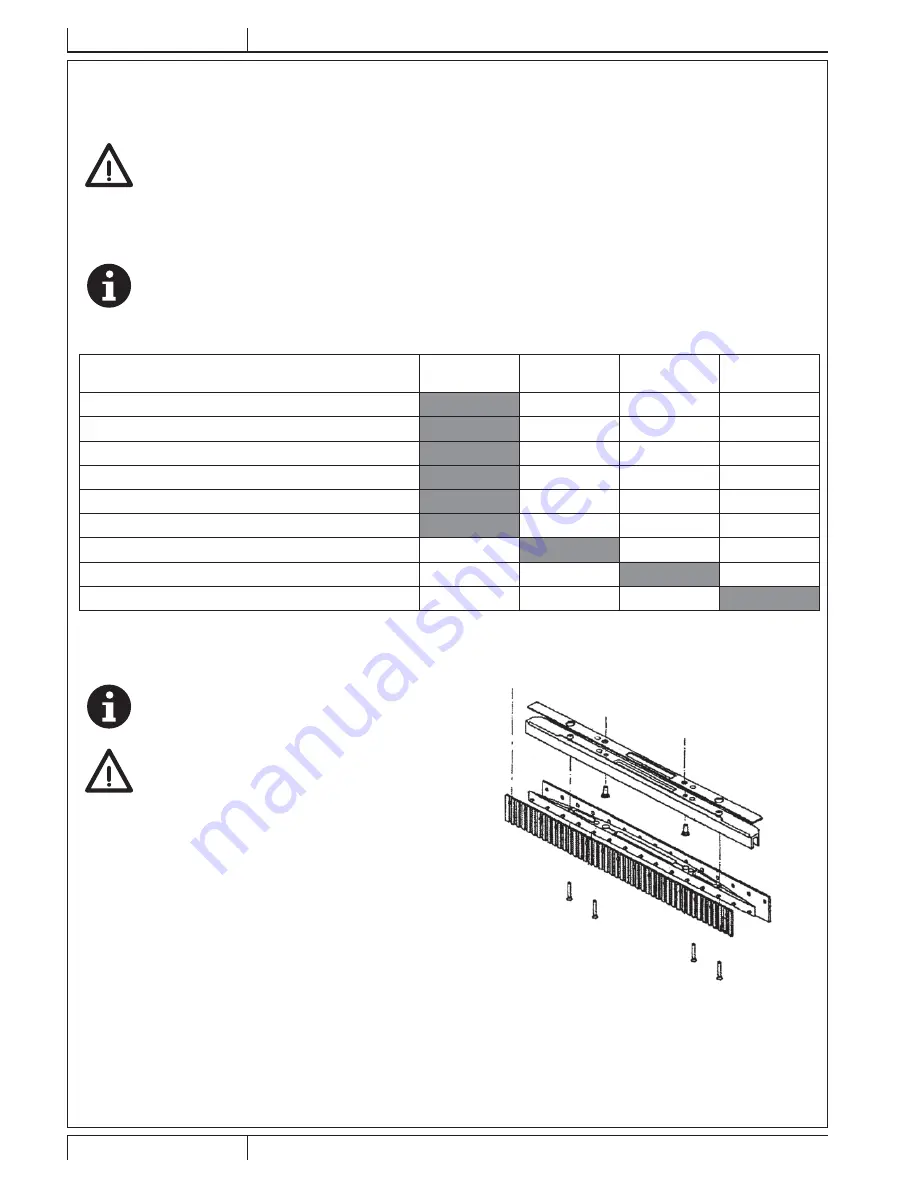
Check the blades for integrity, cuts and tears; if necessary
replace them as shown below:
1.
Turn the main switch (2) to “0”.
2.
Disconnect the plug from the electrical mains.
3.
Remove the tanks.
4.
Tilt the machine backwards.
5.
Remove the two screws from the squeegee (Fig. 6).
6.
Remove the squeegee and replace the blades.
Figure 6
P100517


