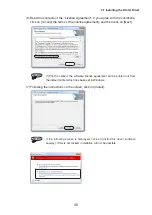
(3) Select [Print] from the [File] menu.
The WordPad “Print” dialog box will be displayed.
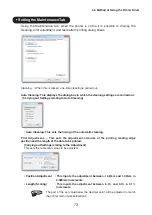
(4) Confirm that “P-PRINTER” is selected in [Select Printer], and click on [Preferences].
The P-PRINTER Print Preferences screen will be displayed.
(5) Carry out the print settings.
• Main Tab
[Form Name]
: 30 x 100mm
[Copies]
: 1
[Orientation]
: Landscape
[Media Type]
: Acrylic
[Hole Detection] : Off
[Feeding]
: Manual
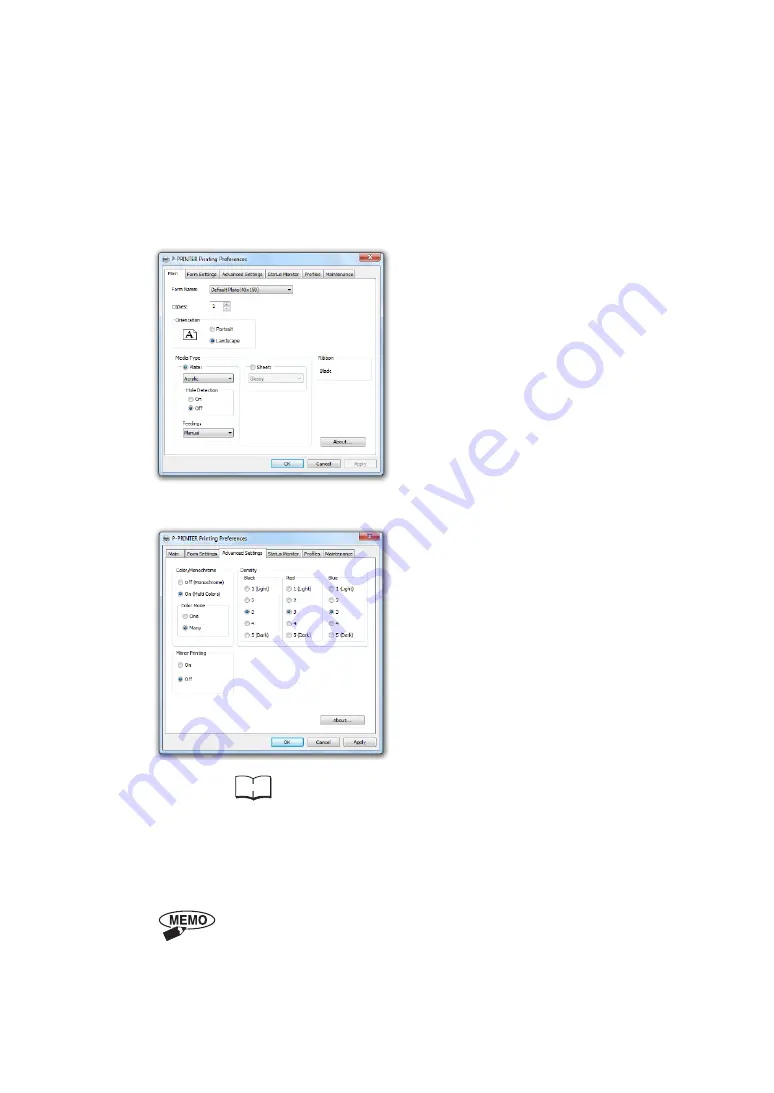
• Advanced Settings Tab
[Color/Monochrome] : On (Multi Colors)
[Color Mode]
: One
[Mirror Printing]
: Off
[Density]
: 3
Reference
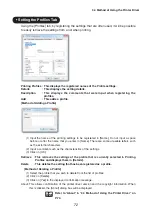
In the situation where you wish to register a form size, or to
change the printing settings to match a particular purpose,
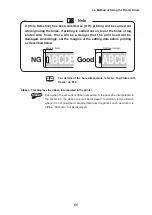
refer to “3.4 Method of Using the Printer Driver” on P.64.
(6) Click on [OK] to return to the “Print” dialog box, and click on “Print”.
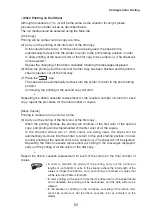
The printing data will be sent to the printer.
Depending on the application, there may be situations where it is possible to
make out-of-specification settings of the printer. In these situations,
adjustment will be made so that the settings match the specifications of the
printer main unit.
3.3 Single Color Printing
59

