Important note:
The accu pack type must be configured correctly, otherwise the charging
curve will not be correct.
6. Activate the ALOHA transmission mode (see "ALOHA transmission mode" on page 17) so that the site
configuration is transmitted to the NivuLog Easy .
8.4 Testing the communication with the device
1. Create a site for the operation on the Device to Web server (see "Device to Web Server Manual " -
upon request).
2. Configure the created site according to your requirements (see "Site configuration" on page 37).
3. Link the NivuLog Easy with the created site (see "Site" on page 37).
4. Initiate the ALOHA transmission mode (see "ALOHA transmission mode" on page 17) so that the con-
figuration of the site is transmitted to the NivuLog Easy .
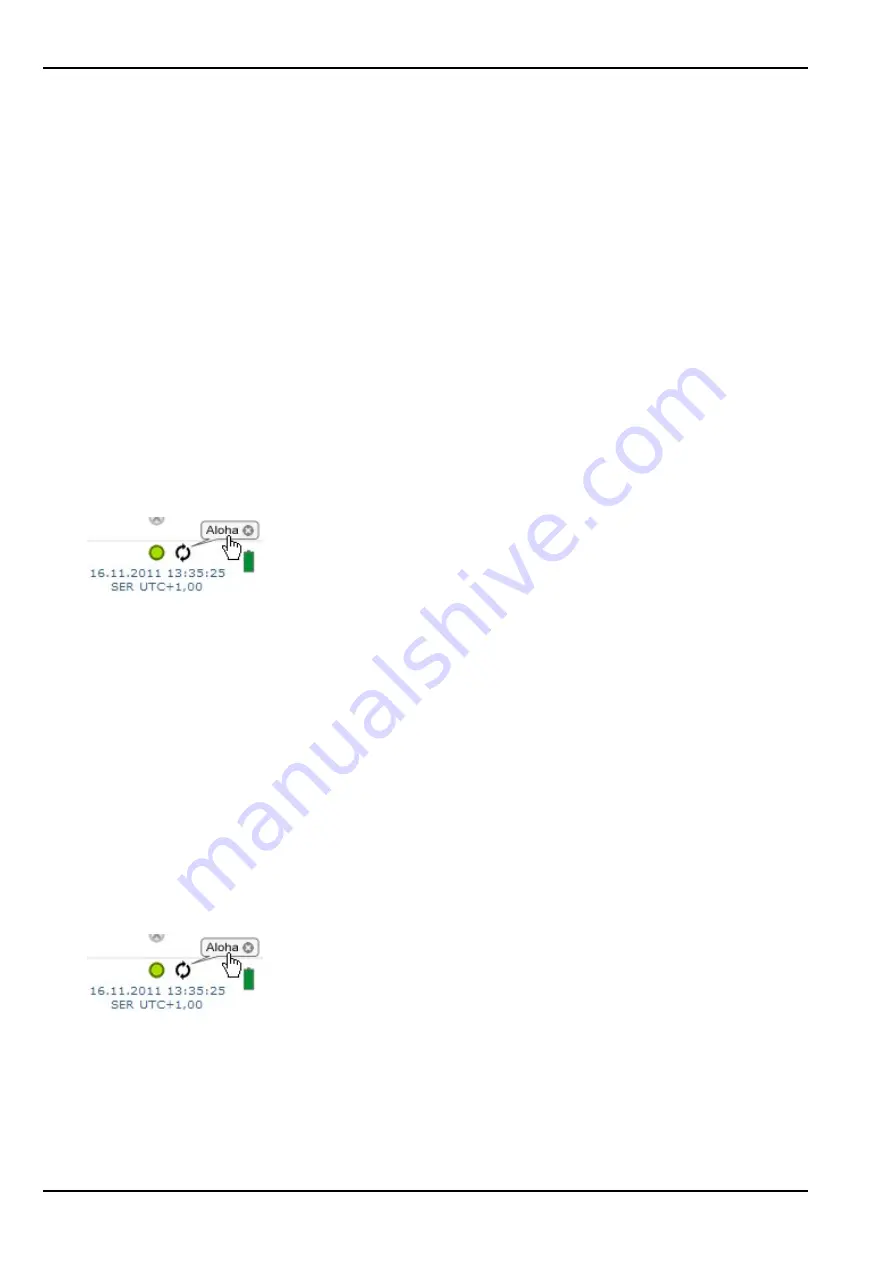
5. Wait until the list of measurement instruments indicates that the unit is in ALOHA transmission mode.
This is indicated by a speech bubble with the "Aloha" inscription.
The following steps are only required if you also want to test the measurement value acquisition and data
transmission.
6. Terminate the ALOHA transmission mode by clicking the cross in the speech bubble with the "Aloha"
inscription or wait for the duration of the ALOHA transmission mode. This period can be determined in
the basic settings (see "Basic settings" on page 58) of the site configuration. The default setting is ten
minutes.
7. Then wire up the sensors (see "Connecting the sensors, actuators and supply" on page 24) and restart
the ALOHA transmission mode
Important note:
All wiring work must be performed in the de-energised state.
8. Check the incoming data in ALOHA data window of the Device to Web server, which can be accessed
by clicking on the speech bubble with the "Aloha" inscription (see "Device to Web Server Manual " -
upon request). Particular attention must be paid to the internal "GSM level" and "battery" measurement
values.
32 of 73
NivuLog Easy - Rev. 05 as of 02.07.2012


