15
nixiediy@gmail.com
PCB assembly sequence
1.
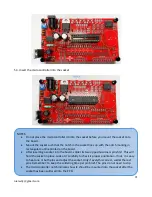
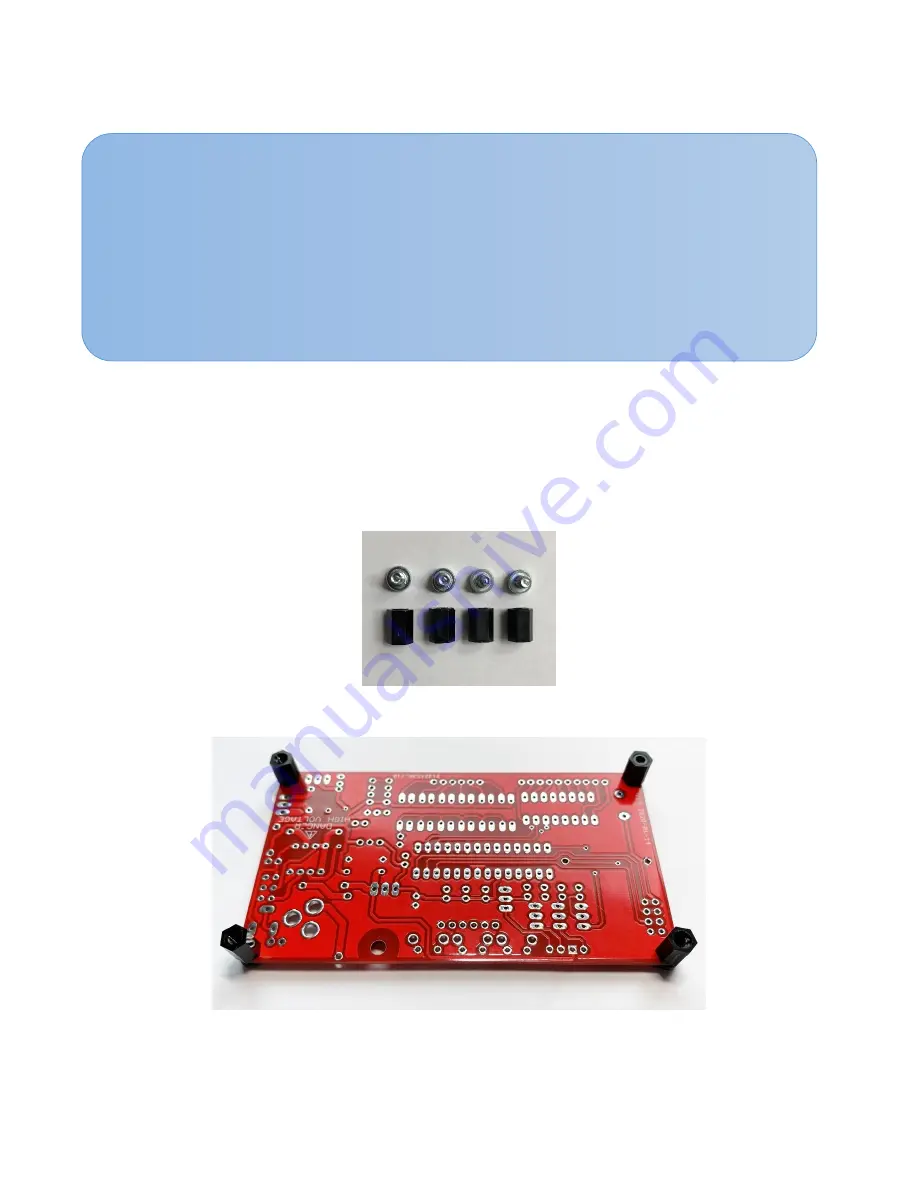
Screwing PCB spacers to PCB by screws
Spacers lift the PCB over table surface. It will be more convenient to install and to solder components
to the PCB.
These spacers can use for fixing an assembled clock in applicable casing also.
NOTES:
This instruction contents high definition pictures. If anywhere is uncertainty, PCB view
can magnify and an interested component may to view in details
.
The side of the board that has printed component marking is the “component side”. This
means that components must mount by inserting them down from the printed side.
Make sure that the components mount on the proper side of the PCB!
Prior to beginning an assembly, make sure to have a well-lighted, well-ventilated
workplace. Make sure that all of the electronic assembly tools are available.


