99
Connecting power
Procedure 8
Connecting the door interlock circuit
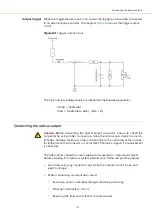
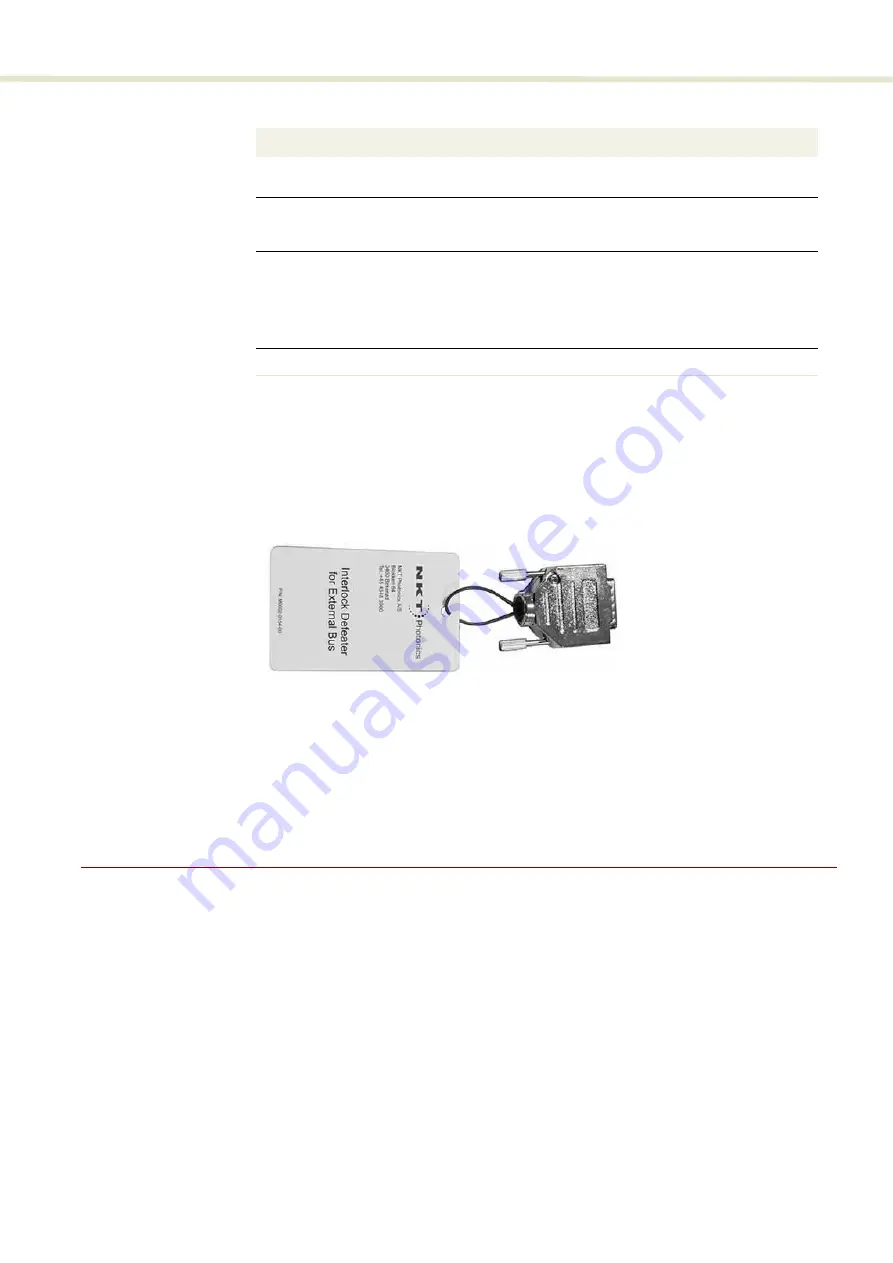
Bus defeater
When no accessories are connected to the External bus, a bus defeater must be
placed on the last device in the External bus chain topology. The bus defeater is
placed on the bus output connector of a connected accessory or on the External
bus connector of the laser.
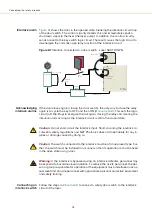
Figure 62
Bus defeater
The External bus includes an extension of the interlock circuit. The defeater plug
loops the circuit at the last External bus connector in the system with no other
devices attached to the bus chain. If no defeater is used, the interlock circuit will
be open and so disables the laser in the same manner as the door switch
opening. The defeater is included with the laser, it is a standard male DB-15
connector with the necessary pins looped back – see
.
Connecting power
Power is supplied to the laser through the rear AC input connector. The
connector is a standard C-14 type designed for use with an AC power cord that is
fitted with a C-13 connector. Electrical and cable specifications are listed in
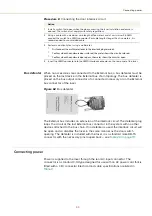
Action
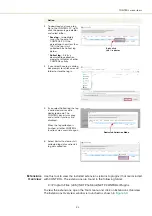
1
Install a switch that opens when the door accessing the laser installation enclosure is
opened. The switch must comply with safety regulations.
2
Using a cable with a maximum wire length of five meters and at a minimum 26 AWG,
connect the switch to a LEMO connector. For cable lengths longer than five meters, it is
recommended to use shielded cable.
3
Perform a continuity test using a multimeter:
?
First connect the multimeter leads to the interlock plug terminals.
?
Confirm when the enclosure door is closed, the meter shows the circuit as closed.
?
Confirm when the enclosure door opens, the meter shows the circuit as open.
4
Insert the LEMO connector into the LEMO interlock connector on the rear panel of the laser.
Summary of Contents for ADJUSTIK
Page 1: ...Item 800 611 01 Koheras ADJUSTIK HP PRODUCT GUIDE Low Noise Single Frequency Laser System...
Page 6: ...6...
Page 12: ...12 External bus 111 D CONTROL Software 113 Installing CONTROL 113 E Part Numbers 119...
Page 14: ...14...
Page 18: ...18...
Page 20: ...20...
Page 22: ...22...
Page 38: ...Laser features 38...
Page 50: ...50...
Page 58: ...Menu items 58...
Page 90: ...Application log 90...
Page 92: ...92...
Page 104: ...104...
Page 108: ...108...
Page 118: ...Installing CONTROL 118...
Page 120: ...120 2...
Page 121: ......
Page 122: ...Koheras ADJUSTIK Product Guide Revision 1 1 03 2022 W 10456 Item 800 611 01...

