5
Install Internal MCE Receiver
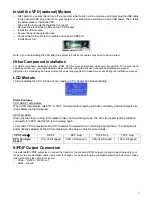
User can convert the external MCE receiver dongle
internally by installing the receiver PCB on the
MCE Receiver IR Rack that comes with the case.
(Right below the power button)
o
Unscrew the 2 thumb screws and take out the
IR receiver rack
o
Take out the MCE external receiver plastic
enclosure by removing the two front rubber
legs
o
Carefully install the MCE receiver module to
the rack (check rack to ensure no metal
touching to avoid circuit shortage)
o
Secure the MCE receiver rack back to the
case, make sure the IR sensor head is facing
accurately behind the plastic window
o
Connect the receiver via the equipped USB
converter cable to the onboard USB port
Route the MCE IR Blaster sensor heads to the
back of the case via the S/PDIF PCI slot hole and
stick them to the set top box’s IR point
Make sure no metal touching to avoid shortage
Connect LCD Cables (Some of these steps follow
after CPU & Cooler installation)
o
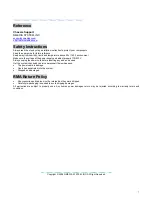
Use the orange tape in the accessory bag to
tape the CPU heat sensor to the CPU heatsink
so that LCD can display the CPU temperature
accurately
o
Connect the CPU heatsink fan to the LCD
“CPU Fan” adapter, if your motherboard has
the auto fan speed control function (base on
CPU temp); plug the extension cord to the
motherboard fan connector. In this case, the
LCD will only display fan speed, no fan speed
control will be available via the front knob
<<Periodically check sensor head placement is
recommended to ensure accurate CPU Temperature
Reading>>
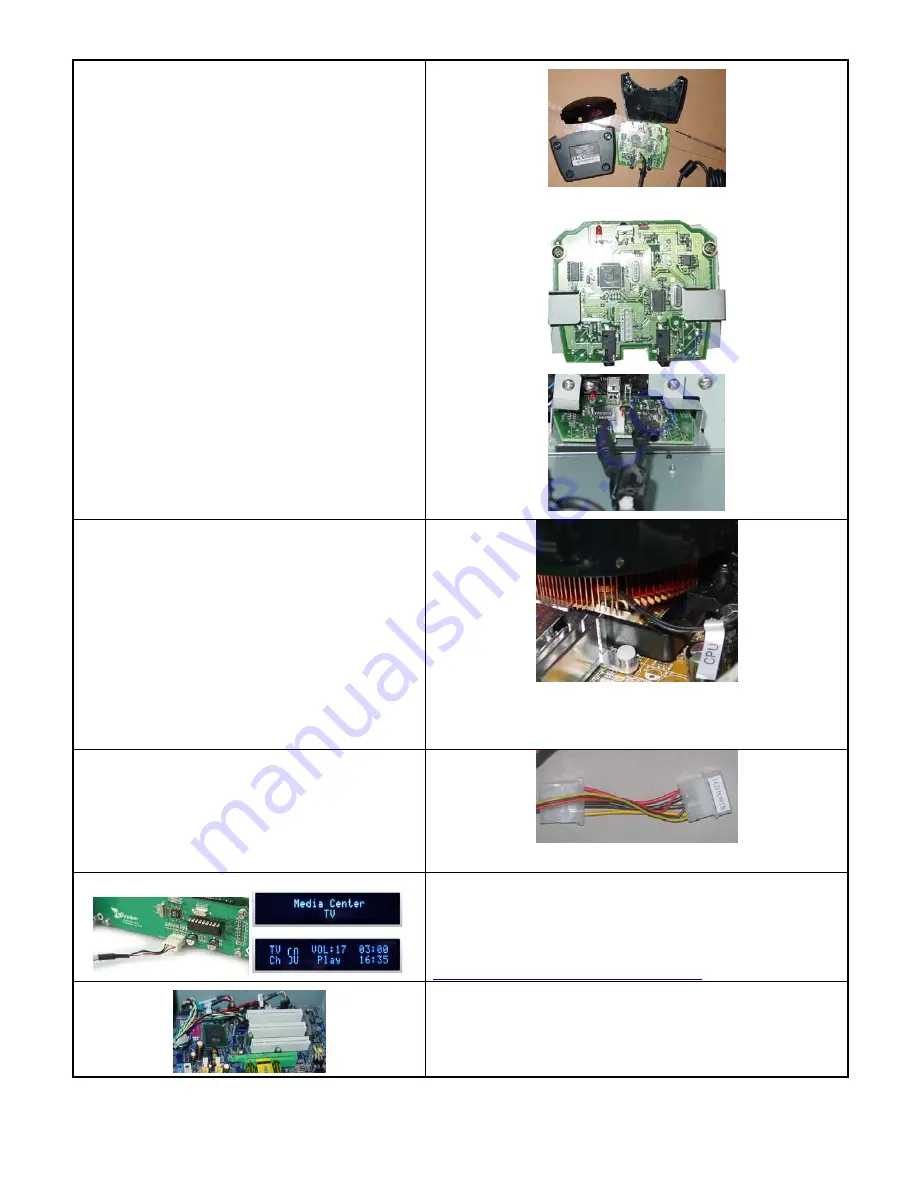
Connect LCD PWR connector
Connect it directly to the Power Supply 12V
connector. Like connecting the case fan.
The power connector will serve:
o
LCD
Module
o
Power Button LED light
o
80mm HDD Cooling fan
VFD (optional purchase to add on)
If you wish to add a programmable VFD, The 288 model is
fully compatible with the 20X2 MCE VFD module. Please
check our website for more details:
http://www.nmediapc.com/support_280VFD.htm
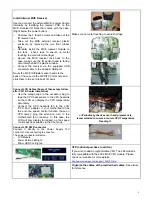
Organize the cables with provided tied cables.
See picture
for reference.


