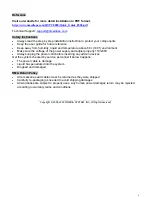
5
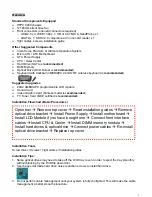
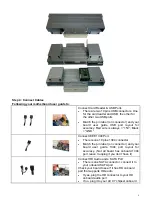
audio port using the Y tale connector
z
Connect Power Switch connector to your onboard port
z
Connect Reset Switch connector to your onboard port
z
Connect HDD Power Switch connector to your onboard port
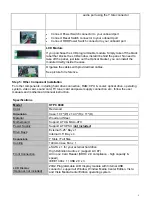
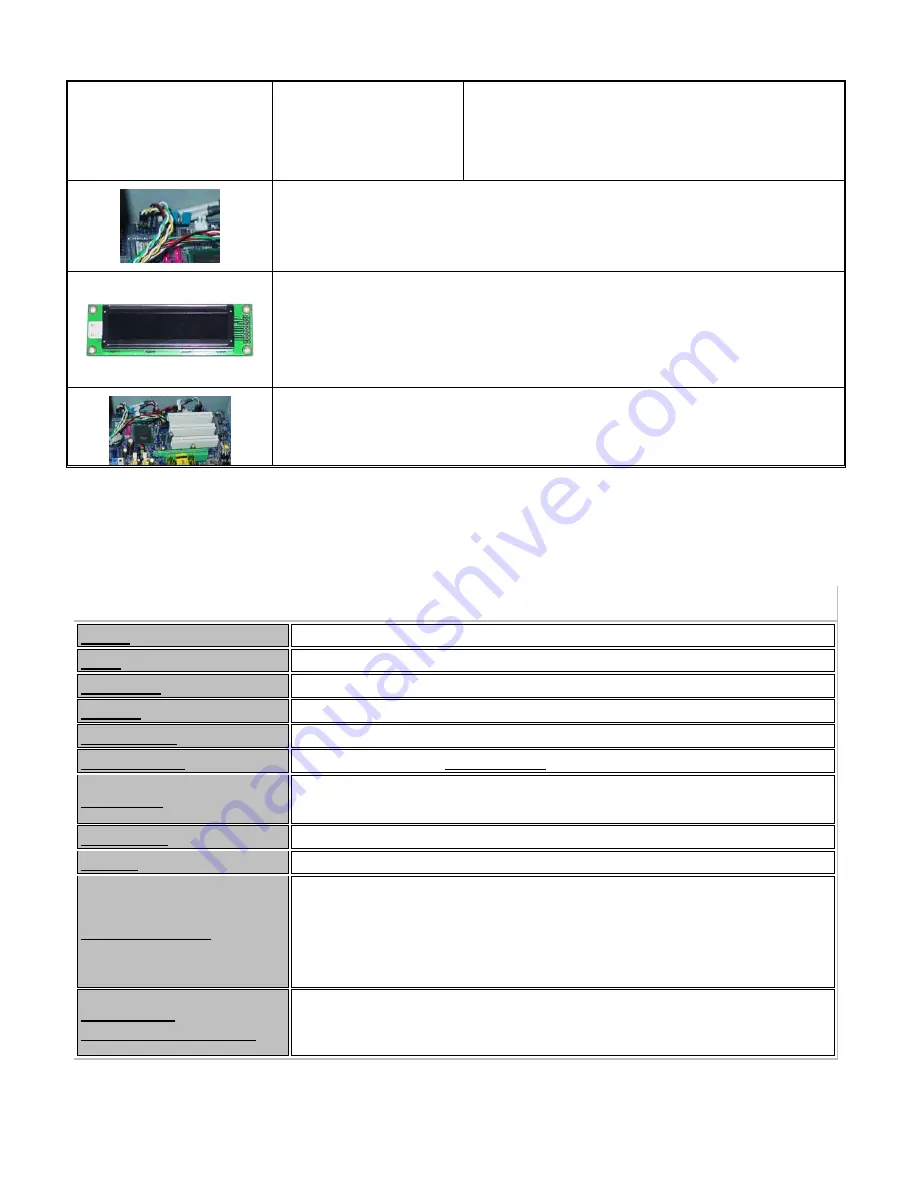
LCD Module
If you purchase the LCD programmable module. Simply take off the black
label that blocks the LCD window, install it behind the panel. No need to
take off the panel, just take out the Optical bracket, you can install the
module directly inside the case.
Organize the cables with provided tied cables.
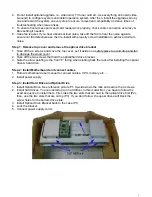
See picture for reference.
Step 5: Other Component Installation
For other components, including hard drive connection; RAM; CPU & cooler; optical drive, operating
system, video card, sound card, TV tuner card and power supply connection etc., follow the user
manuals and motherboard manual instruction.
Specifications
Model
HTPC 8000
Color
Red wood
Dimension
Case: 19.7"(W) x 14.3"(H) x 11"(D)
Material
Wood and Steel
Motherboard
Support ATX & Micro-ATX
Power Supply
Support ATX PSU (
not included
)
Drive Bays
External 5.25” Bay x 1
Internal 3.5” Bay x 4
Expansions
7 Slots / Full Size
Cooling
140mm Case Fan x 1
Front Connection
eSATA x 1 for your external hard drive
High Definition Audio x 2 (support AC 97)
All in one Card Reader (SDHC 2.0 compliance - high capacity &
speed)
IEEE 1394 x 1 | USB 2.0 x 3
LCD Display
(Optional, not included)
20X2 Programmable LCD display module with Internal USB
connector, support all Window, Window Media Center Edition, Vista
and Vista Media Center Edition operating system.


