10
c.
Decommissioning
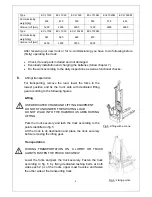
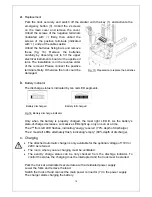
For storage, remove the load, lower the truck to the lowest position, grease all in this
handbook mentioned greasing points (regular inspection), eventual protect the truck
against corrosion and dust. Remove the batteries and jack the
truck safety, so that there will be no flattening after storage.
For final decommissioning hand the truck to a designated
recycling company. Oil, batteries and electric components must be
recycled due to legal regulations.
3. DAILY INSPECTION
This chapter describes pre-shift checks before putting the truck into operation.
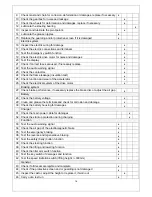
Daily inspection is effective to find the malfunction or fault on this truck. Check the truck
on the following points before operation.
Remove load from truck and lower the forks.
DO NOT USE THE TRUCK IF ANY MALFUNCTION IS FOUND.
Check for scratches, deformation or cracks.
Check if there is any oil leakage from the cylinder.
Check the vertical creep of the truck.
Check the chain and rollers for damages or corrosion.
Check the smooth movement of the wheels.
Check the function of the emergency brake by activating the emergency button.
Check, the tiller arm- switch braking function
Check the lifting and lowering functions by operating the buttons.
Check if the protective screen has no damages and that is correctly assembled.
Check the audio warning signal.
Check if all bolts and nuts are tightened firmly.
Check the function of the key switch.
Check the speed limitation switch.
Visual check if there are any broken hoses or broken electric wires.
If supplied with a backrest extension, check it for damages and correct assembling.
4. OPERATING INSTRUCTIONS
BEFORE OPERATING THIS TRUCK, PLEASE
FOLLOW THE WARNINGS AND SAFETY
INSTRUCTIONS (CHAPTER 3).
BEFORE OPERATING THIS TRUCK, ENSURE THAT
THE LOAD OR OTHER EQUIPMENT NOT CAUSES
INSUFFICIENT VISIBILITY!
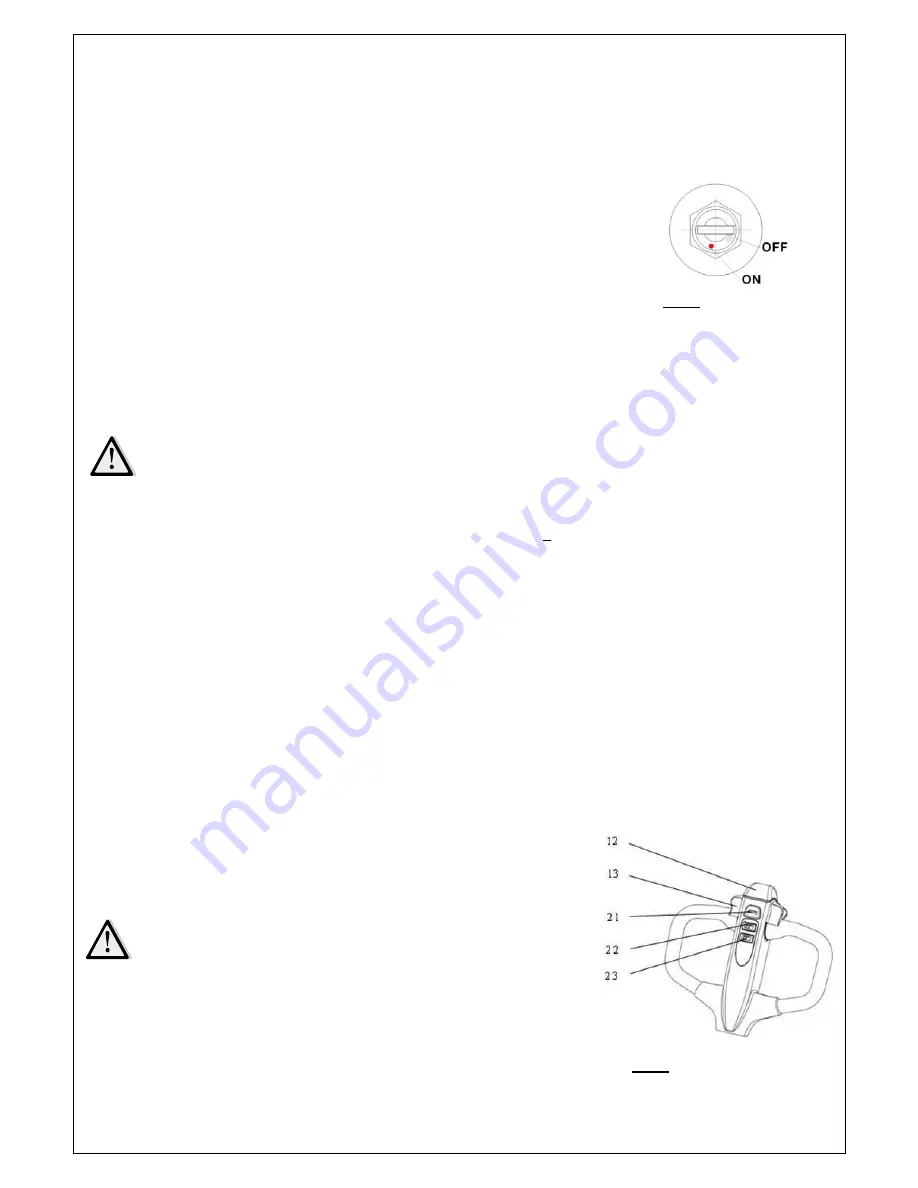
Fig.8: Key switch
Fig.7: Tiller operating controls
Summary of Contents for ECL 10
Page 28: ......
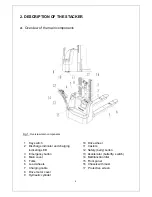
Page 31: ...3 Fig 1 Main components...
Page 36: ...8 Fig 5 Mast Assembly 5 1 Double Mast...
Page 38: ...10 Fig 6 Electronic control board assembly...
Page 41: ...13 Fig 8 Electric parts and components...
Page 53: ...25 Fig 14 Tiller arm assembly...
Page 55: ...27 Fig 15 Economic tiller head...
Page 60: ...32 Fig 18 Sticker for US...
Page 65: ...4 Fig 2 S ticker for US...
Page 67: ...6 Fig 3 Appearance...
Page 74: ...13 Fig 8 Mast assembly 8 1 Two stage mast...
Page 76: ...15 Fig 9 Electronic control board assembly...
Page 79: ...18 Fig 11 Electric parts and components...
Page 88: ...27 Fig 15 Driving system...
Page 91: ...30 Fig 17 T iller arm assembly...
Page 93: ...32 Fig 18 Economic tiller head...


