11
1. Open the recovery tank lid (3) to check whether the recovery tank is empty, if not, drain it through the drain
hose (12).
2. Remove the recovery tank lid (3), hang it on the solution tank fill-port (22), and then turn the recovery tank
(4) to one side.
3. Put the battery into the battery compartment, wire it according to the solution tank drawings, and connect
the battery to the machine through the connector.
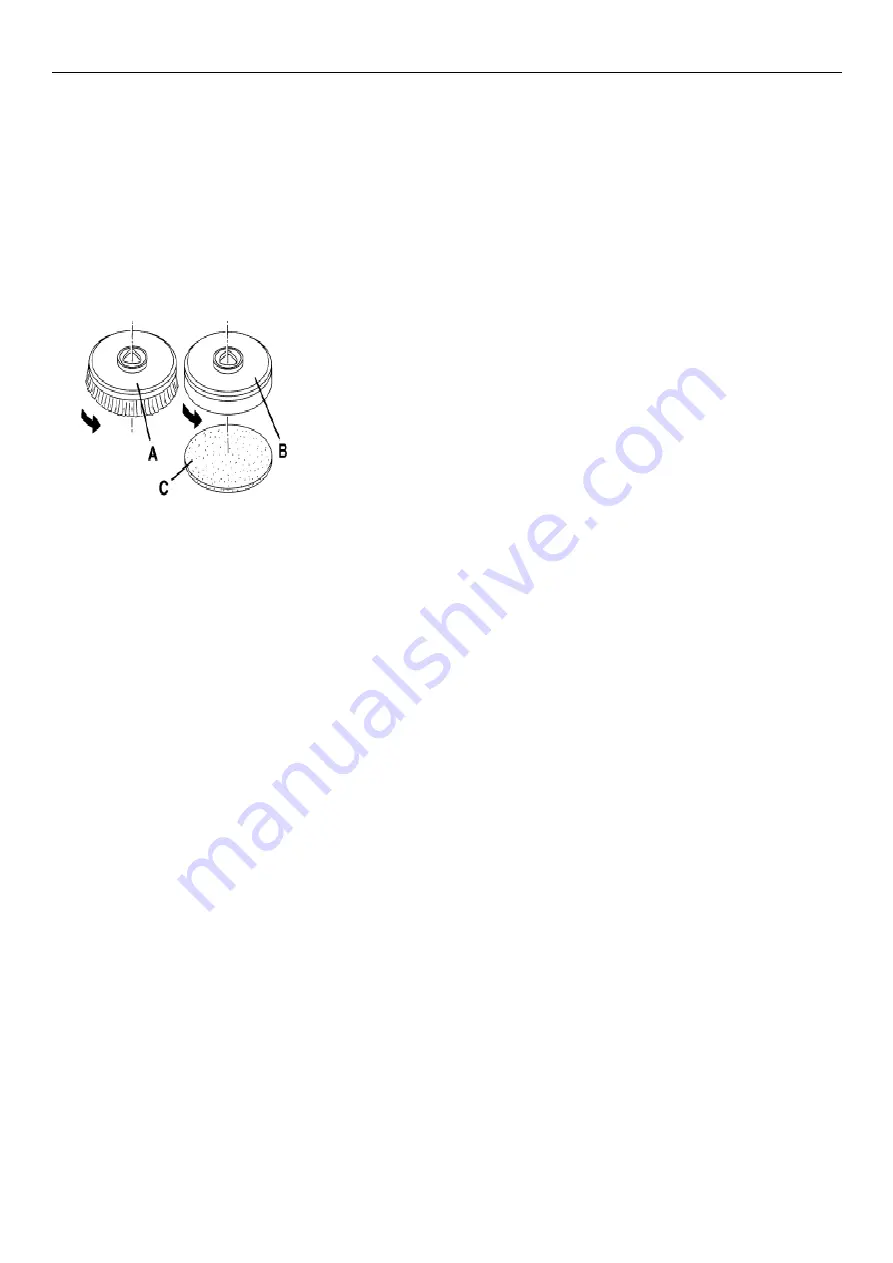
INSTALLING AND REMOVING DISK BRUSHES/PADS
The machine can be equipped with brush or pad depending on the different cleaning tasks.
1. Place the brush disk (A) or pad driver (B) under the holder.
2. Operate the squeegee lower/lift foot pedal (17) to lower the holder for installing the brush/pad driver.
3. Start the machine through turning the key switch to "ON" position.
4. Turn on the brush disk/pad driver switch (38) and vacuum motor switch (36).
5. Gently push the machine forward to install the brush disk/pad driver. If necessary, repeat this operation until the
brush disk/pad driver is installed.
6. Depress the foot pedal (17) to lift the holder in order to remove the brush disk/pad driver, and then press and
hold the brush removal switch (39) until the indicator light flashes, and the brush disk/pad driver will fall to the
ground automatically.
7. If you need to remove the brush manually, just rotate the brush disk/pad driver in the opposite direction to the
normal direction.
ATTACHING SQUEEGEE ASSEMBLY
Install the squeegee assembly (16) and tighten it with the squeegee fixing knob (15), and then assemble the
vacuum hose
(13) to the squeegee.
START AND STOP OF MACHINE
START THE MACHINE
1. Follow the methods described above for preparation.
2. Turn on the key switch (41) to "I" position. Check the battery charge through the BDI. If the red light of BDI is
on, please turn the key switch to "O" position and charge the battery.
3. Hold the handle and move the machine to the working area.
4. Use the lifting lever (18) to lower the squeegee (16).


