background image


CHANGE AND IMPROVEMENT 


Our company is committed to the continuous improvement of the products and reserves the right to 

notify the improvements and changes of the products that have been sold. 


INTENDED USE 


This  floor  scrubber  can  be  used  in  commercial  and  industrial  environments,  and  it  is  suitable  for 

cleaning  smooth  and  hard  floors  (washing  and  sewage  collecting).  It  must  be  used  in  a  safe 

environment  by  a  qualified  operator.  This  scrubber  is  not  suitable  for  cleaning  outdoors  floors, 

carpets or rough floors. 


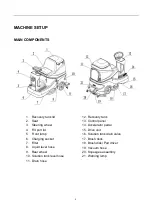
MACHINE IDENTIFICATION 


The model and serial number of this machine are marked on the identification label. The information 

on this label is very important, which is required to be provided when you order the accessories for 

the machine.   


TRANSPORTING AND UNCRATING 


Carefully  check  machine  for  signs  of  damage.  Report  damages  at  once  to  carrier.  Record  the 

damages on paper to reserve the right for compensation. 

After uncrating, check if the machine is equipped with the following items: 

1.  Technical documents, including operation manual; 

2.  Battery connecting cable. 


SAFETY 


The following symbols indicate potential dangers. In any case, please read this information carefully 

and take necessary precautions to avoid possible injury and property loss.
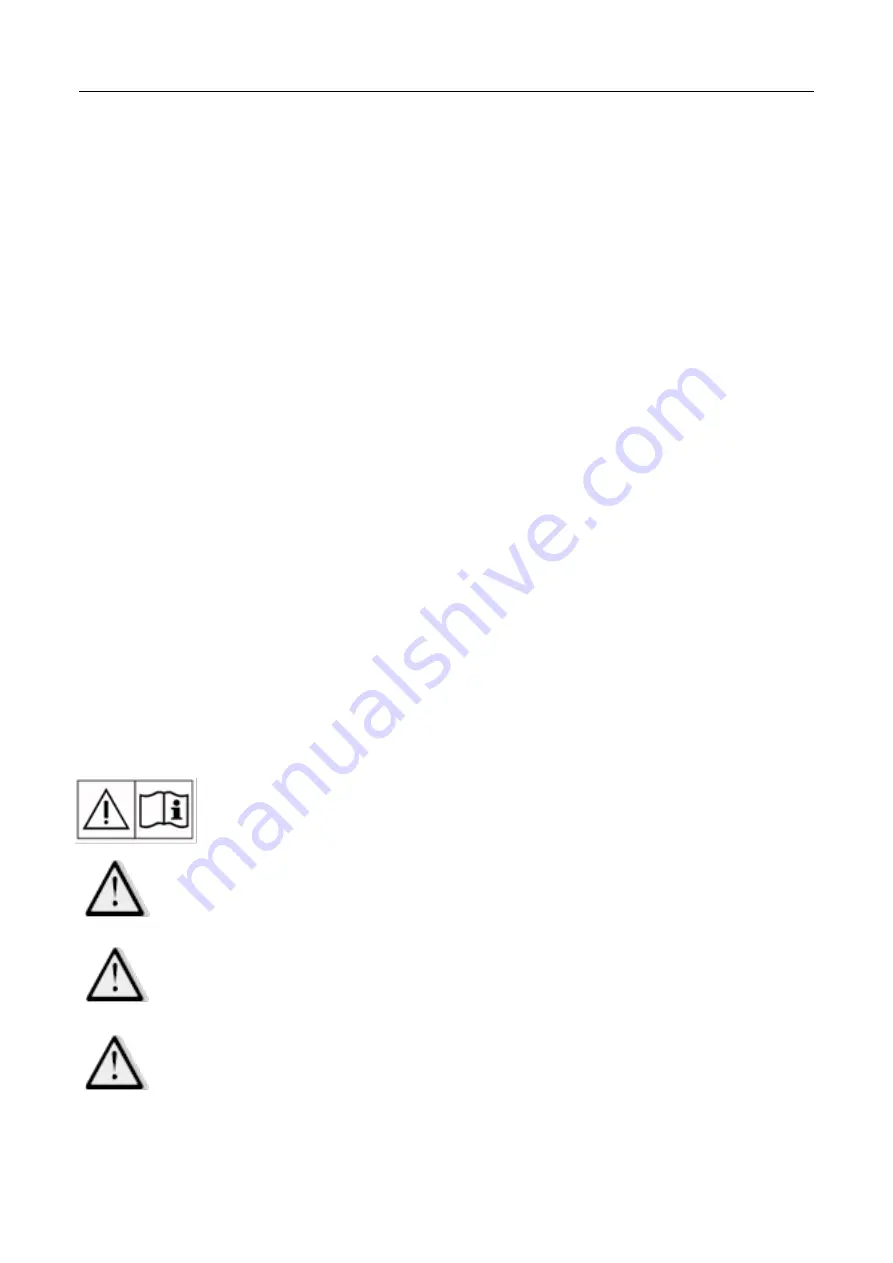


SAFETY SYMBOLS 

WARNING! 

Read all the instructions carefully before performing any operation   

on the machine. 

DANGER!


It indicates the danger that may cause death of the operator. 


WARNING! 

It indicates a potential hazard that may cause people injury and objects   

damage. 


CAUTION! 

It indicates a caution related to important or useful functions. 

Pay attention to the paragraphs marked by this symbol. 


Summary of Contents for NR530

Page 1: ...er Scrubber WARNING Do not operate the rider scrubber before reading and understanding the operator manual NOTE Please check product type and parameters of your scrubber in this manual as well as on t...

Page 2: ...ATTERIES 9 EMERGENCY STOP 9 INSTALLING AND REMOVING DISK BRUSHES PADS 10 ATTACHING SQUEEGEE ASSEMBLY 10 SOLUTION TANK FILLING 11 START AND STOP OF MACHINE 11 DRAINING TANKS 12 DRAINING SOLUTION TANK 1...

Page 3: ...ly followed otherwise our company shall not be liable for any losses arising therefrom HOW TO KEEP THE MANUAL The Manual must be kept near the machine inside an adequate case or bag away from liquids...

Page 4: ...accessories for the machine TRANSPORTING AND UNCRATING Carefully check machine for signs of damage Report damages at once to carrier Record the damages on paper to reserve the right for compensation A...

Page 5: ...and radiating illuminating and burning objects During charging lead acid battery may emit hydrogen gas which may cause explosion Must keep the charging environment well ventilated and away from naked...

Page 6: ...tation when temperature is below 0 C 32 F The water in the recovery tank and hoses may freeze and cause serious damage to the machine If spare parts need be replaced order ORIGINAL spare parts from an...

Page 7: ...t lamp 6 Charging socket 7 Filter 8 Liquid level hose 9 Rear wheel 10 Solution tank level hose 11 Drain hose 12 Recovery tank 13 Control panel 14 Accelerator pedal 15 Drive unit 16 Solution tank drain...

Page 8: ...m automatic brush unloading 6 Horn button Press the horn button and a beep will be issued 7 Emergency button Press the emergency button the machine stops working 8 Backward button Press the backward b...

Page 9: ...rush speed rpm 180 200 Solution Recovery tank capacity L 70 70 Brush pressure kg 35 Cleaning path mm 530 Turning radius mm 1300 Gradeability 10 Clean productivity theoretical actual m h 3180 2120 Insu...

Page 10: ...8 ELECTRICAL WIRING DIAGRAM M1 Drive motor M2 Vacuum motor M3 Brush motor M4 Motor for squeegee system M5 Motor for brush system...

Page 11: ...n close the recovery tank in case of hand pinching EMERGENCY STOP If there is any emergency during machine operating press the emergency button on the control panel then all functions of machine will...

Page 12: ...motor rotates until the brush pad is locked by the buckle Release the brush motor button the brush loading is completed the brush motor stops and the front push rod is lifted 4 Long press the solutio...

Page 13: ...r and vacuum motor start running 3 According to the cleaning demand the solution liquid flow can be adjusted through the solution flow button on the control panel three different flows are available T...

Page 14: ...assembly 3 Move the machine to the designated drainage area 4 Drain the recovery tank through the drain hose then rinse the recovery tank with clean water WARNING When the recovery tank is full pleas...

Page 15: ...13 INITIAL USE After the first 8 hours of use check if the fastening and connecting parts of the machine are loose and check for visible damage and leakage...

Page 16: ...vice center Check Item Daily after use Weekly Semi annually Yearly Charge battery Clean squeegee Clean brush pad Clean solution tank and recovery tank Check seal of tanks Check squeegee replace it if...

Page 17: ...connect the connector from the machine CLEANING DISK BRUSH PAD CAUTION Wear protective gloves when cleaning the brush pad in case of the injury by the sharp debris 1 Remove the brush disk pad driver f...

Page 18: ...dge is intact If the top edge is worn replace the blade according to the following procedures 2 Loosen the buckle release pressure strip from the retainers and remove the retaining strip Replace the w...

Page 19: ...6 is up B Squeegee system push rod motor state 1 3 is down 4 6 is up Pwr The battery voltage value above is the 10 stages of power display Vac Total working time of vacuum motor Bru Total working tim...

Page 20: ...ector Brush motor carbon brush wearing Contact after sales service Obstacles prevent the brush rotating Clean the brush The vacuum motor does not work Vacuum motor damage Check and replace vacuum moto...

Page 21: ...high 1 Check if the machine has been working on extremely rough roads for a long time 2 Check the brush motor Vacuum overcurr Vacuum motor current is too high Check the vacuum motor Vacuum open Vacuum...

Page 22: ...J2 of the controller 2 The signal cable between the controller and the panel is not connected 2 Check whether the connection cable between J3 of controller and J8 of panel is connected LCD display vol...

Page 23: ...Battery X o o o X X Charger X o X o o o Chassis X o o o o o Electronic accessories X o X o X X Hose X o o X X o Motor X o o o X X Cable X o X X o o Basic parts o o o X o o Controller X o o o o o Treat...

Reviews: