OPERATION
12
BR--2250/BR--2500 (08--05)
NOTE:
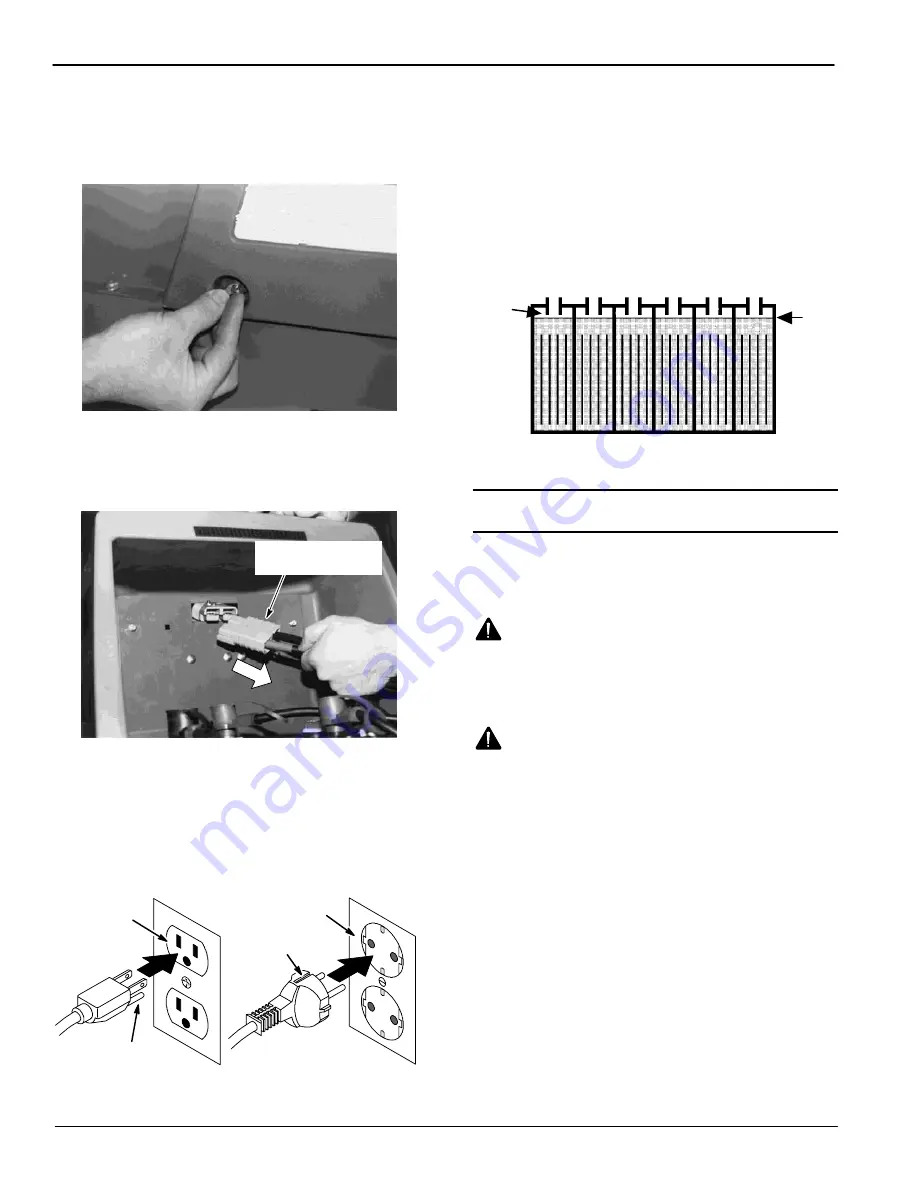
For machines with 305 amp batteries, to gain
access to the 2 top rear battery cells, remove the
2 acorn nuts holding the console to the frame
(Figure 16). Tip the console back on the hinge to
access these cells.
FIG. 16
5. Disconnect the battery plug from the machine
(Figure17). With charger’s power supply cord
unplugged, connect battery charger into battery
plug.
Connect battery
charger to this plug
FIG. 17
NOTE:
Do not connect the charger into the machine
plug, or damage to the machine may occur.
6. Then plug charger’s power supply cord into a
grounded wall outlet (Figure 18).
FOR SAFETY: Do not operate charger unless cord
is properly grounded.
Grounded Outlet
Grounding
Edge/hole
Grounded
3 Hole Outlet
Ground Pin
(120V)
(230V)
FIG. 18
7. Charger will automatically begin charging and
automatically shut off when fully charged.
8. After charger has turned off, unplug charger from
wall outlet first then disconnect charger from
machine.
9. Recheck battery electrolyte level (A) after
charging. Add distilled water to bring level 1cm
from bottom of sight tubes (B). Replace cell caps
securely and wipe off the top of batteries with a
clean cloth (Figure 19).
A
B
FIG. 19
MACHINE MAINTENANCE
To keep machine in good working condition, simply
follow daily, weekly and monthly maintenance
procedures.
WARNING: Moving Parts. Turn Off Power
Before Working On Machine.
FOR SAFETY: Before leaving or servicing
machine, stop on level surface and turn off
machine.
WARNING: Electrical Shock Hazard.
Disconnect Battery Cables Before Servicing
Machine.
Contact an Authorized Service Center for
machine repairs.
FOR SAFETY: When servicing machine, all repairs
must be performed by a qualified service person.


