40
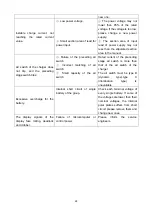
match battery voltage, or terminals not directly connected to battery
3.9 REPLACING THE ELECTRICAL PARTS
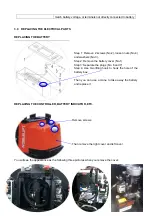
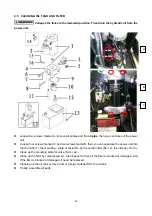
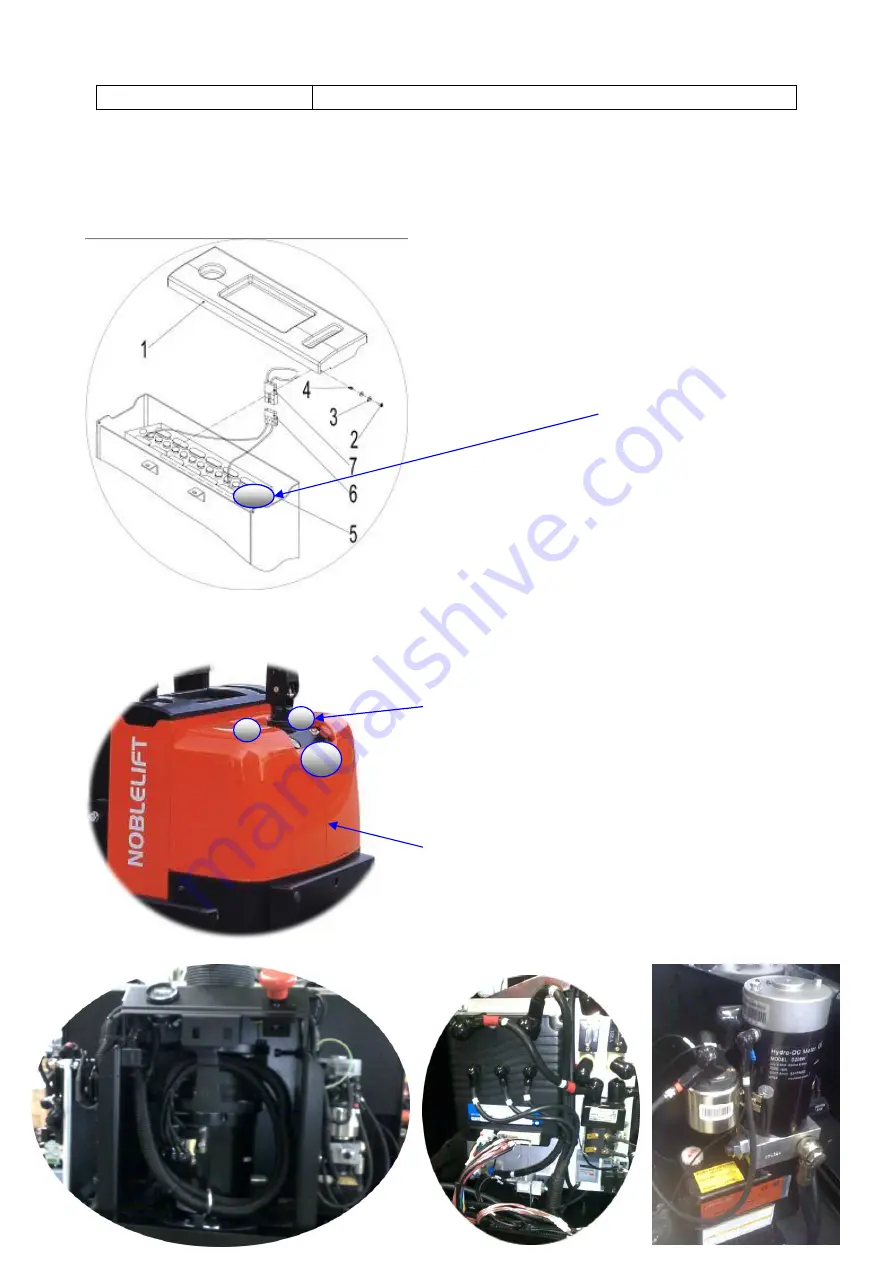
REPLACING THE BATTERY
Step 1: Remove 2 screws (No.2), loosen nuts (No.4)
and washers (No.3).
Step 2: Remove the battery cover (No.1)
Step 3: Separate the plugs (No. 6 and 7)
Step 4: Use two lifting hook to hook the hole of the
battery box.
Then you can use a crane to take away the battery
and replace it
REPLACING THE CONTROLLER, BATTERY INDICATOR, ETC.
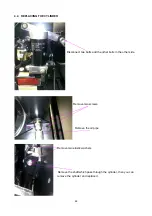
Remove screws.
Then remove the right cover and left cover.
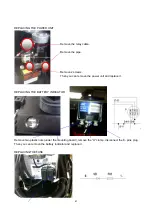
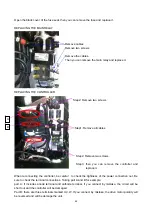
You will see the appearance as the following three pictures when you remove the cover:
Summary of Contents for LPT22
Page 15: ...14 3 ELECTRICAL SYSTEM 3 1 ELECTRICAL DIAGRAM WIRING DIAGRAM ...
Page 16: ...15 CONNECTION DIAGRAM ...
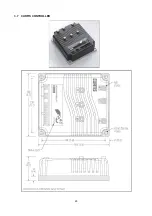
Page 30: ...29 3 7 CURTIS CONTROLLER ...
Page 63: ...62 8 2 TROUBLE SHOOT ...
Page 64: ...63 ...
Page 65: ...64 ...

