DMX Operation Mode
In DMX operation, the fixture will be used in an installation where it is desirable to control
several fixtures and related accessories with the use of sophisticated lighting programs or
equipment (DMX source). This is most suitable for applications where all aspects of light-
ing are to be fully digitally programmed and executed. Typical installations require fixtures
and related accessories to be “addressed” so that they may be controlled with a DMX
source.
1) Plug the power cord into a power source and push the power switch/ circuit breaker to
the ON position.
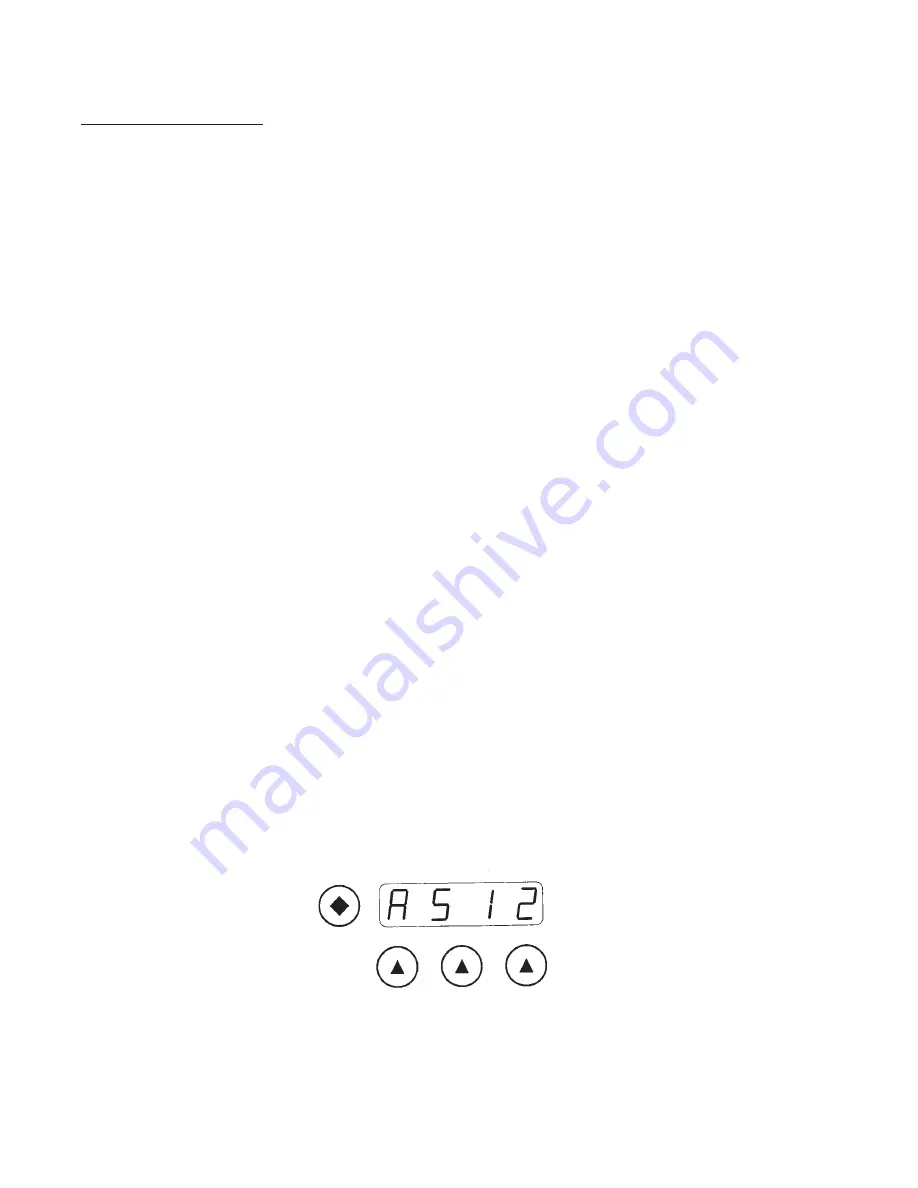
2) The display will energize and show the TIMER mode - select ADDRESS mode by
depressing the FUNCTION SELECTION BUTTON (diamond button). The display
should read “A” followed by three digits.
3) Press the NUMERIC SELECTION BUTTONS (triangles) until the display reads “A”
followed by the DESIRED FIXTURE ADDRESS.
4) Plug the DMX cable from the DMX source into the INPUT port on the rear cover of the
fixture.
5) When DMX 512 signals are detected (DMX level above 80%/ 204 - 255), a relay within
the fixture will close and the lamp will ignite. Full lamp output is attained within 5 min-
utes. The display will also show a decimal point between the “A” character and the first
“0” digit when DMX is detected.
6) When signals from the DMX source are detected (DMX level below 20%/ 000 - 051) the
fixture relay will open and the lamp will extinguish, but the fixture will remain ON.
In most applications where DMX operation is utilized, it is common to “daisy-chain” or link
several other fixtures and accessories together. This eliminates the need to connect indi-
vidual cables from the DMX source to each item.
7) Plug DMX cable into the THROUGH port on the rear cover of the fixture.
Connect opposite end into next desired DMX accessory or fixture. The UV fixture will
monitor incoming signals, process those to which it is addressed, and pass all other sig-
nals through (use terminator at last fixture).
DISPLAY WINDOW for DMX MODE (Sample Display)
11


