Nokia Short Messaging
45
2
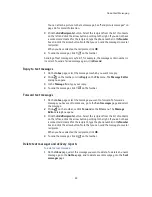
To insert a picture, click
on the toolbar. The
Picture Library
dialog box
opens.
3
Select the picture you want to attach to the message and click
OK
.
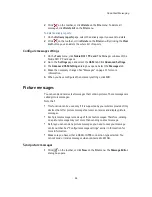
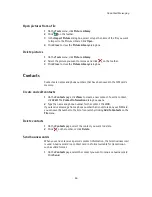
If there are no pictures available in the list, click
to draw a new picture or
import a picture from a file by clicking
. See “Draw and edit pictures” on
page 45 and “Open pictures from a file” on page 46 for more information.
4
In the
Message
field, type the message. The character counter above the field
shows how many characters you have left and in how many messages the text
will be sent.
5
Click the
Add Recipients
button. Select the recipient from the list of contacts
on the left and click the arrow button pointing to the right. If you do not have
a contact card created for the recipient, type the phone number in the
Number
box and click the arrow button. Note that you can send the message to several
recipients. When you have selected the recipients, click
OK
.
6
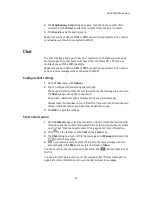
To send the message, click
on the toolbar.
Sending of text messages may fail if, for example, the message center number is
incorrect. To send a failed message again, click
Resend
Draw and edit pictures
1
On the
Tools
menu, click
Picture Library
.
2
To draw a new picture, click
on the toolbar. To edit a picture, select the
picture and click
on the toolbar. The
Picture Editor
dialog box opens.
3
Move the mouse cursor to the desired position. The cursor appears as a pen on
the drawing area. Press down the left mouse button. Move the mouse to draw.
The left mouse button draws black color, and the right mouse button draws
white color. To stop drawing, release the mouse button. Click
Save
to save the
picture.
4
Click
Close
to close the
Picture Library
dialog box.
Save pictures to a file
1
On the
Tools
menu, click
Picture Library
.
2
Select the picture you want to save to a file. Click
on the toolbar.
3
In the
Export Picture
dialog box, type a name for the file. By default, pictures
are saved as picture message files in gms format. Click
Save
.
4
Click
Close
to close the
Picture Library
dialog box.
If you have received a picture message, you can add the picture to the
Picture
Library
by clicking
Save Picture
on the
File
menu.
Summary of Contents for D311
Page 1: ...User Guide Issue 1 ...

