Chapter 2: Installing the IP700 Series Appliance
26
IP700 Series Installation Guide
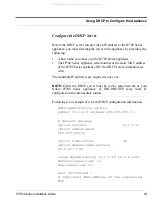
hardware ethernet 00:a0:8e:20:00:61;
# serial number of the box
option dhcp-client-identifier "123456";
fixed-address 10.1.1.11;
option host-name "IP710";
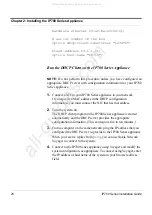
Run the DHCP Client on the IP700 Series Appliance
NOTE:
Do not perform this procedure unless you have configured an
appropriate DHCP server with configuration information for your IP700
Series appliance.
1.
Connect a NIC in your IP700 Series appliance to your network.
If you specify a MAC address in the DHCP configuration
information, you must connect the NIC that has that address.
2.
Turn the system on.
The DHCP client program in the IP700 Series appliance is started
automatically and the DHCP server provides the appropriate
configuration information. (This can require five to ten minutes.)
3.
From a computer on the same network, ping the IP address that you
configured the DHCP server to provide to the IP700 Series appliance.
When you receive replies from
ping
, you can use Nokia Network
Voyager to connect to the system.
4.
Connect to the IP700 Series appliance using Voyager and modify the
system configuration, as appropriate. To connect using Voyager, enter
the IP address or host name of the system in your browser address
field.
All manuals and user guides at all-guides.com
all-guides.com

