4
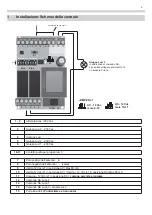
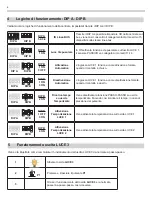
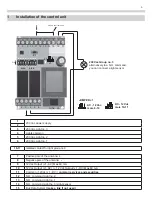
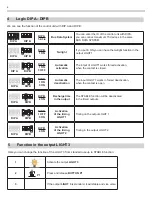
The control unit dispose of a
BUTTON P1
for different operation and to cancel all the codes. To do this operation make
as follow:
The output shuold be deactivated (no contacts) lights have to be turned off.
This operation is possible only
when the automation is closed.
1
Press and keep pressed the
BUTTON P1
,
LED L1
will fix
2
After 6 seconds
LED 1
turn off and then you can release
BUTTON P1
.
LED L1
will flash 4 times then only
once to manage fixed codes. (only one flash see next chapter). memory has been cancelled.
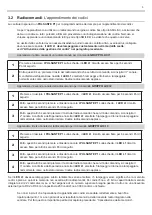
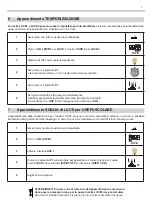
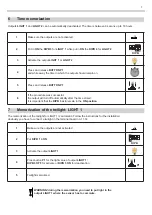
1
Press and release
BUTTON P1
,
LED L1
will lit for 6 seconds. Then:
2
In 6 seconds press and release
BUTTON P1
again,
LED L1
flash once and then it will lit for 6 seconds
3
In 6 seconds press and release
BUTTON P1
again,
LED L1
flash once and it will lit for 6 seconds
4
In 6 seconds press and release
BUTTON P1
,
LED L1
flashes twice and then constantly, now you can
memorize
ROLLING CODE HCS remote controls.
3.1
Remote controls: code managing
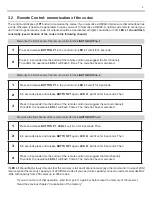
The integrated receiver can manage fixed code and HCS rolling code remote controls.
The output should be deactivated. This operation is possible only when the automation is closed.
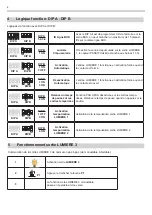
LED L1
indicate the type of codes:
1 FLASH
“only fixed code remote controls”
2 FLASHES
“only rolling code remote controls: like SmART, SmILE”
3
Remote control: cancellation of the memory
In case you want to memorize the compatible fixed code remote controls, follow passages 1-2-3 and wiat
LED1
turn off.
The first learned transmitter establish the code’s type taht the receiver has to manage, it means that the transmitter has
to have the same code’s type. Concerning the rolling codes it is possible to activate or disactivate the key’scontrol and
the rolling counter. With this function you can choose the security level of the receiver.
2
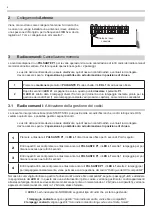
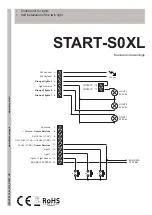
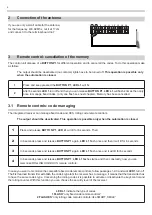
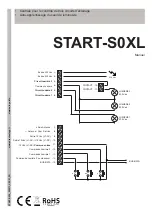
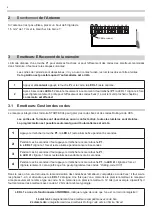
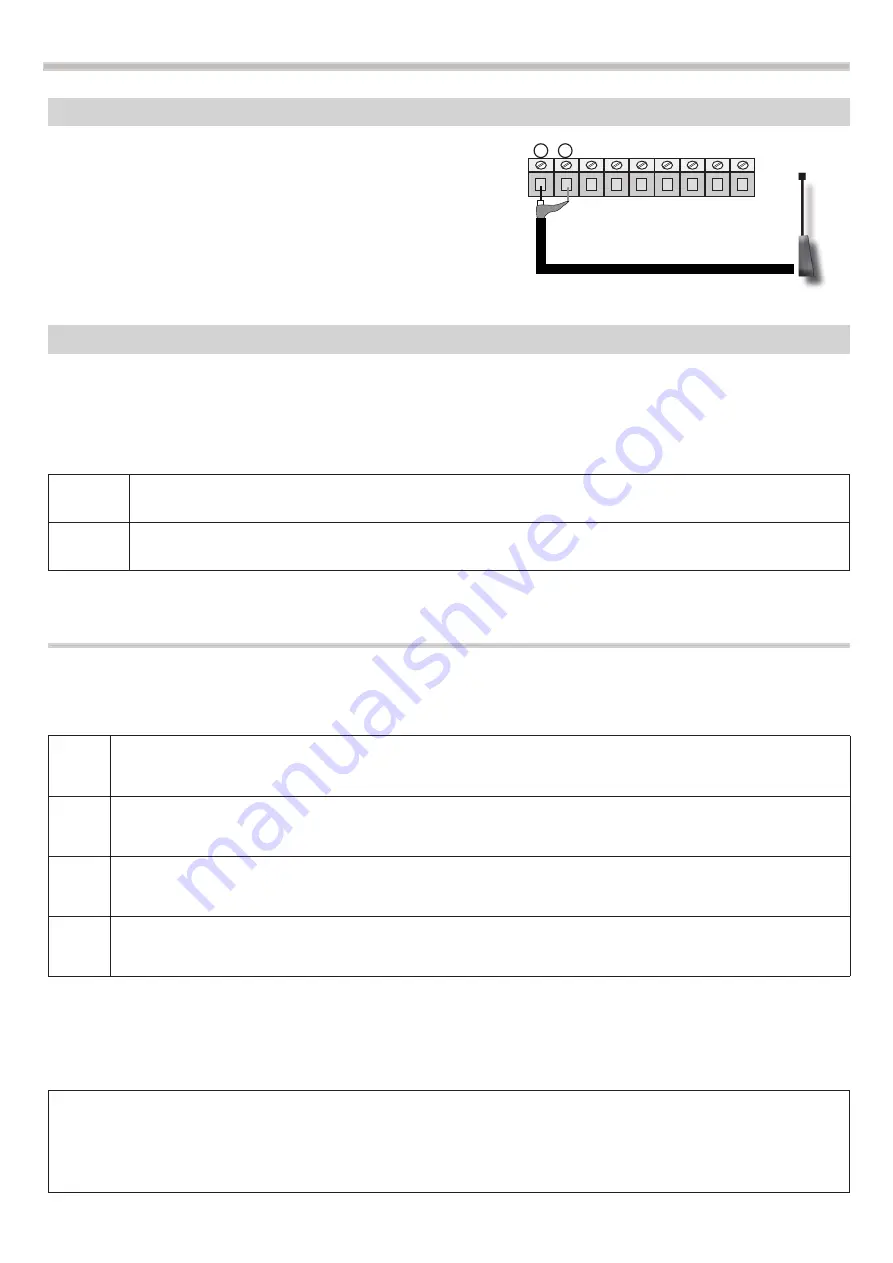
Connection of the antenna
If you use only a small cable for the antenna,
for the frequency 433.92 mhz, cut it at 17cm
and connect it to the terminal board no.7
7 8 9 10 11 12 13 14 15


