!
7
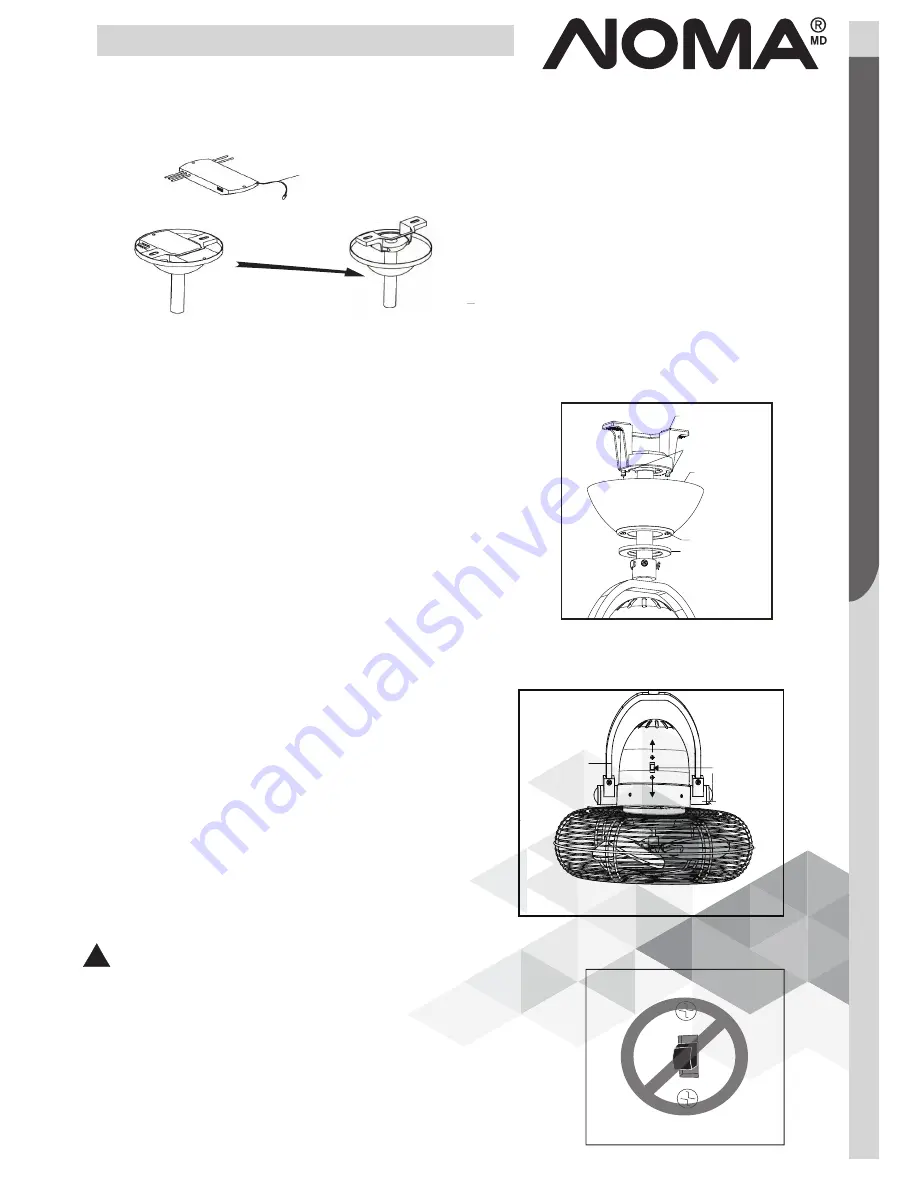
9. Loosen two canopy screws part way, and then push the canopy upwards by inserting canopy
screw heads into key hole slots, rotate the canopy till it is locked in place, and finally tighten canopy
screws (Fig. 9).
Attach the decorative cap to canopy, and rotate it clockwise until
tight.
10. The slide switch on fan fixture sets direction of fan rotation. Select the desired direction of fan
rotation. Push the slide switch down for "Forward" and up for "Reverse" (Fig. 10).
Fig.10
Canopy Screw
Hanger Bracket
Canopy
Decorative Cap
Key Hole Slot
Reverse
Slide Switch
Forward
Fan Fixture
!
Note: Wait for fan to stop before reversing the direction of blade rotation.
Fig. 9
Fig. 10
Once the connection has been made, the receiver inserts into the drop rod hanging
bracket. The canopy comes up to cover the receiver and bracket .
Installing Receiver Assembly
!
!
!
Lea ve unconnected and do not cut .
VIEW AFTER INSTALLATION
IMPORTANT
:
Reverse switch must be set either completely
up or completely DOWN for fan to function. If the reverse
switch is set in the middle position, fan will not operate.


