
15
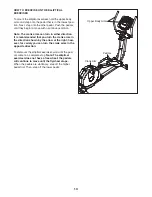
HOW TO USE THE MANUAL MODE
Note: If there is a sheet of clear plastic on the face of
the console, remove the plastic.
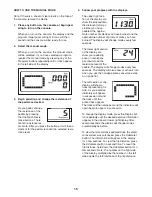
1. Press any button on the console or begin ped-
aling to turn on the console.
When you turn on the console, the display and the
program target pacer will light. A tone will then
sound and the console will be ready for use.
2. Select the manual mode.
When you turn on the console, the manual mode
will be selected. If you have selected a program,
reselect the manual mode by pressing any of the
Programs buttons repeatedly until a track appears
in the left side of the display.
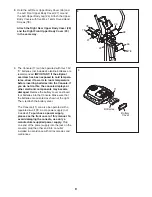
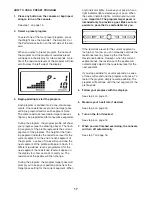
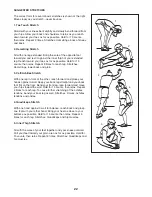
3. Begin pedaling and change the resistance of
the pedals as desired.
As you pedal, change
the resistance of the
pedals by pressing
the OneTouch Resis-
tance buttons. There
are ten resistance lev-
els. Note: After you press the buttons, it will take a
moment for the pedals to reach the selected resis-
tance level.
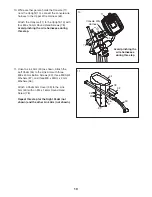
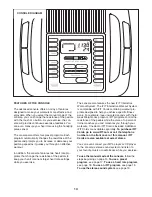
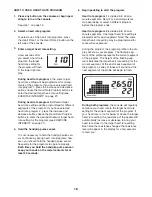
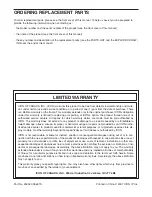
4. Follow your progress with the displays.
The upper right sec-
tion of the display can
show the elapsed time,
the distance (total rev-
olutions) you have
pedaled, the approxi-
mate number of calories you have burned, and the
approximate number of grams of carbs you have
burned. The display will change modes every few
seconds.
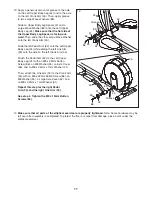
The lower right section
of the display can
show your pedaling
pace (in revolutions
per minute) and the
resistance level of the
pedals. The display will change modes every few
seconds. The display will also show your heart rate
when you use the handgrip pulse sensor (see step
5 on page 16).
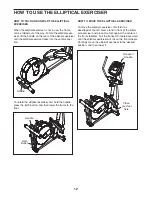
The left section of the
display will show a
track representing 1/4
mile. As you exercise,
indicators will appear
in succession around
the track until the
entire track appears.
The track will then disappear and the indicators will
again begin to appear in succession
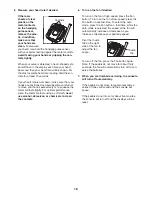
To change the display mode, press the Display but-
ton repeatedly until the desired exercise information
appears in the upper or lower right display. After
several seconds, the display will change modes
automatically as before.
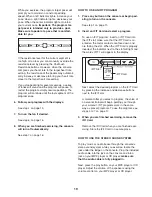
To view the total distance pedaled since the ellipti-
cal exerciser was purchased, press the Odometer
button. The information will appear in the display
for a few seconds. To view the trip distance, press
the Odometer button a second time. To reset the
trip distance, hold down the Odometer button for a
few seconds. Note: The number on the right side
of the display multiplied by the number on the left
side equals the total distance or the trip distance.
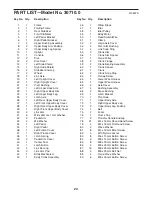
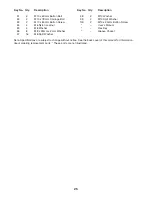
Summary of Contents for 30710.0
Page 23: ...23 NOTES...