background image

28

 HOW TO USE THE SOUND SYSTEM

To play music or audio books through the console 
sound system while you exercise, plug a 3.5 mm male 
to 3.5 mm male audio cable (not included) into the jack 
on the console and into a jack on your MP3 player, 
CD player, or other personal audio player; 

make sure 

that the audio cable is fully plugged in. Note: To 
purchase an audio cable, see your local electronics 
store.


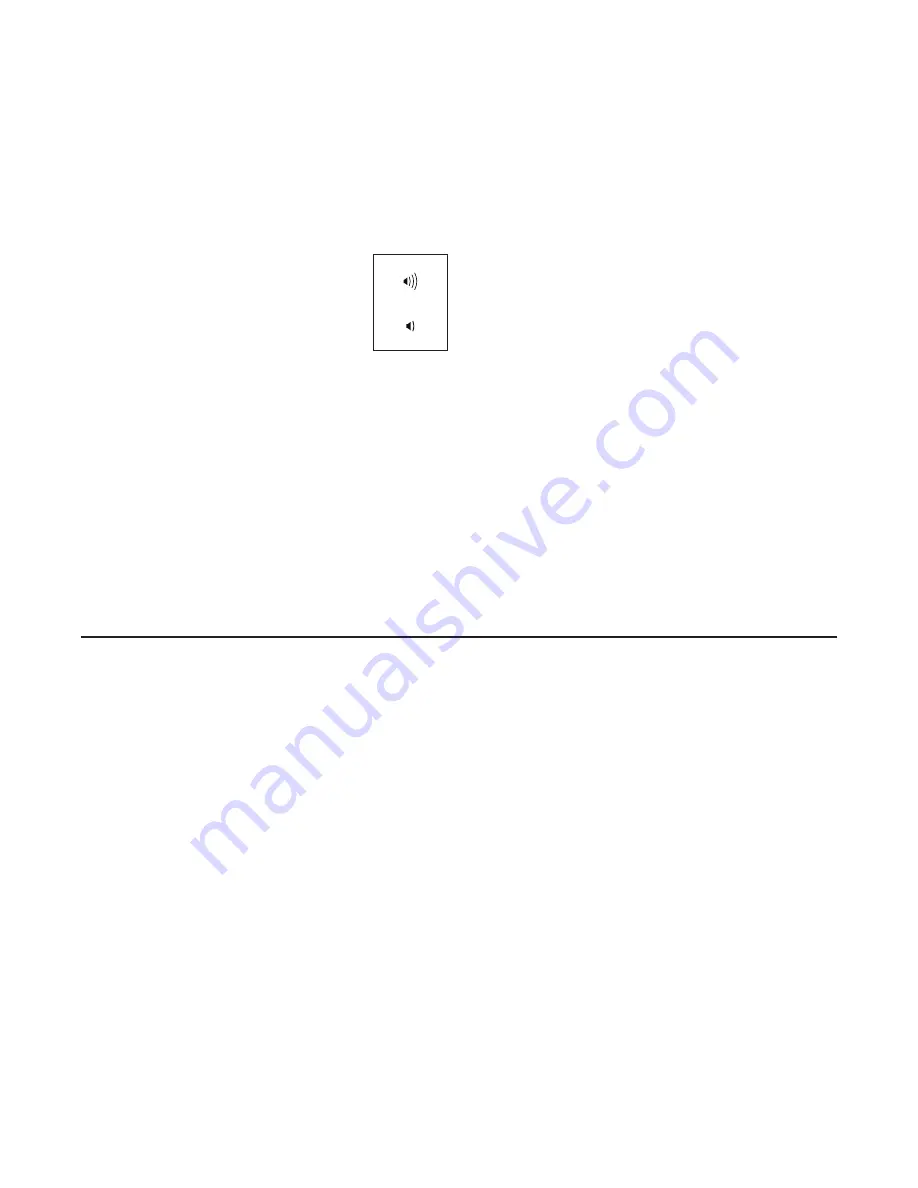
Next, press the play button on your per-
sonal audio player. Adjust the volume 
level using the volume increase and 
decrease buttons on the console or the 
volume control on your personal audio 
player.

If you are using a personal CD player and the CD 
skips, set the CD player on the floor or another flat 
surface instead of on the console.

 HOW TO USE THE INTERNET BROWSER

Note: To use the Internet browser, you must have 
access to a wireless network including a wireless 
router (802.11b/g/n) with SSID broadcast enabled (hid-
den networks are not supported).

To open the Internet browser, touch the globe button at 
the bottom of the screen. Then, select a website.

To navigate the Internet browser, touch the Back, 
Refresh, and Forward buttons on the screen. To exit 
the Internet browser, touch the Return button on the 
screen.

 To use the keyboard, see HOW TO USE THE TOUCH 
SCREEN on page 19.

To enter a different web address in the URL bar, first, 
slide your finger down the screen to view the URL bar, 
if necessary. Then, touch the URL bar, use the key-
board to enter the address, and touch the Go button.

Note: While you are using the Internet browser, the 
resistance, fan, and volume buttons will still function, 
but the workout buttons will not function.

Note: If you have questions after following these 
instructions, go to support.iFit.com for assistance.

FCC INFORMATION

This equipment has been tested and found to comply with the limits for a Class B digital device, pursuant to part 
15 of the FCC Rules. These limits are designed to provide reasonable protection against harmful interference 
in a residential installation. This equipment generates, uses, and can radiate radio frequency energy and, if not 
installed and used in accordance with the instructions, may cause harmful interference to radio communications. 
However, there is no guarantee that interference will not occur in a particular installation. If this equipment does 
cause harmful interference to radio or television reception, which can be determined by turning the equipment off 
and on, try to correct the interference by one or more of the following measures: 

••  Reorient or relocate the receiving antenna.
••  Increase the separation between the equipment and the receiver.
••  Connect the equipment into an outlet on a circuit different from that to which the receiver is connected. 
••  Consult the dealer or an experienced radio/TV technician for help. 

FCC CAUTION: To assure continued compliance, use only shielded interface cables when connecting to 
computer or peripheral devices. Changes or modifications not expressly approved by the party respon-
sible for compliance could void the user’’s authority to operate this equipment.

IMPORTANT: To satisfy exposure compliance requirements, the antenna and transmitter in the console 
must be at least 8 in. (20 cm) from all persons and must not be near or connected to any other antenna or 
transmitter.

Note: The console contains FCC ID: OMC310900.

Summary of Contents for A.c.t. 10 Elliptical

Page 1: ...number in the space above for reference www nordictrack com To register your product and activate your warranty today go to www nordictrackservice com registration For service at any time go to www no...

Page 2: ...Note The decal s may not be shown at actual size NORDICTRACK is a registered trademark of ICON IP Inc WARNING DECAL PLACEMENT 2 IMPORTANT PRECAUTIONS 3 BEFORE YOU BEGIN 6 PART IDENTIFICATION CHART 7 A...

Page 3: ...each side To protect the floor or carpet from dam age place a mat under the elliptical 7 Inspect and properly tighten all parts regu larly Replace any worn parts immediately 8 Keep children under age...

Page 4: ...4...

Page 5: ...5 all STANDARD SERVICE PLANS...

Page 6: ...see the front cover of this manual To help us assist you note the product model number and serial number before contacting us The model number and the location of the serial number decal are shown on...

Page 7: ...T Use the drawings below to identify the small parts needed for assembly The number in parentheses below each drawing is the key number of the part from the PART LIST near the end of this manual The n...

Page 8: ...d damaging parts do not use power tools ASSEMBLY 1 Go to www nordictrackservice com registration on your computer and register your product activates your warranty saves you time if you ever need to c...

Page 9: ...right 2 into the Frame 1 3 2 1 Holes Avoid pinching the wires 81 81 82 54 4 Identify the Left and Right Upright Covers 20 21 and orient them as shown While a second person holds the Left and Right Upr...

Page 10: ...Attach the Right Handrail 5 to the Upright 2 with four M8 x 13mm Screws 62 Do not tighten the Screws yet Attach the Left Handrail 4 in the same way 5 19 17 6 6 Attach the Right Handrail 5 to the Frame...

Page 11: ...ching the Right Extension Wire 80 Slide the Right Handlebar Leg 13 onto the axle on the Upright 2 Attach the Right Handlebar Leg with an M10 x 20mm Screw 61 and an M10 Washer 64 Attach the Left Handle...

Page 12: ...asher 64 Tip Avoid damaging the Pedal Axle Cover when tightening the Screw Attach the Right Pedal Arm not shown in the same way 12 61 64 14 Grease 10 10 Apply a small amount of grease to the axle on t...

Page 13: ...he Right Handlebar 11 and orient it as shown See the inset drawing While a second person holds the Right Handlebar 11 near the Right Handlebar Leg 13 connect the Right Extension Wire 80 to the Right C...

Page 14: ...res Attach the Console 3 to the Upright 2 with four M4 x 16mm Screws 67 3 81 99 67 2 80 100 Avoid pinching the wires 14 14 Plug the Power Adapter 84 into the receptacle on the frame of the elliptical...

Page 15: ...tures above 122 F 50 C or below 14 F 10 C Do not excessively bend or stretch the sensor when using or storing the heart rate monitor To clean the sensor use a damp cloth and a small amount of mild soa...

Page 16: ...move the elliptical to the desired location and then lower it to the floor HOW TO LEVEL THE ELLIPTICAL If the elliptical rocks slightly on your floor during use turn one or both of the leveling feet...

Page 17: ...in either direction It is recommended that you turn the pedals in the direction shown by the arrow however for variety you can turn the pedals in the opposite direction To dismount the elliptical wait...

Page 18: ...stomizable Google Maps Download training workouts designed to help you reach your personal goals Measure your progress by competing against other users in the iFit community Upload your workout result...

Page 19: ...ole will be ready for use HOW TO TURN OFF THE CONSOLE If the pedals do not move for several seconds a tone will sound and the console will pause If the pedals do not move for several minutes and the b...

Page 20: ...system see page 28 To use the Internet browser see page 28 Note If there is a sheet of plastic on the screen remove the plastic Note The console can display speed and distance in either miles or kilo...

Page 21: ...tly When your pulse is detected your heart rate will be shown For the most accurate heart rate reading hold the contacts for at least 15 seconds If the display does not show your heart rate make sure...

Page 22: ...ower than the target rpm Make sure to pedal at a speed that is comfortable for you If the resistance level for the current segment is too high or too low you can manually override the setting by press...

Page 23: ...aintain your pedal ing speed To view the target zone meter flick or slide the screen IMPORTANT The target rpm is intended only to provide motivation Your actual pedaling speed may be slower than the t...

Page 24: ...ur Workout History touch the Track button To use a set a goal workout touch the Set A Goal button see page 23 Note You can also press one of the iFit buttons on the console Before some workouts will d...

Page 25: ...ouch Save to use this passcode Touch Cancel to return to the equipment settings mode and not use a passcode To disable the passcode touch the Disable checkbox Note If a passcode is enabled the console...

Page 26: ...Wait for several seconds and then plug in the power adapter Note It may take a few minutes for the console to be ready for use 4 Calibrate the screen If the screen is not properly calibrated it will...

Page 27: ...etworks appears touch the desired network Note You will need to know your network name SSID If your network has a password you will also need to know the password An information box will ask if you wa...

Page 28: ...uttons will still function but the workout buttons will not function Note If you have questions after following these instructions go to support iFit com for assistance FCC INFORMATION This equipment...

Page 29: ...CH If the console does not display correct feedback the reed switch should be adjusted See EXPLODED DRAWING C on page 35 First remove the Right Rail Cover 93 and the Right Rail Cover Cap 7 Then remove...

Page 30: ...c Exercise If your goal is to strengthen your cardiovascular system you must perform aerobic exercise which is activity that requires large amounts of oxygen for prolonged periods of time For aerobic...

Page 31: ...ring 39 2 Pedal Axle Cover 40 1 Crank 41 1 Right Crank Bracket 42 1 Left Crank Bracket 43 1 Left Pedal Arm Bracket 44 8 Crank Bearing 45 6 Thrust Washer 46 2 Pedal Arm Roller 47 2 Crank Spacer 48 2 Cr...

Page 32: ...1 Left Extension Wire 101 2 M8 Jam Nut 102 1 M6 Washer 103 1 Idler Screw 104 1 Right Pedal Insert 105 1 Left Pedal Insert 106 2 Axle Washer Assembly Tool Grease Packet User s Manual Key No Qty Descri...

Page 33: ...67 31 33 33 34 34 35 35 49 38 60 61 90 61 61 61 68 68 61 62 62 64 64 56 14 95 105 36 78 78 74 67 74 67 67 67 67 67 67 67 70 67 73 67 67 67 67 73 67 67 39 61 64 37 37 59 75 85 60 98 98 98 98 77 98 98 9...

Page 34: ...25 26 27 28 78 96 91 31 33 33 34 34 35 35 37 59 39 56 49 38 60 61 68 92 61 61 61 77 64 64 64 67 67 67 67 67 67 67 60 9 104 15 36 78 78 75 74 74 37 98 98 98 98 98 98 2 3 67 59 80 59 100 67 89 99 58 67...

Page 35: ...4 45 45 45 45 45 45 46 47 46 47 48 48 50 50 50 50 79 51 51 76 76 52 52 52 52 53 54 55 59 59 61 61 62 69 69 62 62 65 66 65 66 73 67 67 67 73 67 67 67 67 71 71 59 59 57 98 81 82 83 84 61 61 67 87 102 97...

Page 36: ...for a minimal trip charge This warranty does not extend to freight damage to the product This warranty will automatically be voided if the product is used as a store display model if the product is p...

Reviews: